
Introduction#
Building a custom Linux kernel on Arch Linux might appear intimidating at first, but armed with the right knowledge, it becomes an empowering skill. This tutorial is designed to guide you through the process, simplifying each step with clear and straightforward commands.
August 24, 2023#
Throughout this tutorial, we’ll use Linux kernel version 6.4.12 as an example. Keep in mind that you can adapt the steps for different kernel versions as needed.
Let’s dive in and demystify the process of crafting your very own custom Linux kernel on Arch Linux.
Step 1: Prepare Your System#
Before delving into building the custom Linux kernel, it’s essential to ensure your system is equipped with the necessary tools and packages. Follow these steps to prepare your system:
Install Required Dependencies and Additional Packages#
To ensure a smooth and successful kernel compilation process, it’s essential to install both the required base development tools and additional packages that contribute to various aspects of building your custom Linux kernel on Arch Linux.
- Install Base Development Tools:
Start by installing the base-devel meta package, which includes fundamental tools like make and gcc. Open a terminal and enter the following command:
sudo pacman -S base-devel
- Install Additional Packages:
To further streamline the kernel compilation process and meet all prerequisites for building your custom Linux kernel, it’s highly recommended to install the following additional packages:
sudo pacman -S xmlto kmod inetutils bc libelf git cpio perl tar xz
Each of these packages serves a specific purpose in the kernel build process:
- xmlto: Transforms XML documents into various formats such as HTML and PDF, used for kernel documentation generation.
- kmod: Provides utilities for managing kernel modules, including loading and unloading.
- inetutils: Offers common networking utilities like
pingandifconfig, helpful for kernel troubleshooting. - bc: A command-line calculator with precision arithmetic, often used for calculations in kernel build scripts.
- libelf: A library for reading and writing ELF files, essential for working with executable and object files.
- git: Distributed version control system used for tracking kernel source code changes.
- cpio: Creates and extracts archive files, crucial for building
initramfsimages. - perl: Programming language used in various scripting tasks, sometimes involved in the kernel build process.
- tar: Utility for creating and manipulating archive files, useful for packaging components of the kernel source code.
- xz: Compression utility for efficient file compression and decompression, vital for managing compressed files in the kernel build.
By installing both the base development tools and these additional packages, you ensure that your system is well-equipped to successfully compile, build, and customize your own Linux kernel on Arch Linux. This comprehensive approach minimizes potential issues during the kernel compilation process and helps you achieve your custom kernel with confidence.
Step 2: Download the Kernel Source#
Embark on your kernel customization journey by obtaining the kernel source code from the official source, kernel.org. The source code is sizeable, typically around 100 MBs or more. Here are a couple of methods to download the source code:
1. Visit Kernel.org:#
The official source for Linux kernel releases is kernel.org . You can access the website through your web browser and manually download the source code archive. Keep in mind that this method involves larger file sizes, so a stable internet connection is recommended.
2. Download using aria2c:#
To expedite the process, especially considering the large file size, you can use the aria2c command-line tool. This command supports multiple connections for faster downloads:
aria2c -x 16 "https://cdn.kernel.org/pub/linux/kernel/v6.x/linux-6.4.12.tar.xz"
3. Download using wget:#
If you prefer not to use a web browser, you can use the wget command-line tool to directly download the source code:
wget "https://cdn.kernel.org/pub/linux/kernel/v6.x/linux-6.4.12.tar.xz"
Remember, whether you choose the efficient aria2c, the direct wget, or the manual browser download, obtaining the kernel source code from kernel.org is your initial step toward crafting your customized Linux kernel.
Step 3: Extract the Source Code#
Unpack the downloaded source code archive using the unxz command:
unxz -v linux-6.4.12.tar.xz
Step 4: Verify the Signature (Optional)#
To ensure the authenticity of the source code, follow these steps to verify its GPG signature:
1. Download the Signature File#
Begin by downloading the GPG signature file associated with the source code:
aria2c -x 16 "https://cdn.kernel.org/pub/linux/kernel/v6.x/linux-6.4.12.tar.sign"
2. Verify the Signature#
Next, use GPG to verify the signature of the downloaded source code:
$ gpg --verify linux-6.4.12.tar.sign
gpg: assuming signed data in 'linux-6.4.12.tar'
gpg: Signature made Wed 23 Aug 2023 11:33:44 PM HKT
gpg:                using RSA key 647F28654894E3BD457199BE38DBBDC86092693E
gpg: Can't check signature: No public key
3. Import the GPG Key#
If the signature verification is successful, import the associated GPG key for future use:
$ gpg --recv-key 647F28654894E3BD457199BE38DBBDC86092693E
gpg: key 38DBBDC86092693E: 1 duplicate signature removed
gpg: key 38DBBDC86092693E: public key "Greg Kroah-Hartman <[email protected]>" imported
gpg: Total number processed: 1
gpg:               imported: 1
4. Continue with Signature Confirmation#
Confirm the validity of the imported key against the signature once again:
$ gpg --verify linux-6.4.12.tar.sign
gpg: assuming signed data in 'linux-6.4.12.tar'
gpg: Signature made Wed 23 Aug 2023 11:33:44 PM HKT
gpg:                using RSA key 647F28654894E3BD457199BE38DBBDC86092693E
gpg: Good signature from "Greg Kroah-Hartman <[email protected]>" [unknown]
gpg:                 aka "Greg Kroah-Hartman <[email protected]>" [unknown]
gpg:                 aka "Greg Kroah-Hartman (Linux kernel stable release signing key) <[email protected]>" [unknown]
gpg: WARNING: This key is not certified with a trusted signature!
gpg:          There is no indication that the signature belongs to the owner.
Primary key fingerprint: 647F 2865 4894 E3BD 4571  99BE 38DB BDC8 6092 693E
Step 5: Extract the Source Code (Continued)#
Continuing from where we left off, let’s proceed with extracting the downloaded kernel source code using the following command:
tar xvf linux-6.4.12.tar
This command will unpack the compressed source code archive.
Step 6: Navigate to the Kernel Source Directory#
Navigate to the directory containing the kernel source code. You’ll want to ensure that you have the necessary permissions to work with the source files without constantly relying on sudo. Here’s how you can achieve that:
Change Ownership of Kernel Source Directory:
To avoid using
sudofor every operation, change the ownership of the kernel source directory to your user. Replace$USERwith your actual username:chown $USER:$USER linux-6.4.12
This ensures that you have the necessary access rights to work with the kernel source code and perform various operations without the constant need for superuser privileges.
Step 7: Compile and Install Kernel#
1. Navigate to the Kernel Source Directory:#
Move into the directory containing the kernel source code:
cd linux-6.4.12
2. Configure Using Current Kernel Configuration#
Configuring a kernel involves determining various settings and options that tailor the kernel to your system’s hardware and requirements. The kernel configuration dictates which features, drivers, and functionalities will be included in the final compiled kernel. It’s a crucial step in building a custom kernel that aligns with your specific needs.
In this context, the term “configuration” refers to a set of options stored in a file called .config. This file contains information about how the kernel should be built, what modules to include, which hardware support to enable, and more. The options can be adjusted through a configuration interface.
To streamline the process of configuring your custom kernel, you can use the configuration from your currently running kernel as a starting point. This ensures that your custom kernel maintains compatibility with your existing hardware and system setup.
The command to copy the configuration from your currently running kernel to the kernel source directory is:
cp /usr/src/linux/.config .
Here, /usr/src/linux is a symbolic link to the kernel source directory of your currently installed kernel. The cp command duplicates the .config file into your working directory, allowing you to use it as a basis for your custom kernel configuration.
CONFIG_SCSI_MVSAS_TASKLET=y
CONFIG_SCSI_MVUMI=m
CONFIG_SCSI_ADVANSYS=m
CONFIG_SCSI_ARCMSR=m
CONFIG_SCSI_ESAS2R=m
CONFIG_MEGARAID_NEWGEN=y
CONFIG_MEGARAID_MM=m
CONFIG_MEGARAID_MAILBOX=m
CONFIG_MEGARAID_LEGACY=m
CONFIG_MEGARAID_SAS=m
CONFIG_SCSI_MPT3SAS=m
CONFIG_SCSI_MPT2SAS_MAX_SGE=128
CONFIG_SCSI_MPT3SAS_MAX_SGE=128
CONFIG_SCSI_MPT2SAS=m
CONFIG_SCSI_MPI3MR=m
CONFIG_SCSI_SMARTPQI=m
CONFIG_SCSI_HPTIOP=m
CONFIG_SCSI_BUSLOGIC=m
CONFIG_SCSI_FLASHPOINT=y
CONFIG_SCSI_MYRB=m
CONFIG_SCSI_MYRS=m
CONFIG_VMWARE_PVSCSI=m
CONFIG_XEN_SCSI_FRONTEND=m
CONFIG_HYPERV_STORAGE=m
CONFIG_LIBFC=m
CONFIG_LIBFCOE=m
CONFIG_FCOE=m
...
It’s worth noting that the kernel configuration is a comprehensive topic on its own, with various options and settings that can significantly impact the behavior and performance of the kernel. Advanced users may explore tools like make menuconfig, make xconfig, or make gconfig to interactively configure the kernel’s options. However, for the purpose of this guide, we’ll focus on using the existing configuration to compile the custom kernel.
3. Compile the Kernel#
Now that you’ve configured your kernel, it’s time to move on to the compilation phase. Compilation involves translating the human-readable source code into machine-executable instructions that your computer can understand and execute. This step transforms the kernel source code you’ve customized into a functional kernel binary that your system can boot from.
To compile the kernel, you’ll be using the make command, which automates the compilation process. Here’s what the command does:
make ARCH=x86_64 -j $(nproc)
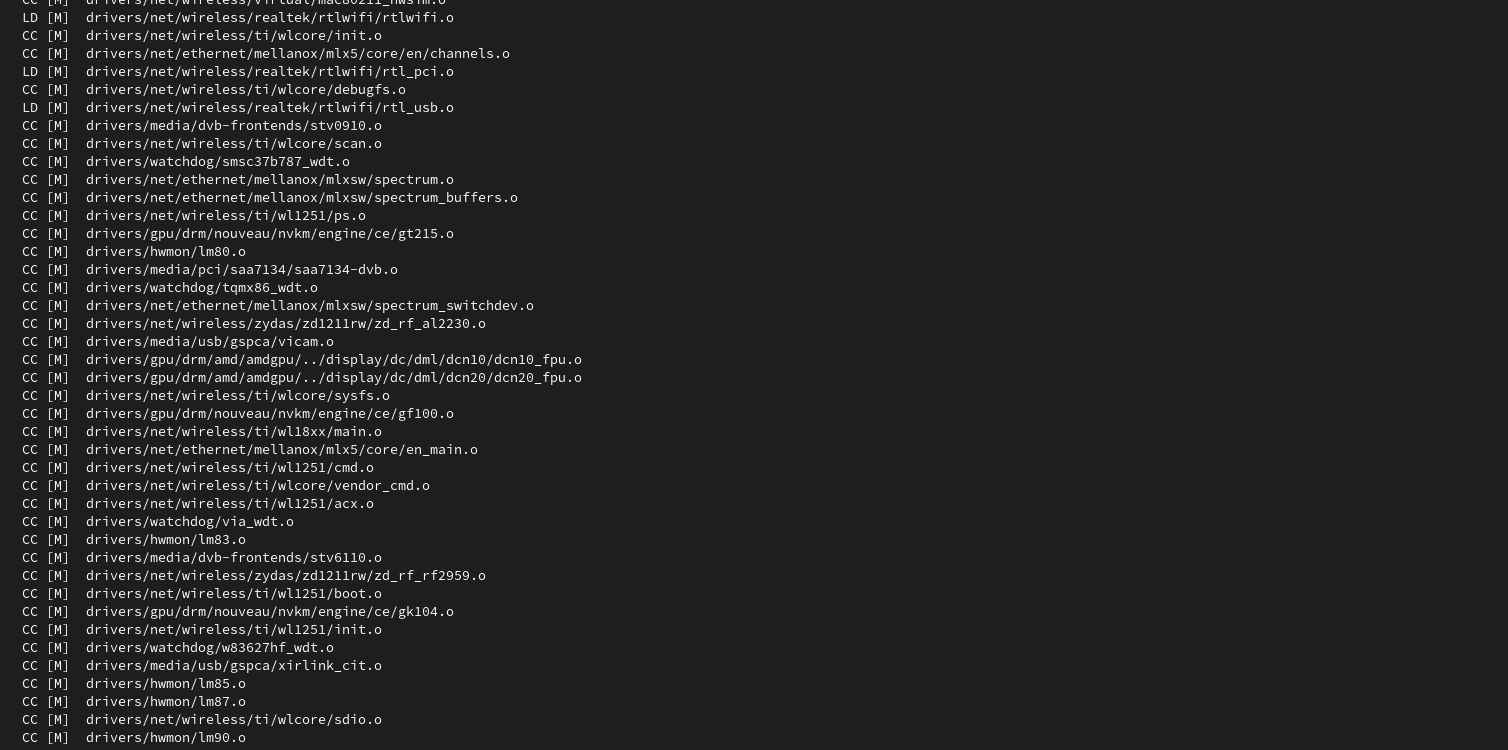
make: This command invokes the kernel build system and starts the compilation process.ARCH=x86_64: Specifies the target architecture for which you’re compiling the kernel. In this case, it’s the x86_64 architecture.-j $(nproc): The-jflag tells the compiler to utilize multiple processor cores for parallel compilation, which significantly speeds up the process.$(nproc)dynamically determines the number of available processor cores and uses them for compilation.
During compilation, the kernel source code is transformed into multiple object files and then linked together to create the final kernel binary. The -j flag ensures that multiple compilation tasks are performed simultaneously, maximizing the efficiency of your system’s processing power.
compilation might take a long time, depending on your hardware and the complexity of your kernel configuration.
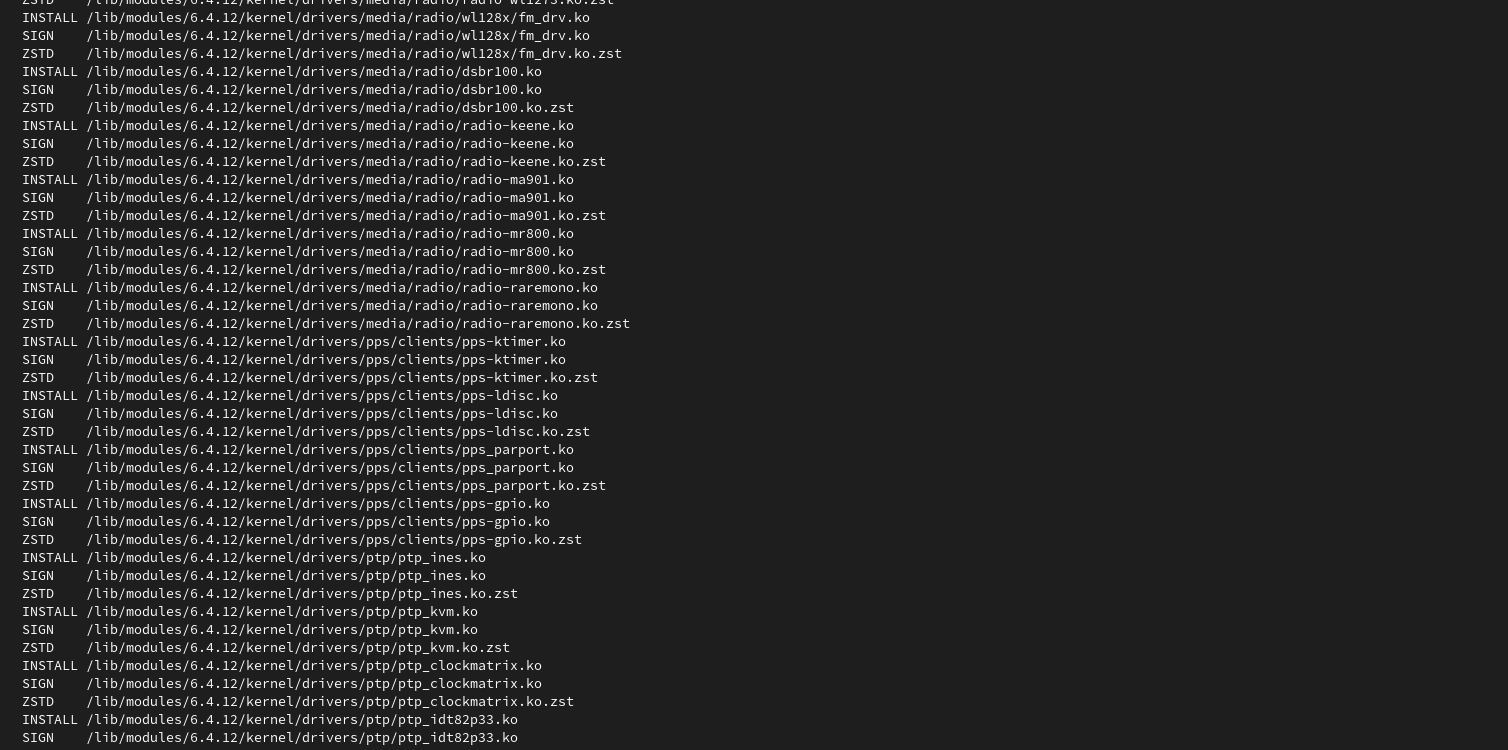
4. Install Kernel Modules#
Once your custom kernel is compiled, it’s crucial to install the associated kernel modules to ensure your system’s optimal functionality. Kernel modules are essential pieces of software that enable your operating system’s kernel to interact with various hardware components, file systems, and system functionalities. Installing these modules correctly is key to a smooth and well-functioning system.
The following command will install the kernel modules for your custom-built kernel:
sudo make ARCH=x86_64 modules_install
What does this command do?#
it performs the following tasks:
Compilation and Installation: It compiles the kernel modules that were built during the kernel compilation process and installs them onto your system.
Destination Directory: The modules are installed into the
/lib/modulesdirectory on your system. This directory is structured to accommodate various kernel versions and their associated modules.Kernel Version Subdirectory: Inside
/lib/modules, a subdirectory is created with the version number of your custom kernel. This ensures that modules for different kernel versions can coexist without conflicts.Module Files: Within the version-specific subdirectory, the individual kernel module files are placed. These files contain the code needed to support various hardware and software functionalities.
By installing the kernel modules to the appropriate location, you ensure that your custom kernel can effectively manage your hardware devices, file systems, and other crucial system components. This step is essential for the overall stability and performance of your custom-built Linux kernel.
Step 8: Copy Your Own Kernel to /boot/#
After successfully compiling your custom Linux kernel, it’s essential to make it accessible by copying the necessary files to the /boot directory. This ensures that your system recognizes and can boot from the new kernel.
Use the following command to copy the compiled kernel image (bzImage) to the /boot directory:
- The
-vflag is used to display detailed progress while copying.
sudo cp -v arch/x86_64/boot/bzImage /boot/vmlinuz-custom
Step 9: Create and Configure Kernel Initramfs#
The initramfs (initial RAM file system) is a temporary file system that’s loaded into memory during the boot process before the root file system is available. It contains essential drivers, binaries, and scripts required for the system to identify and access the root file system. Customizing and generating your own initramfs can be crucial, especially if you’re making changes to your kernel.
1. Duplicate and Modify the Preset File#
To start customizing your initramfs, begin by duplicating the existing linux.preset file for your custom kernel. This file is used by mkinitcpio to generate the initramfs. Run the following command to make a copy:
sudo cp /etc/mkinitcpio.d/linux.preset /etc/mkinitcpio.d/linux-custom.preset
2. Open the Newly Created linux-custom.preset#
Open the newly created linux-custom.preset file using a text editor of your choice. Within this file, you’ll need to make specific modifications to adapt it for your custom kernel. Locate the relevant lines and adjust them as follows:
...
ALL_kver="/boot/vmlinuz-linux-custom"
...
default_image="/boot/initramfs-linux-custom.img"
...
fallback_image="/boot/initramfs-linux-custom-fallback.img"
For clarity, here’s how the modified section might appear:
# mkinitcpio preset file for the 'linux-custom' package

#ALL_config="/etc/mkinitcpio.conf"
ALL_kver="/boot/vmlinuz-linux-custom"
ALL_microcode=(/boot/*-ucode.img)

PRESETS=('default' 'fallback')

#default_config="/etc/mkinitcpio.conf"
default_image="/boot/initramfs-linux-custom.img"
#default_uki="/efi/EFI/Linux/arch-linux.efi"
#default_options="--splash /usr/share/systemd/bootctl/splash-arch.bmp"

#fallback_config="/etc/mkinitcpio.conf"
fallback_image="/boot/initramfs-linux-custom-fallback.img"
#fallback_uki="/efi/EFI/Linux/arch-linux-fallback.efi"
fallback_options="-S autodetect"
Adjust these values according to your kernel version and naming conventions.
3. Generate the Custom Initramfs#
Finally, generate the custom initramfs using the modified preset file:
sudo mkinitcpio -p linux-custom
This command will build the initramfs based on your custom configuration.
By creating and configuring your own initramfs, you ensure that essential components required for the boot process are tailored to your custom kernel. This step further enhances the compatibility and stability of your customized Linux kernel configuration.
Step 10: Create a Boot Loader Configuration#
You’ve done the hard work, and now it’s time to ensure your custom kernel is properly loaded during boot. This involves creating a boot loader configuration file. If you’re using systemd-boot, follow these steps:
1. Edit Boot Loader Configuration#
Use your favorite text editor to create or modify your boot loader’s configuration file. In the case of systemd-boot, the configuration file is typically located at /boot/loader/entries/arch-custom.conf:
sudo nano /boot/loader/entries/arch-custom.conf
2. Add Configuration#
Insert the following lines into the configuration file to define your custom kernel:
title Arch Linux Custom
linux /vmlinuz-linux-custom
initrd /initramfs-linux-custom.img

options root=/dev/sda2 quiet ro
3. Save and Exit#
Save the file and exit the text editor.
4. Update Boot Loader#
Updating your boot loader configuration is a crucial step to ensure that your newly compiled custom kernel is recognized and can be booted. While this step is usually necessary, there’s a tip that might save you some effort.
In many cases, boot loaders like systemd-boot automatically detect new kernel entries and update the boot menu accordingly. This means that after copying your custom kernel to the /boot directory, you might not need to manually update the boot loader configuration. The boot loader should automatically include the new entry during the next boot.
However, if you’re using a boot loader that doesn’t automatically update its configuration, you can follow these steps to manually update it:
- Open a terminal and enter the following command to update your boot loader configuration:
sudo bootctl update
This command ensures that your boot loader is aware of the new kernel entry and includes it in the boot menu options.
Final Step: Reboot and Verify Your Custom Kernel#
Congratulations! You’ve successfully compiled and Installed your own custom Linux kernel. The process might have taken some time and effort, but now you have a tailored kernel that fits your system’s requirements. Let’s take the final steps to reboot your computer and ensure that your new custom kernel is up and running.
1. Reboot Your System#
To apply the changes and boot into your new custom kernel, issue the following command:
sudo reboot
Executing this command will initiate a system reboot, allowing you to select your custom kernel from the bootloader menu.
2. Verify the New Kernel#
Once your system has rebooted and you’ve selected your custom kernel from the bootloader, it’s time to verify that everything is in order. Open a terminal and enter the following command to check the version of your newly installed custom kernel:
uname -mrs
2.2 New Kernel Output#
You should see output similar to the following, indicating your new Linux kernel version:
Linux 6.4.12 x86_64
This confirms that your custom kernel is now successfully running on your Arch Linux system.
Deleting a Custom Kernel (If you need)#
While customizing your Linux system can be exciting, there may come a time when you need to clean up and remove certain components, such as a custom kernel. Whether you’re making space or simplifying your setup, deleting a custom kernel involves a few straightforward steps.
Why Remove a Custom Kernel?#
Custom kernels can be beneficial for fine-tuning your system’s performance, enabling specific features, or testing new functionalities. However, as your system evolves, you might find that you no longer need a particular custom kernel or want to revert to the default kernel provided by your Linux distribution. Removing a custom kernel can help streamline your system and free up disk space.
Step 1: Identify the Custom Kernel#
Before you proceed with deletion, identify the custom kernel you wish to remove. You’ll need to know its version number and any associated files.
ls -la /boot
Step 2: Boot into a Different Kernel#
To safely delete a custom kernel, it’s advisable to boot into a different kernel version. This ensures that the kernel you’re attempting to delete is not currently in use, reducing the risk of destabilizing your system.
Step 4: Remove Configuration Files#
In addition to cleaning up the kernel-related files, it’s important to remove the associated configuration files that were created during the installation of the custom kernel. This step ensures that your system no longer references the custom kernel. Here’s what you need to do:
Remove the Preset File:
Locate and remove the preset file associated with the custom kernel. This file is used by the
mkinitcpiotool to generate the initial RAM disk image. Open a terminal and enter the following command:sudo rm -v /etc/mkinitcpio.d/linux-custom.presetThis removes the configuration file used for creating the initramfs image for the custom kernel.
Remove the Boot Loader Entry:
If you added a custom boot loader entry for the custom kernel, you should remove it to prevent any reference to the kernel during the boot process. Run the following command to remove the boot loader entry file:
sudo rm -v /boot/loader/entries/linux-custom.confThis ensures that your boot loader menu no longer lists the custom kernel as an option.
By removing these configuration files, you’re ensuring that your system no longer retains any traces of the custom kernel. This step completes the process of removing the custom kernel from your system, freeing up resources and streamlining your setup.
Step 5: Remove Kernel Modules#
After deleting the kernel-related files, it’s important to remove the associated kernel modules from both /lib/modules and /usr/lib/modules. Kernel modules are essential components that extend the functionality of the Linux kernel. Removing the modules associated with the custom kernel ensures that no remnants are left behind. Here’s how to do it:
Remove Modules in
/lib/modules:Open a terminal and navigate to the
/lib/modulesdirectory:cd /lib/modulesList the directories in this location to find the directory associated with the custom kernel version:
lsRemove all files and directories within this directory:
sudo rm -rfv 6.4.12
Remove Modules in
/usr/lib/modules:Similarly, navigate to the
/usr/lib/modulesdirectory:cd /usr/lib/modulesList the directories to find the one corresponding to the custom kernel version:
lsDelete all files and directories within this directory:
sudo rm -rfv 6.4.12
By removing kernel modules from both /lib/modules and /usr/lib/modules, you’re ensuring a clean removal of the custom kernel from your system. This step completes the process, freeing up resources and streamlining your setup.
Understanding /lib/modules and /usr/lib/modules:
The directories /lib/modules and /usr/lib/modules serve the same purpose but have different locations in the file system.
/lib/modules: This directory contains the kernel modules that are essential for the system’s boot process. Modules in this directory are required early in the boot process when the root file system may not yet be fully available. Placing them here ensures that they are accessible even during the early stages of boot./usr/lib/modules: This directory contains additional kernel modules that are not essential for the initial boot process but may be needed later during system operation. Modules in this directory are typically loaded on-demand as needed by the system.
The reason for having these separate directories is to optimize the boot process. By keeping only the essential modules in /lib/modules, the boot process can be faster and more reliable. Additional modules are stored in /usr/lib/modules to keep the initial boot as lean as possible.
When you remove a custom kernel, it’s a good practice to check both locations (/lib/modules and /usr/lib/modules) to ensure that all associated modules are removed. make sure no remnants of the custom kernel remain on your system.
Step 6: Update the Bootloader (Optional)#
Updating the bootloader configuration is an optional step, but it’s recommended for ensuring that your system accurately reflects the changes you’ve made. While modern bootloaders like bootctl are often smart enough to automatically detect changes to configuration files, manually updating the bootloader provides an extra layer of assurance. Here’s how you can do it:
Note: Modern bootloaders are designed to automatically detect changes to boot entries and configuration files. However, manually updating the bootloader provides additional peace of mind.
Update the Bootloader:
Open a terminal and enter the following command to update the bootloader configuration:
sudo bootctl update
By performing this optional step, you’re making sure that your bootloader’s configuration is up to date and accurately reflects the removal of the custom kernel. This helps maintain the overall integrity of your system’s boot process.
Conclusion#
Congratulations! You’ve successfully navigated the process of building a custom Linux kernel on your Arch Linux system. From acquiring the source code to configuring, compiling, and integrating the kernel into your boot loader, you’ve gained an in-depth understanding of the kernel’s inner workings. This knowledge not only empowers you to fine-tune your system’s performance and features but also deepens your grasp of the foundational components of your operating system.
Having crafted your own Linux kernel, you now possess the ability to tailor your system’s behavior according to your preferences and requirements. The advantages of a customized kernel configuration are at your fingertips, enabling you to harness the full potential of your hardware.
When it comes to removing a custom kernel from your Linux system, a cautious approach is key to maintaining system stability. By meticulously identifying the kernel, booting into an alternate version, and systematically removing associated files, you can safely eliminate a custom kernel. This method ensures that your system retains its functionality and efficiency, reflecting your current needs and choices.