
Introduction#
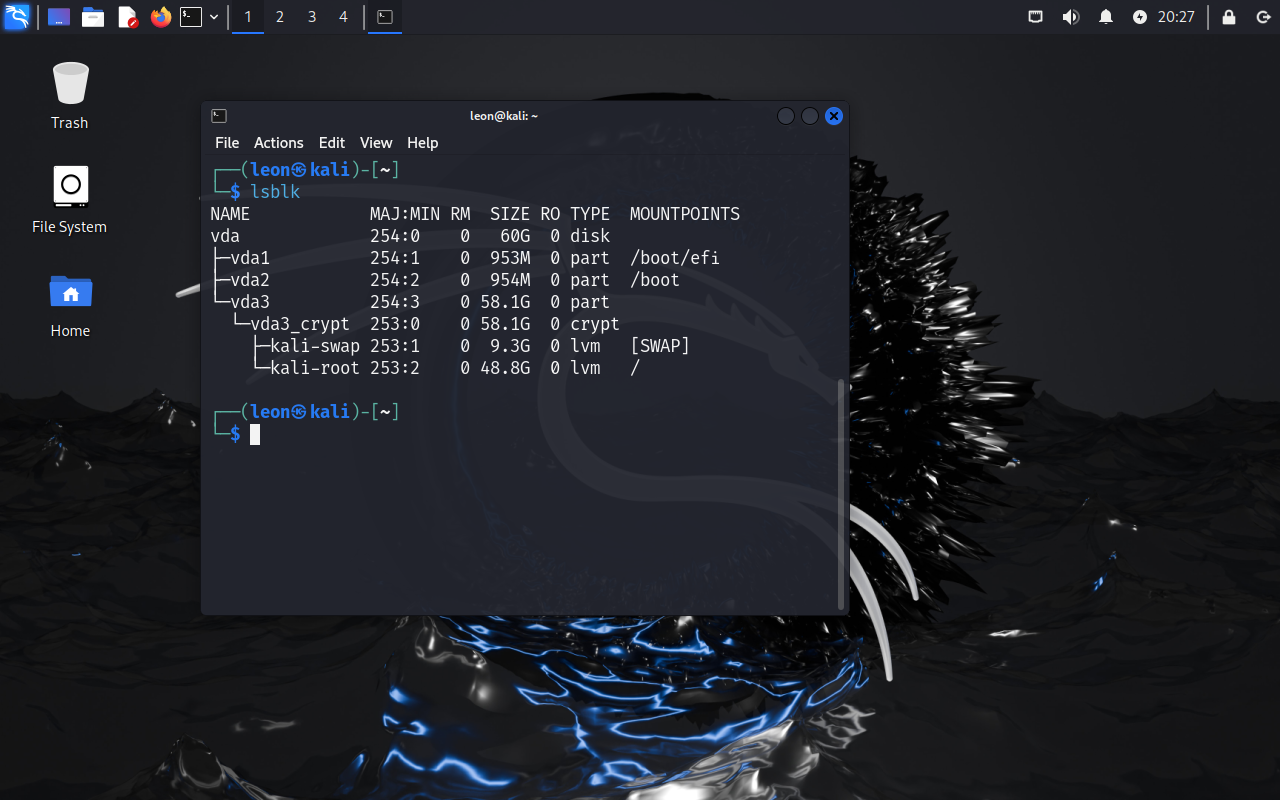
This article is a comprehensive guide to installing Kali Linux with manual LVM partitioning. The steps outlined here will help you set up Kali Linux with Logical Volume Management (LVM) and LUKS encryption. Here are the results when you successfully complete the installation:

What the fuck?#
Before I started this guide, I was unsure whether I should write it or not. I mean, using a GUI to install is really easy and doesn’t seem to need a guide. But when I tried to install it, I found the Debian installer to be quite challenging and hard to use. Like Linus Torvalds said, The Debian installer is really hard to use.
So, I decided to write this guide to help you install Kali Linux with LVM and LUKS encryption.
I did a lot of research on Kali Linux LVM installation with LUKS, but unfortunately, I couldn’t find any articles or guides available online. I had to figure it out on my own. Two weeks ago, I spent a day and a half trying to figure out how to install Kali Linux with LVM and LUKS. Now, I’m sharing my experience with you! :)
Let’s Get Started#
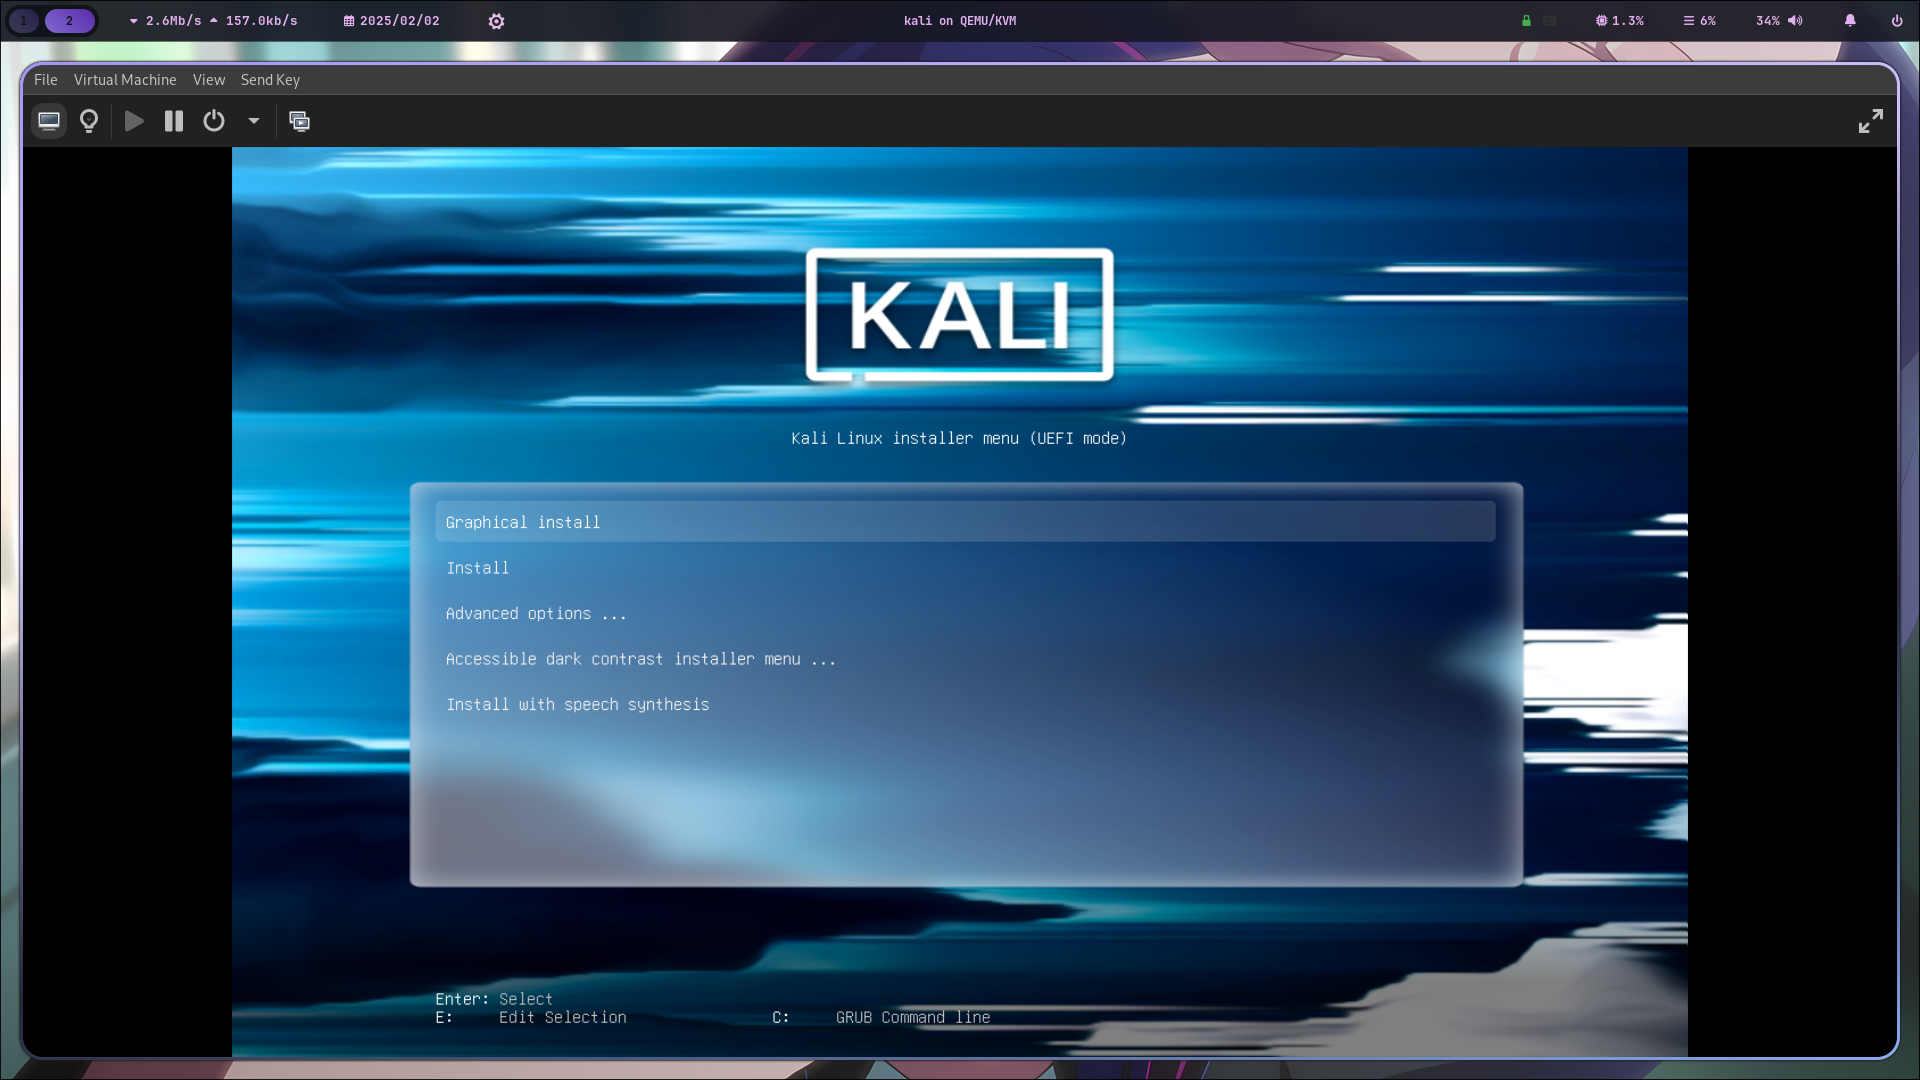
I won’t go through the very basics, like how to download the ISO, create a bootable USB, boot from the USB, or set up a new VM. I’ll start from the boot screen of the Kali Linux installer, and this will be my starting point.
1. Basic Setup#
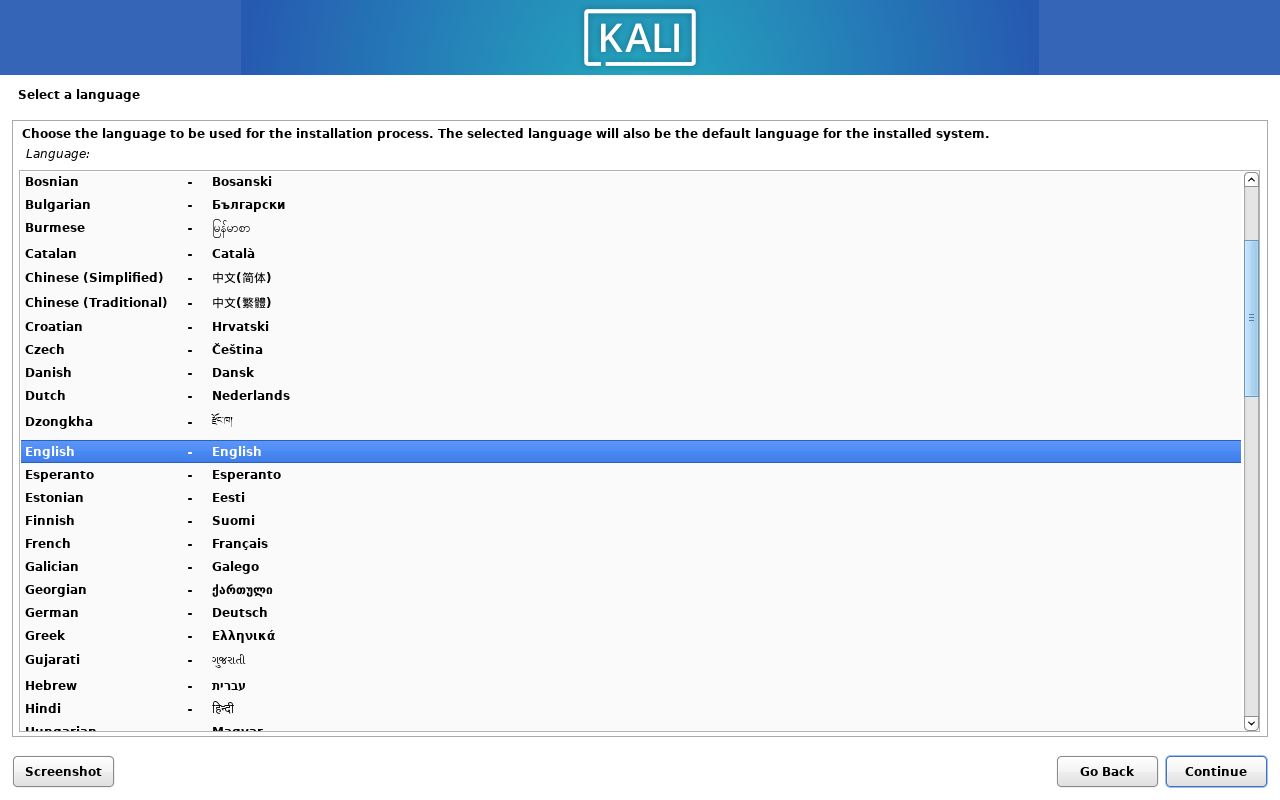
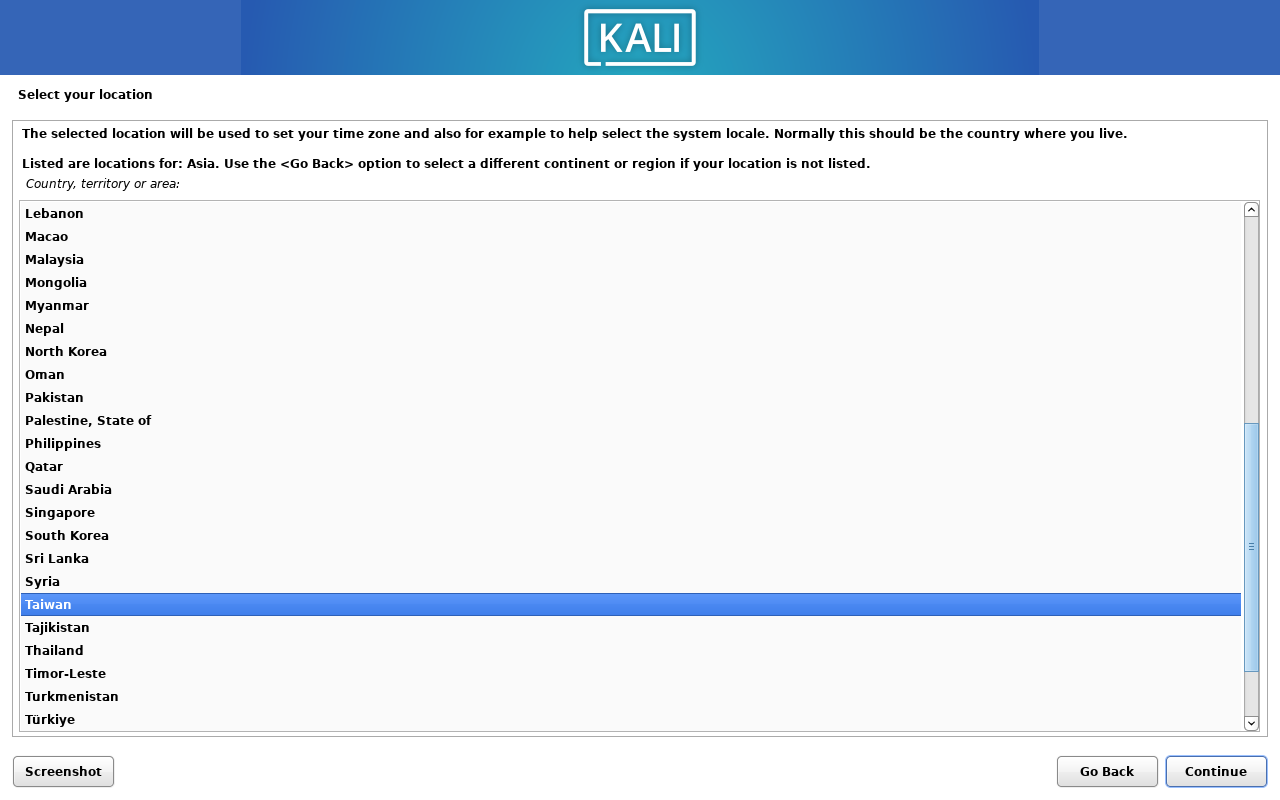
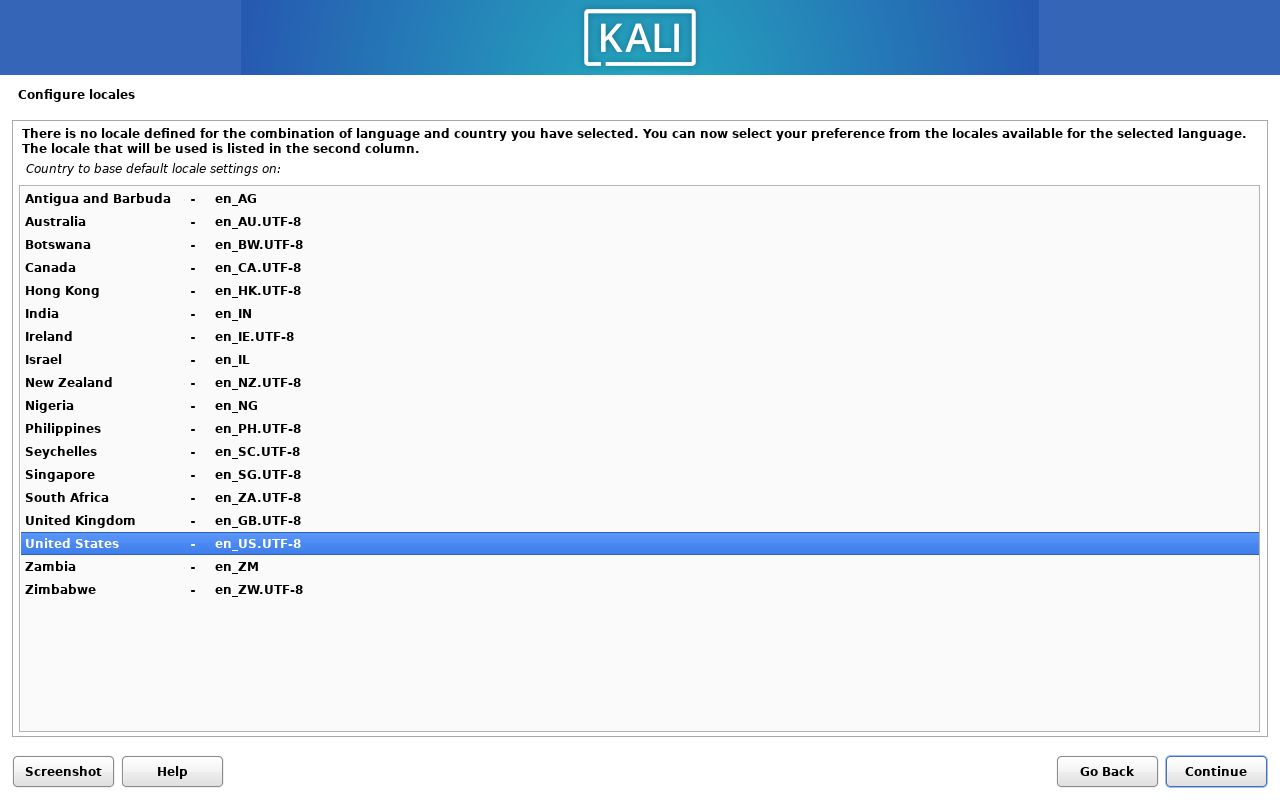
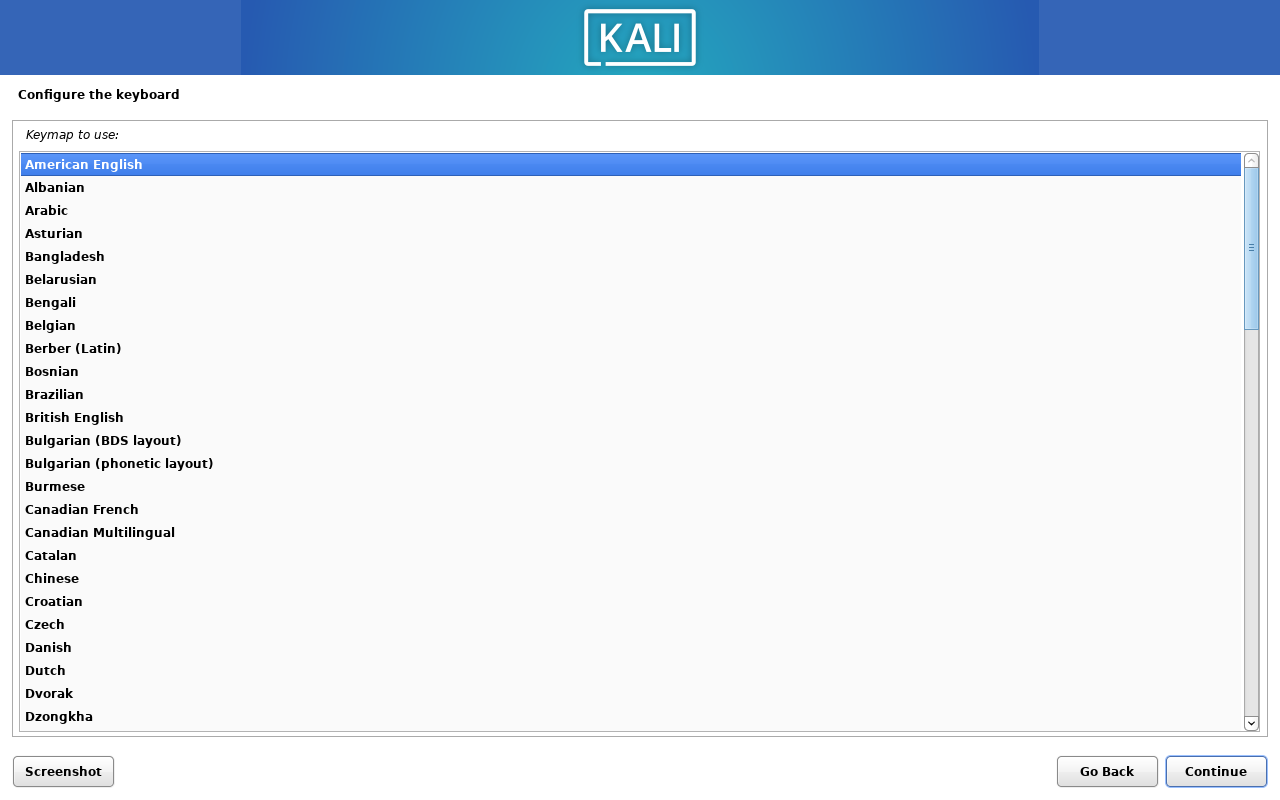
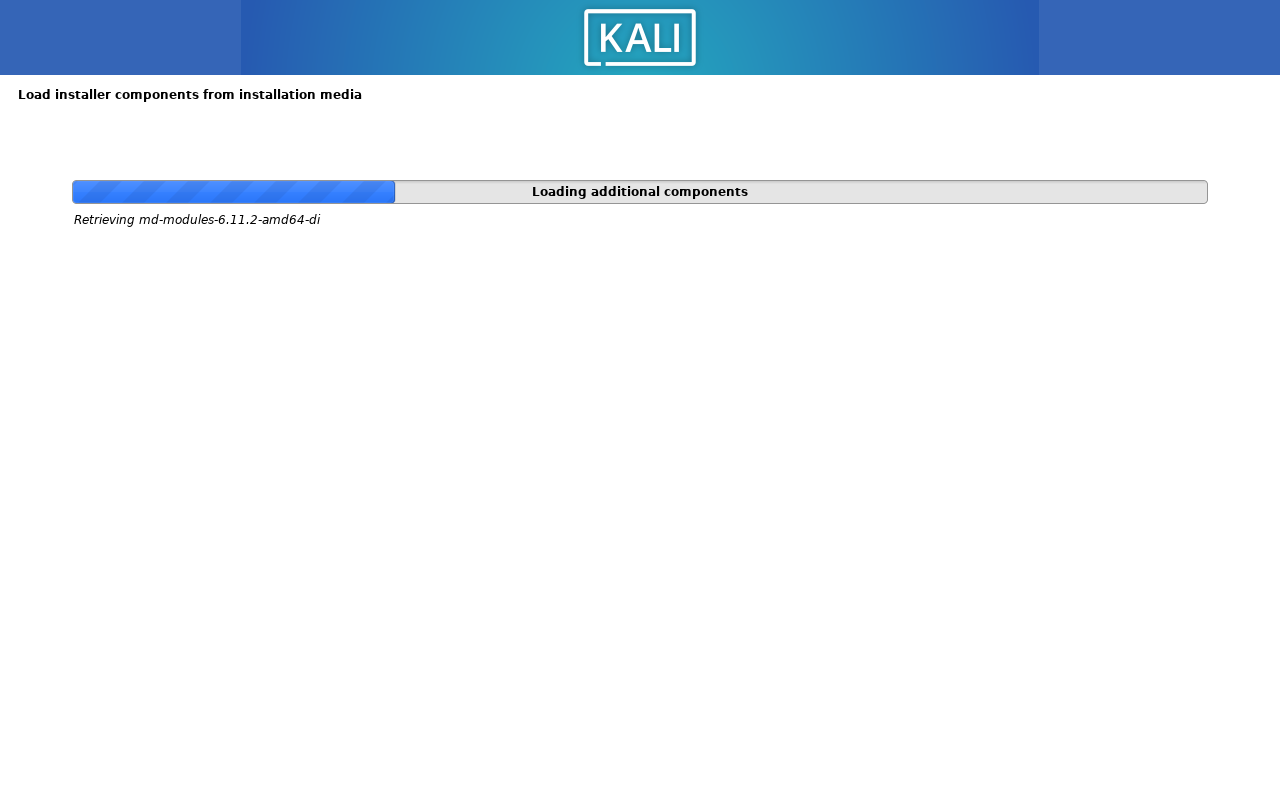
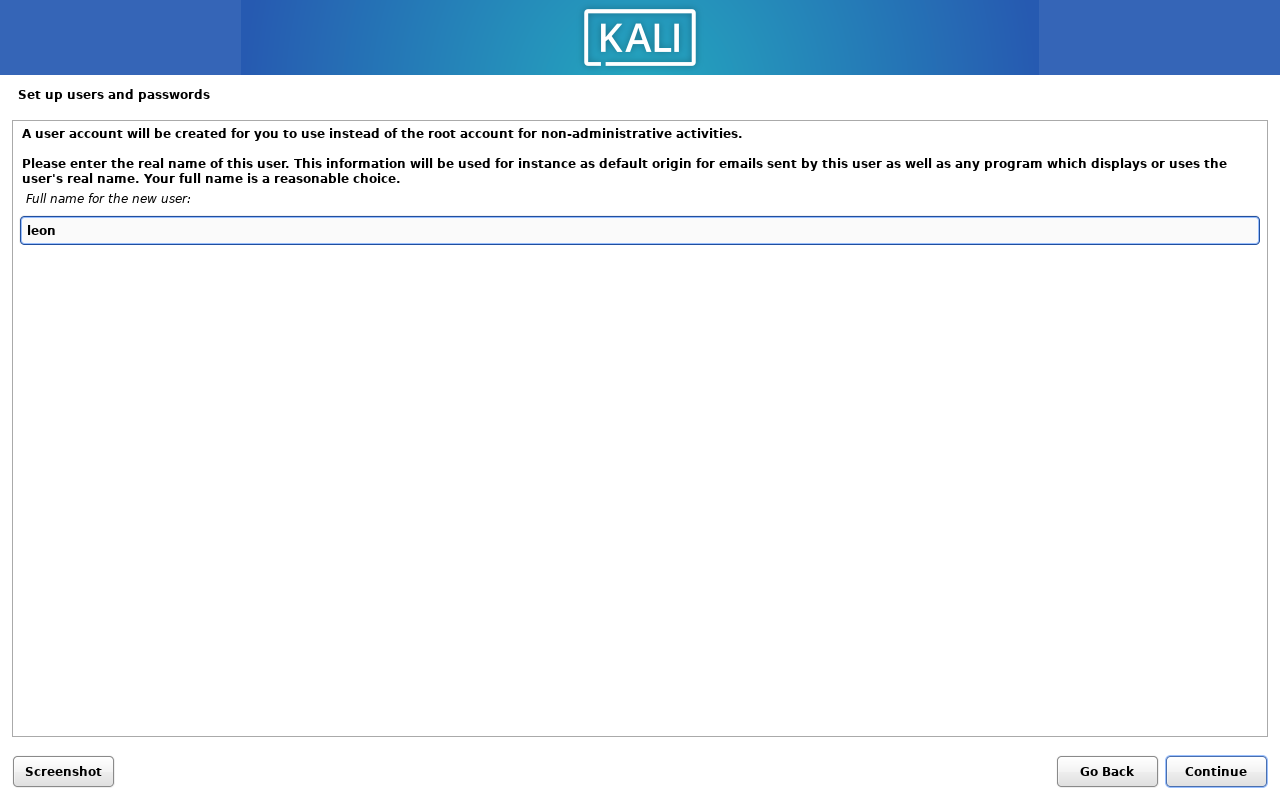
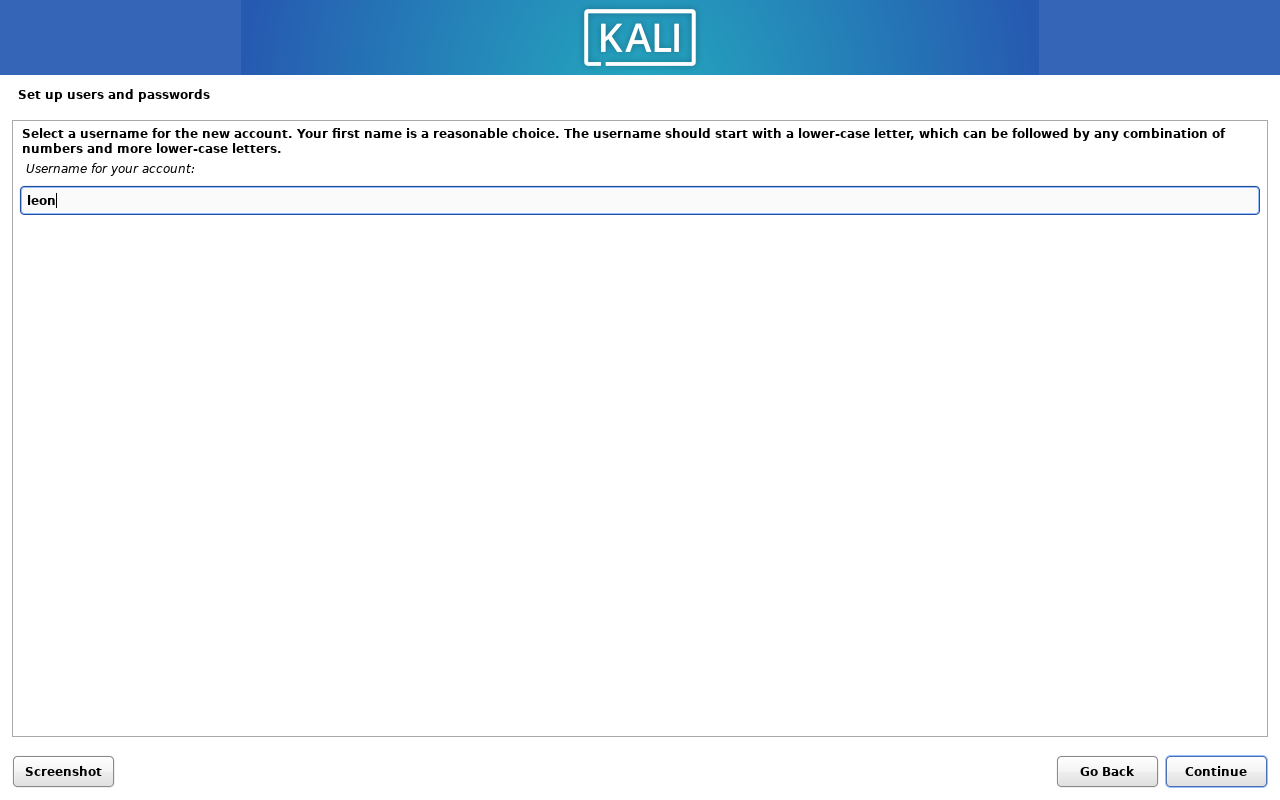
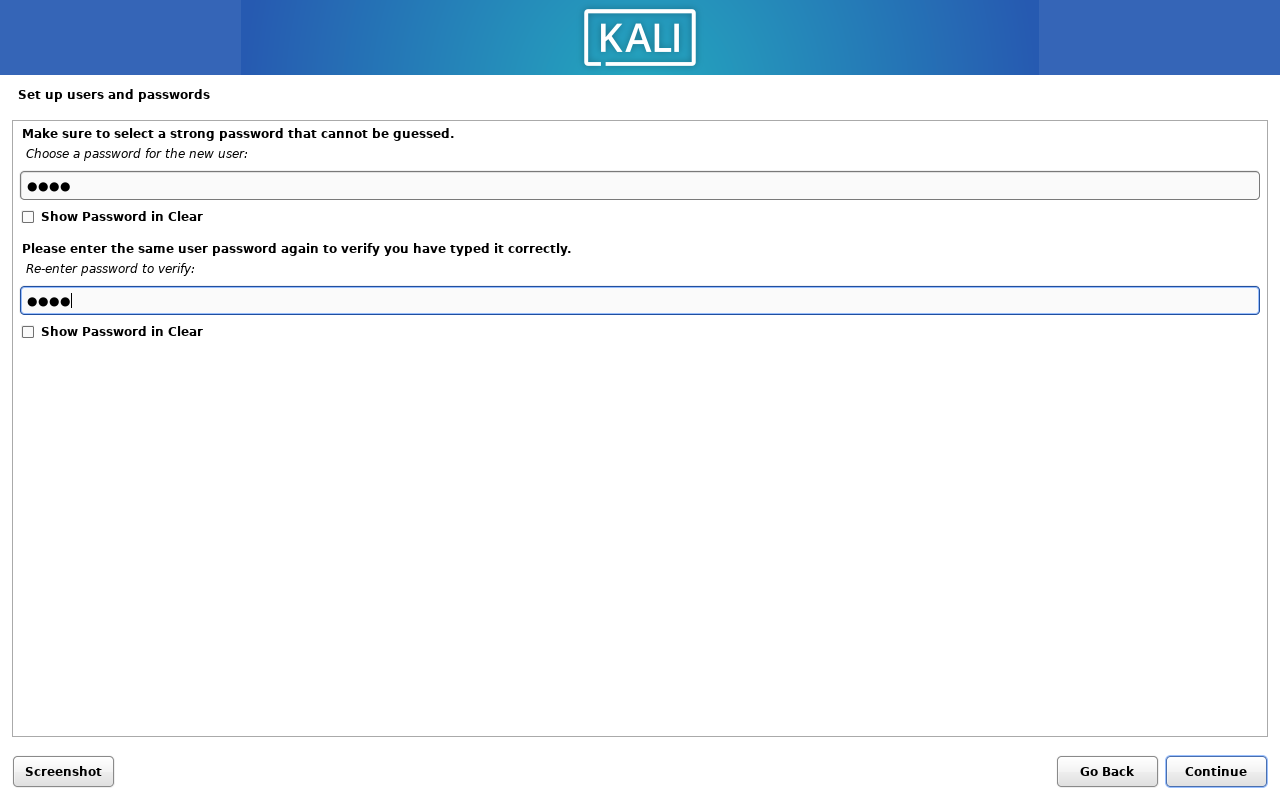
The basic setup should be pretty easy—just follow the instructions on the screen. You’ll need to configure a few things like the language, location, keyboard layout, network settings, user account, and password. Just take it step by step, and you’ll be good to go!

2. Partition Disks and Configure LVM#
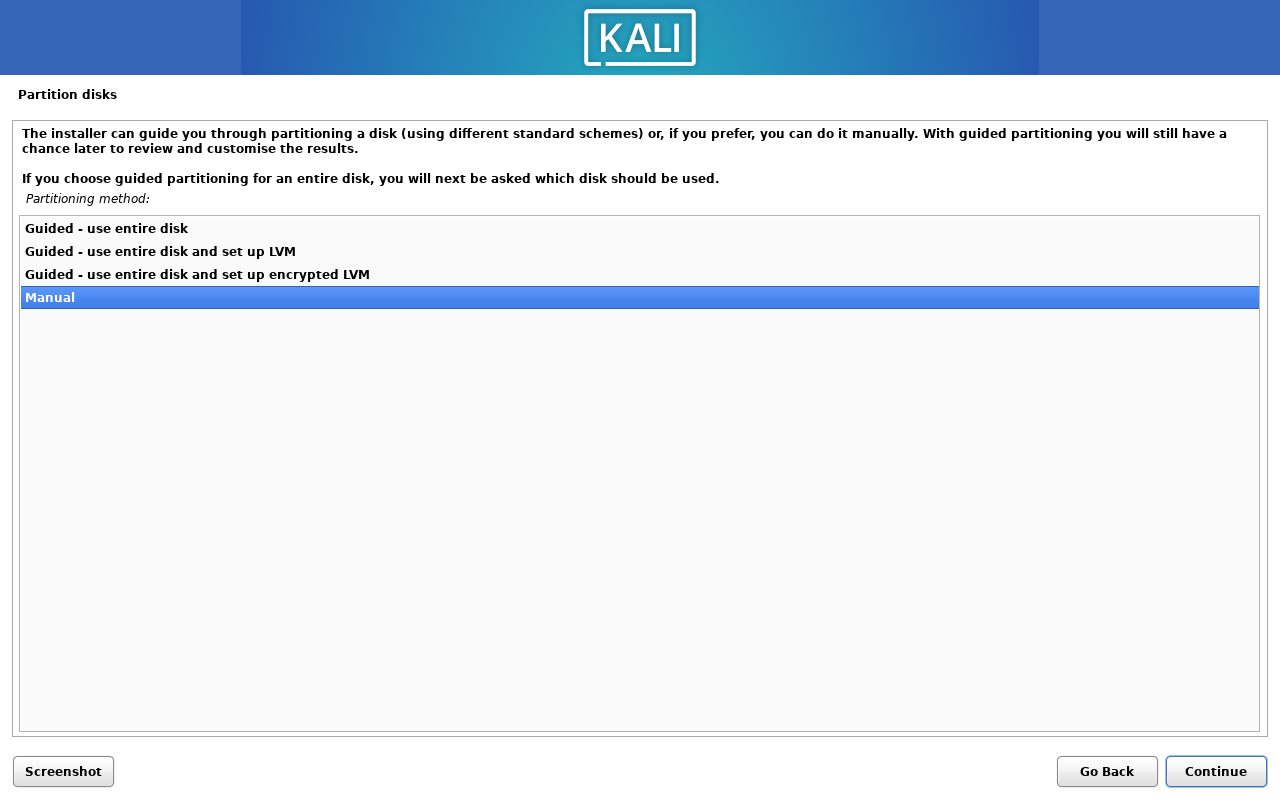
This is the most important part of this guide. I will show you a very detailed step to create an LVM partition with LUKS encryption. Let’s start by clicking on Manual on the partition disks screen.
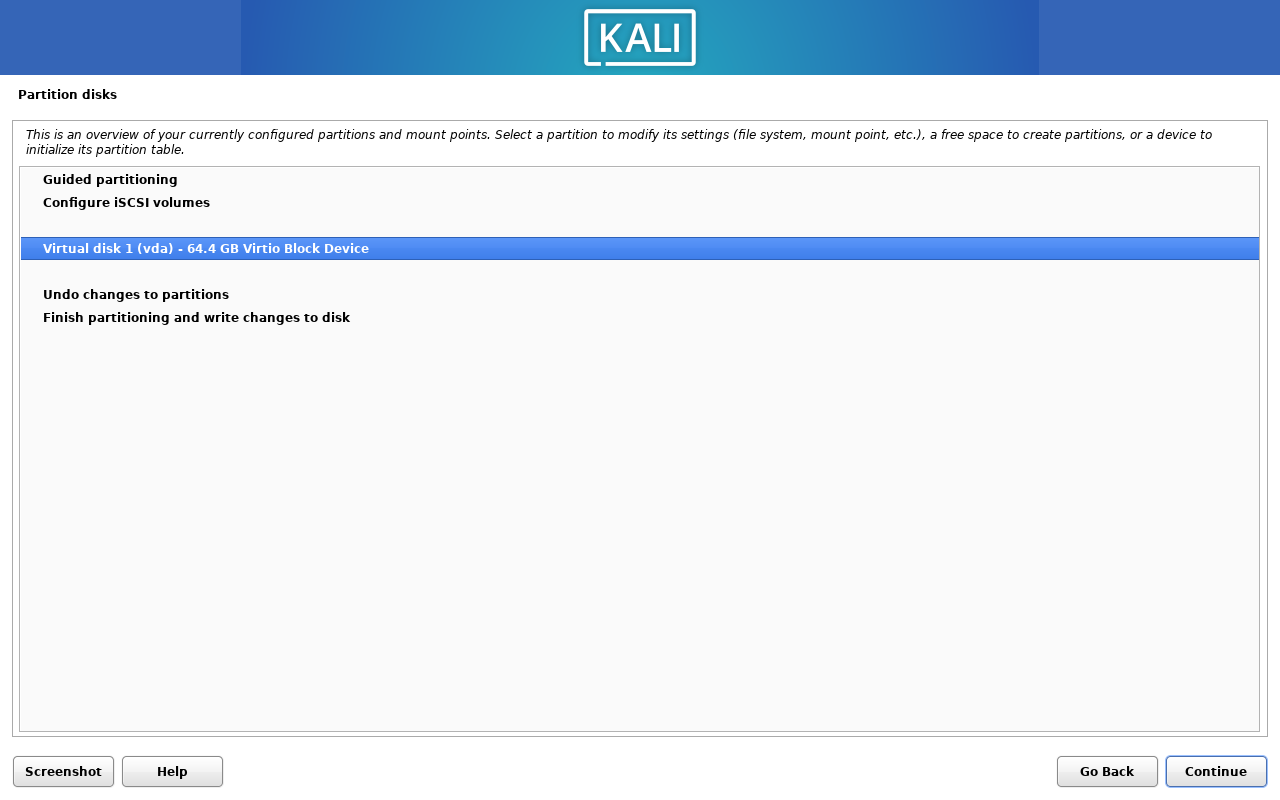
2.1. GPT Partition Table Creation#
Since I was using a KVM virtual machine, this is the initial partition choice screen. Go ahead and click on Virtual disk 1 (vda).
Now, it will ask you if you want to create a new empty partition table on this device. Click on Yes.

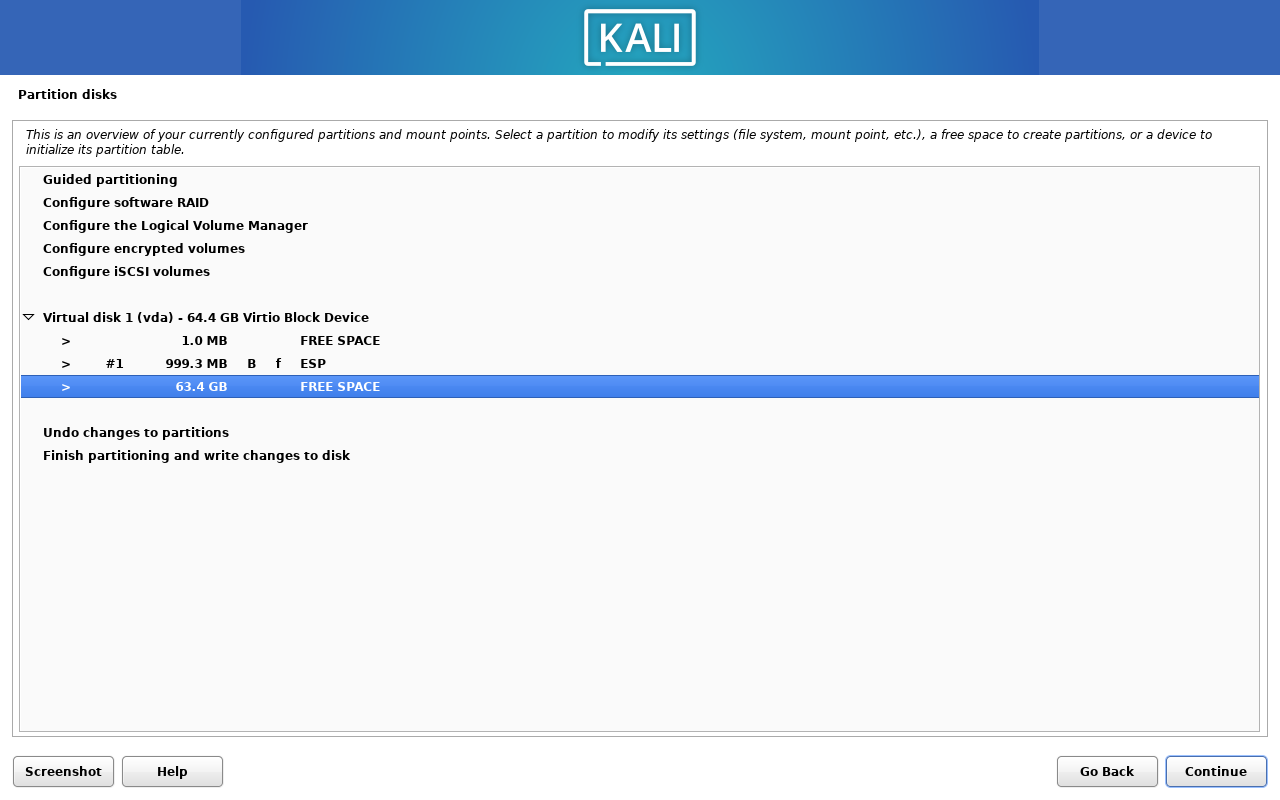
You should now see a new free space partition table created on the device. Click on this free space, and we will proceed to create a new partition.
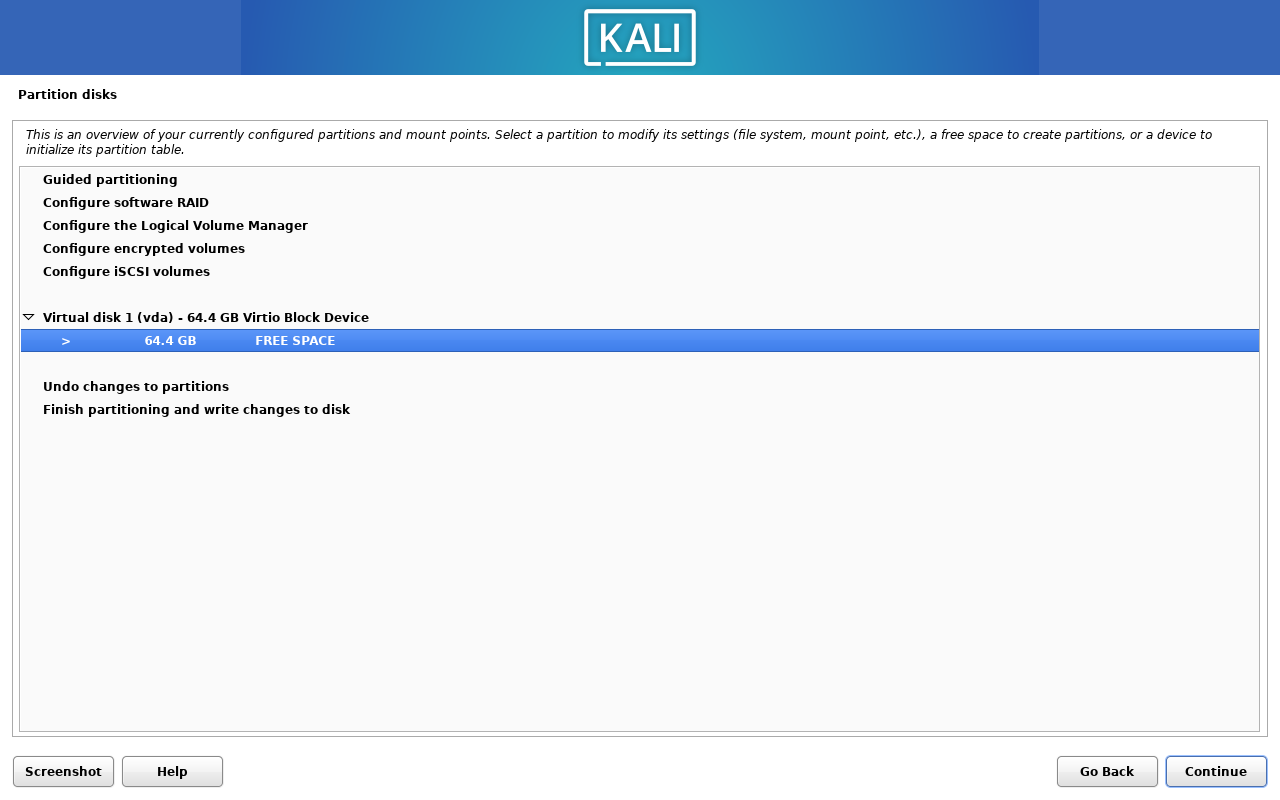
2.2. Create ESP Partition#
Kali Linux, also known as the Debian installer, requires an EFI System Partition (ESP) to be created. Unlike Arch, where the EFI and boot partitions can be combined, we will create a separate partition for the EFI. Click on Create a new partition and use the following settings:

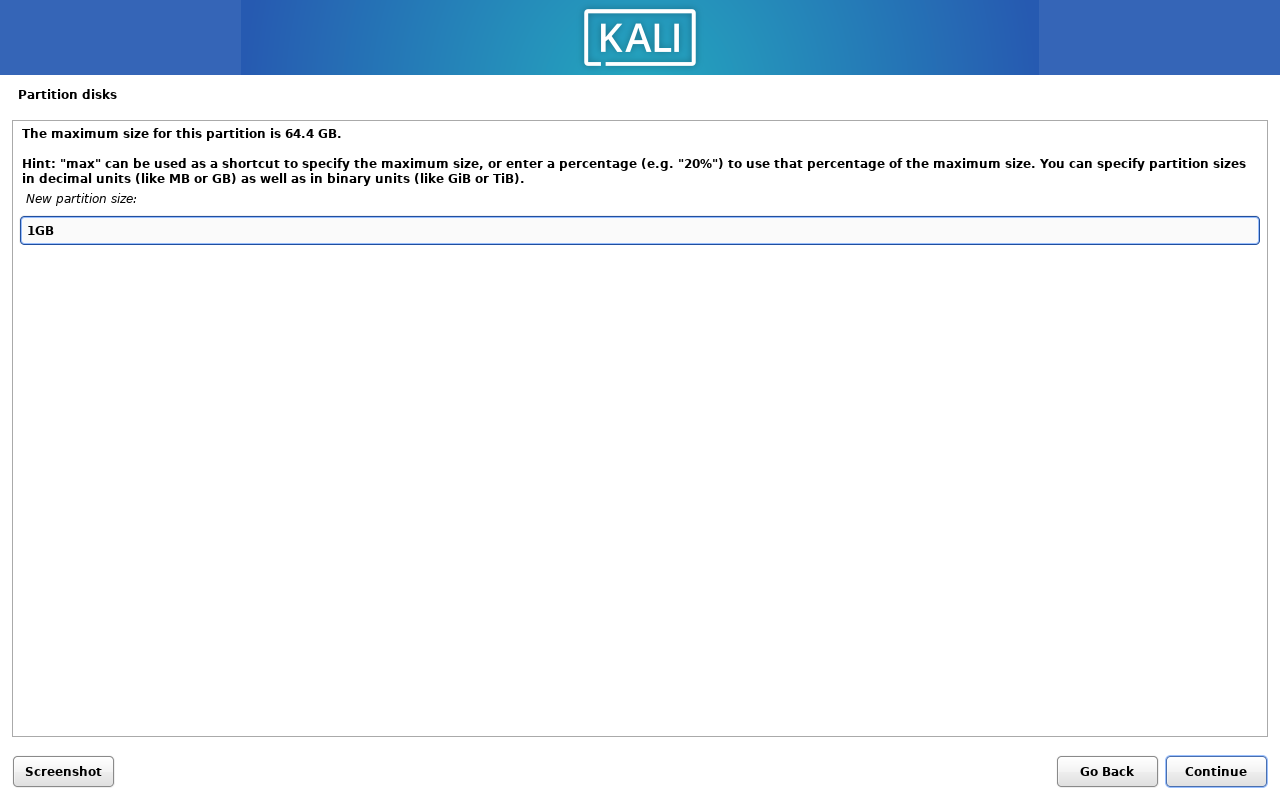
For safety, I will create a 1G partition for the ESP partition, type in 1GB and click on Continue.
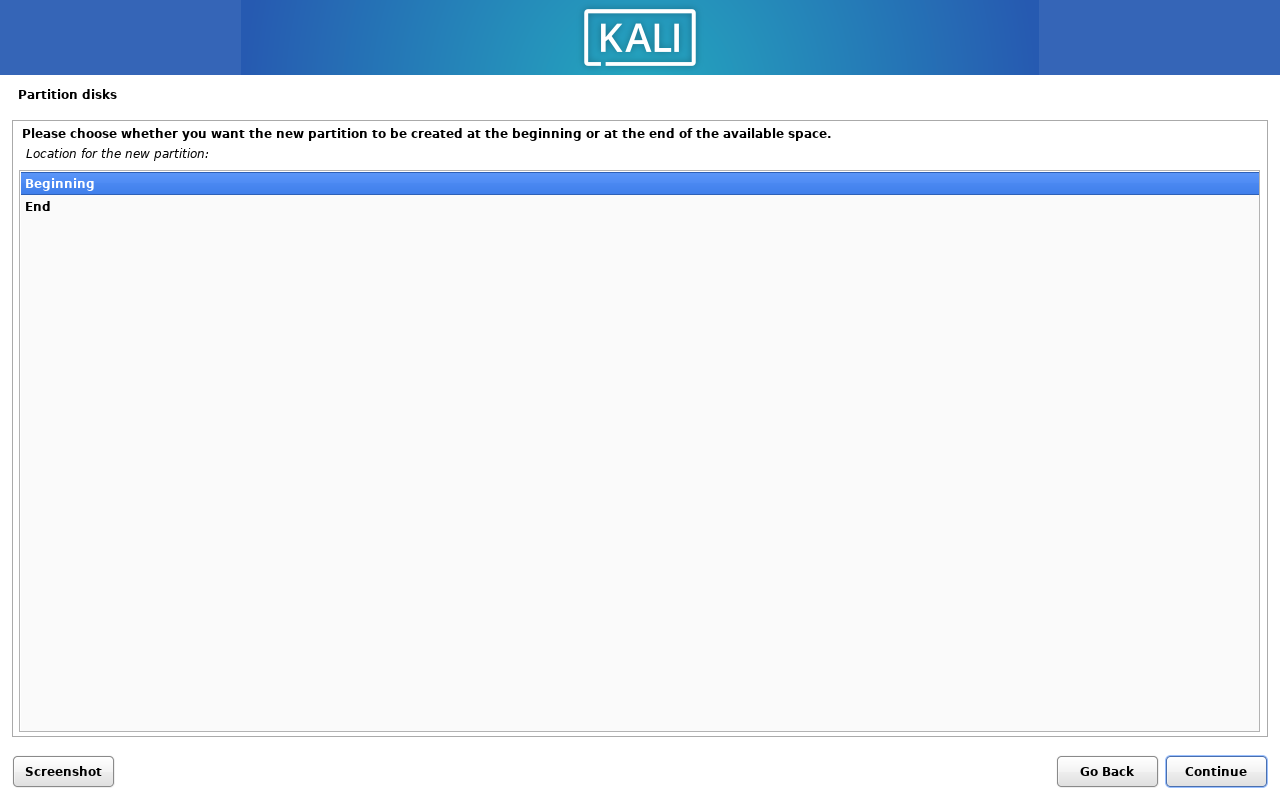
for the Beginning or End of this space, choose Beginning and click on Continue.
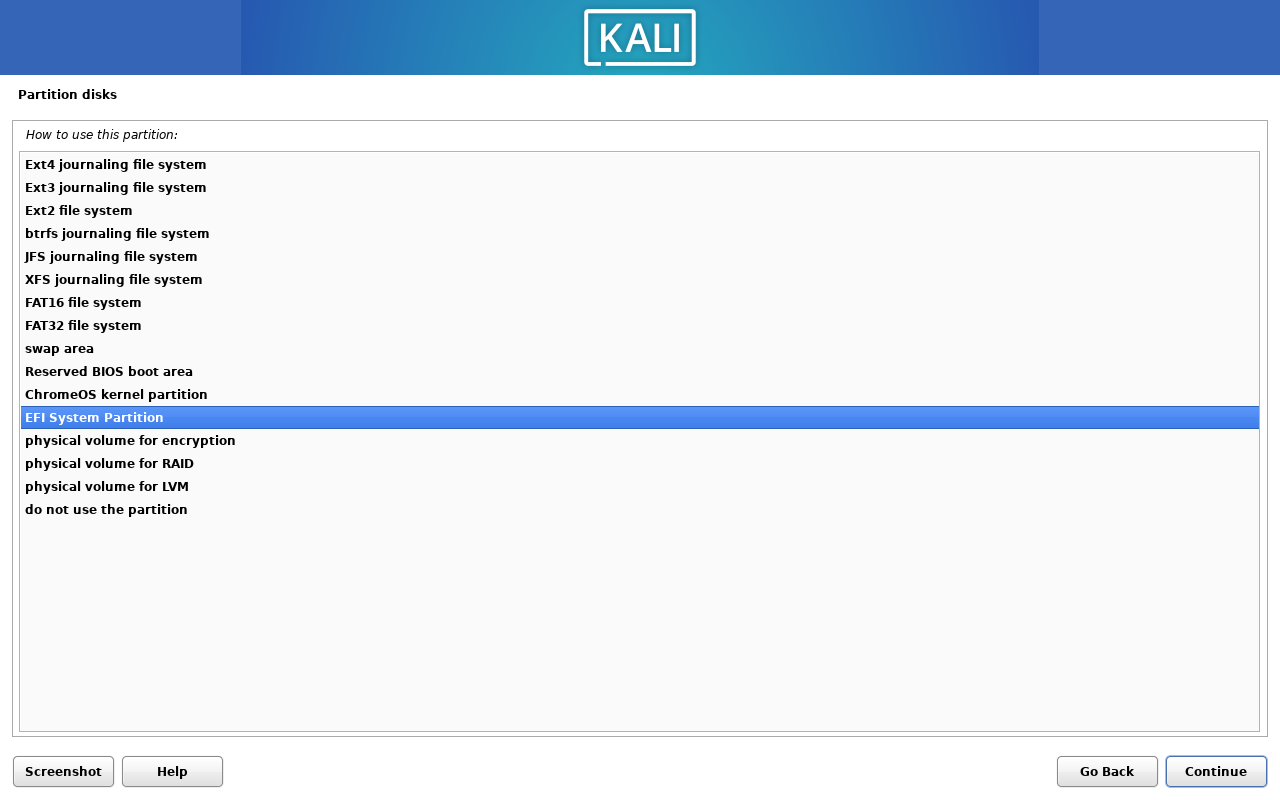
Now, we need to choose the partition type, by clicking on Use as.
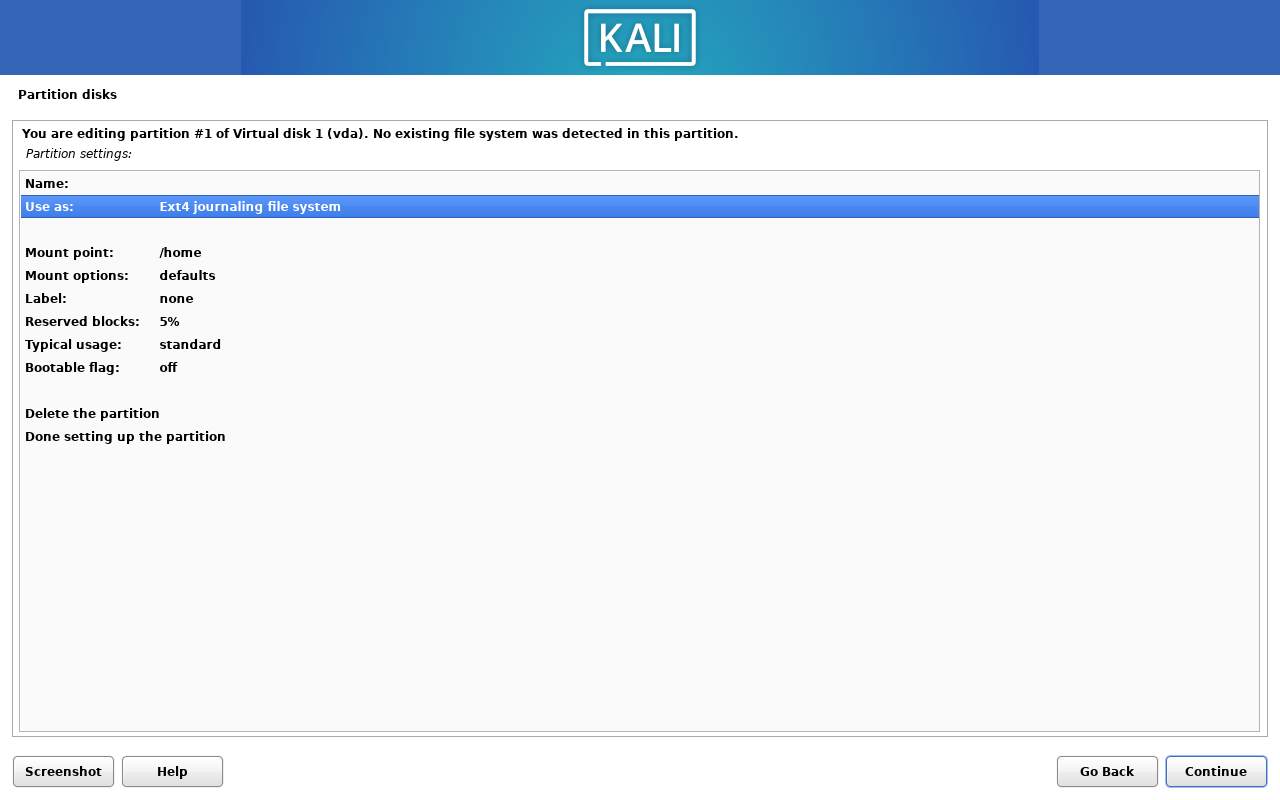
Choose EFI System Partition and click on Done setting up the partition.
And now, click on Done setting up the partition to finish the ESP partition creation.
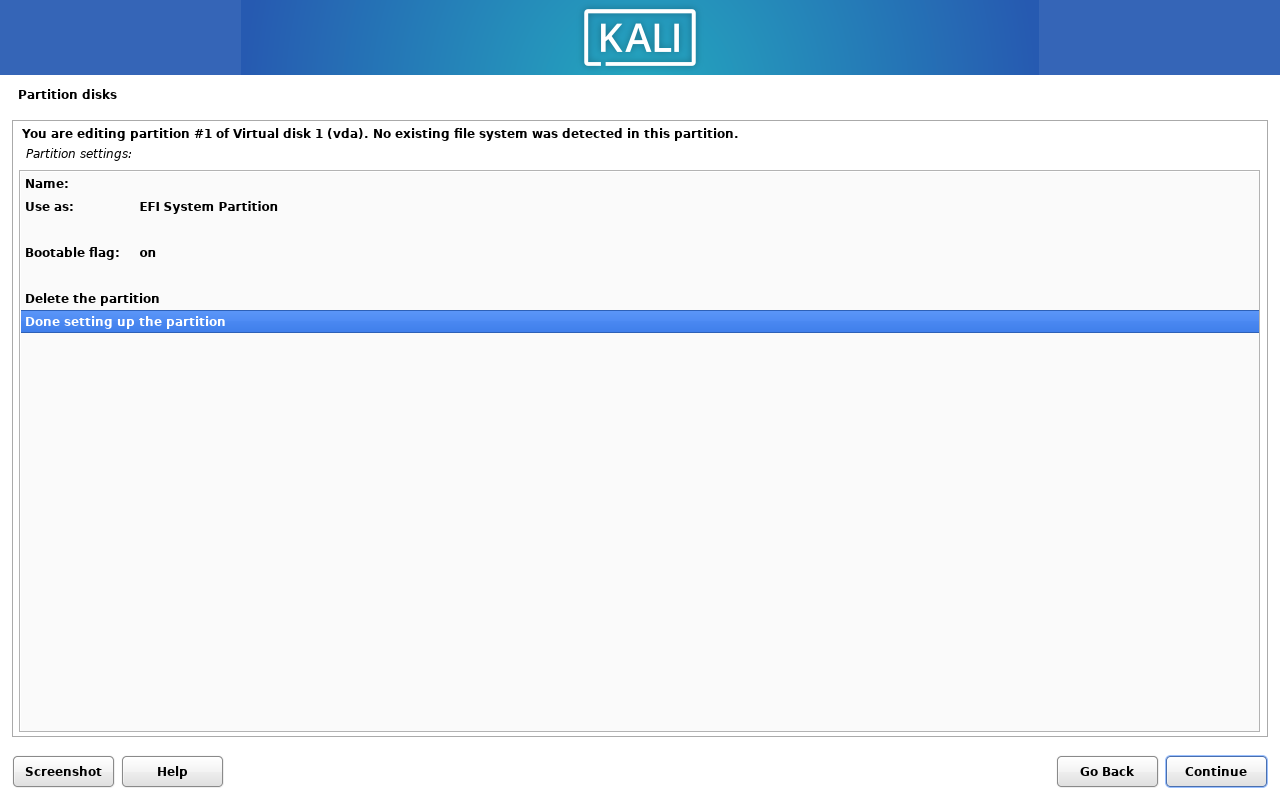
And you should see the new ESP partition created!

2.3. Create BOOT Partition#
Now, we will create a new partition for the boot partition. Click on FREE SPACE.
Click on Create a new partition.

Same as the ESP partition, I will create a 1G partition for the BOOT partition, type in 1GB and click on Continue.

Choose Beginning and click on Continue.

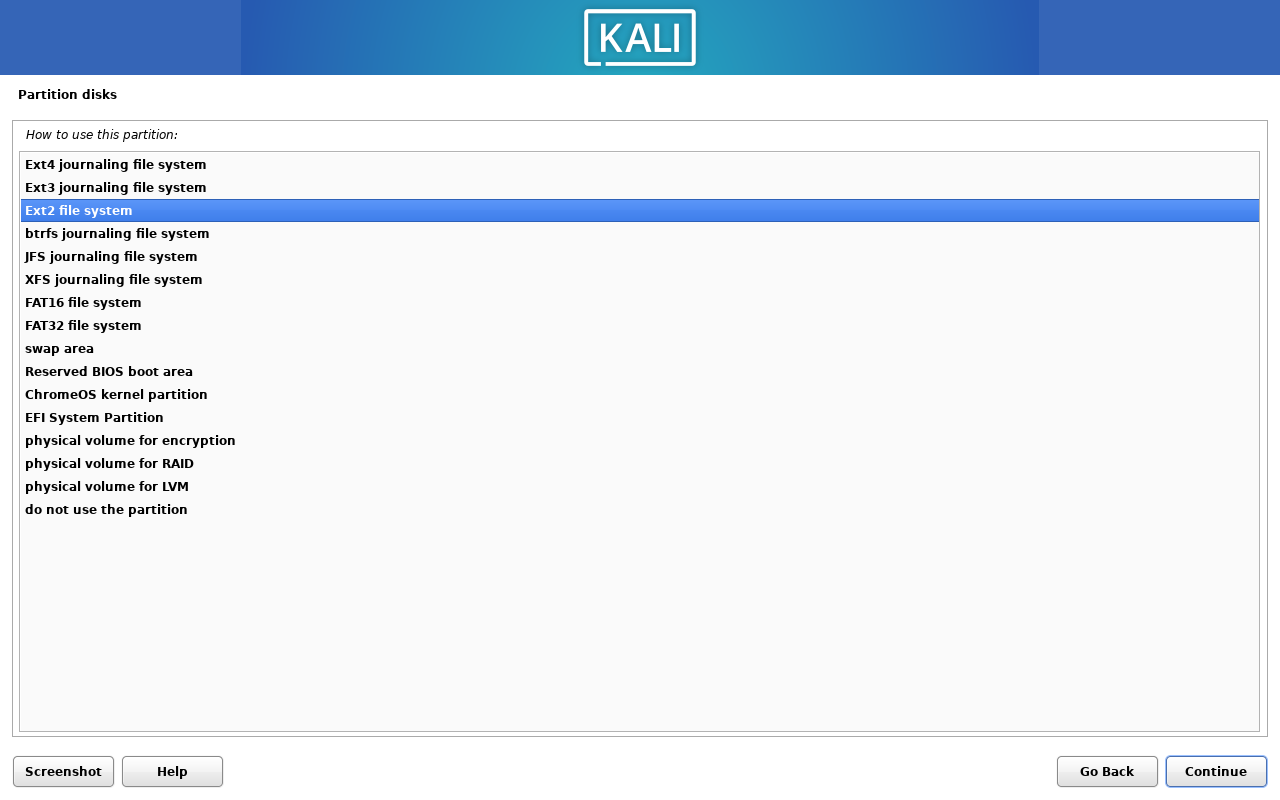
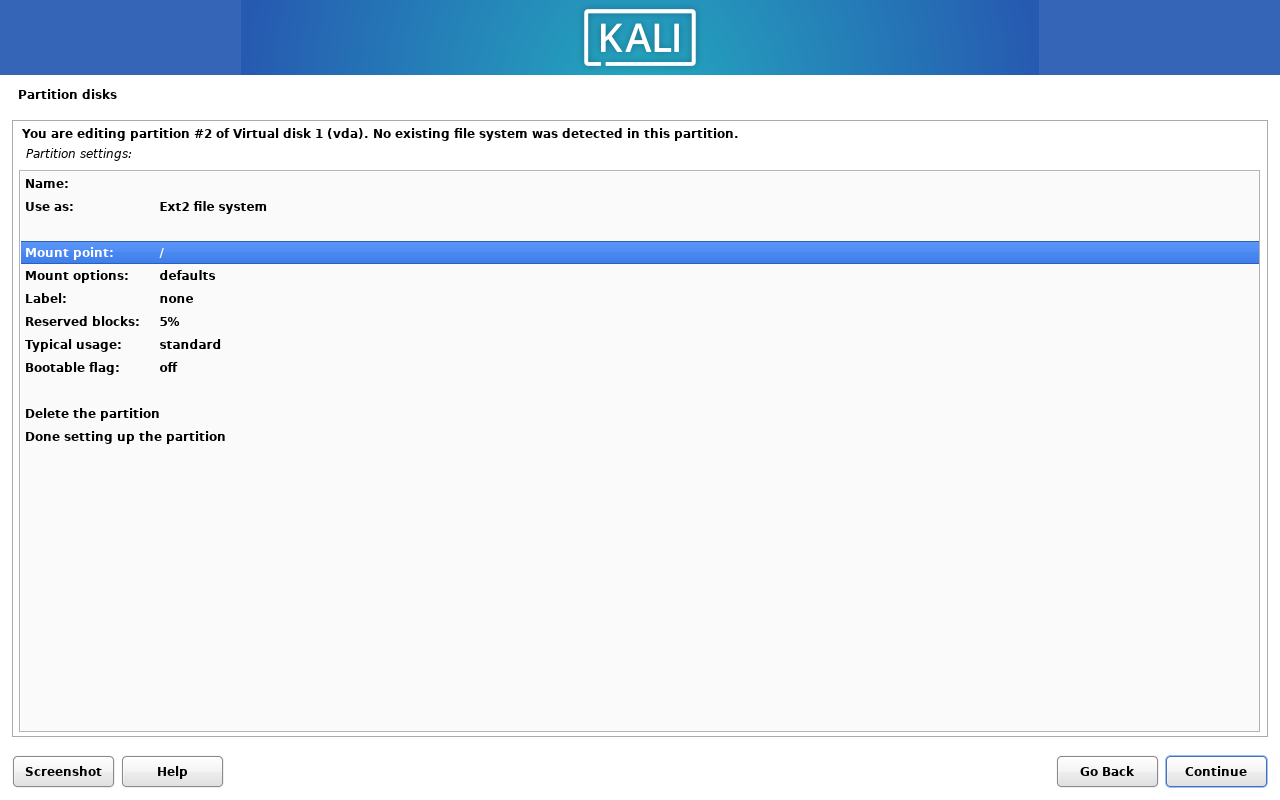
Again, click on Use as, but this time choose Ext2 file system as filesystem.
Now, setting the mount point, click on Mount point.
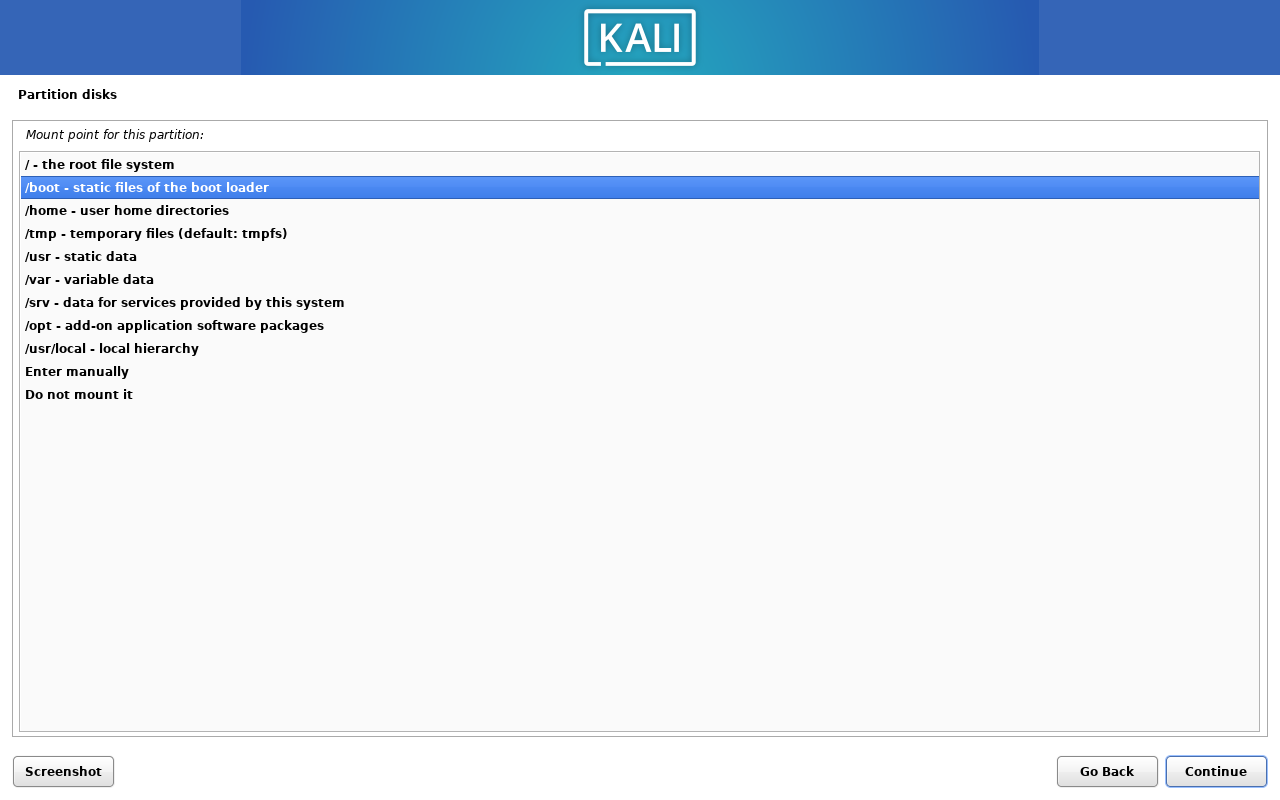
Choose /boot as the mount point.
Click on Done setting up the partition to finish the BOOT partition creation.
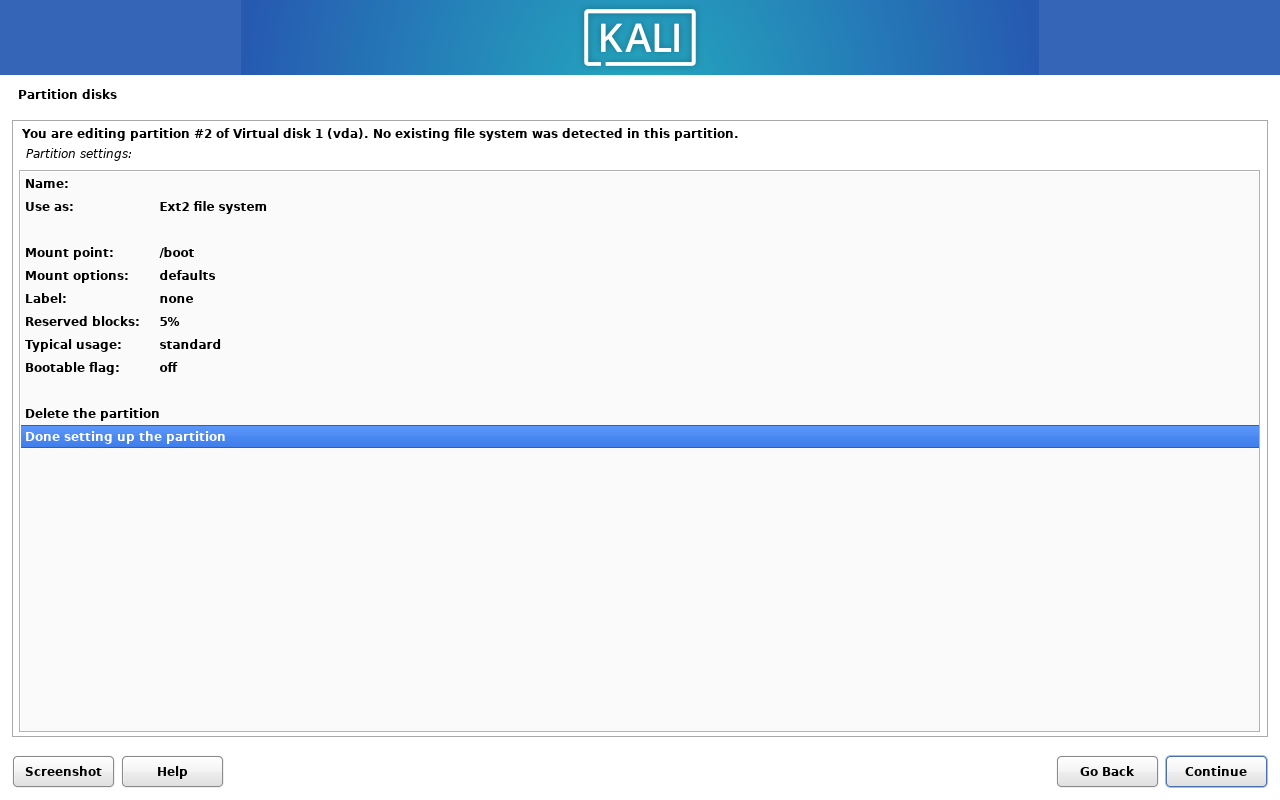
And you should see the new BOOT partition created! Keep going, you are almost there!

2.4. Create LVM Partition#
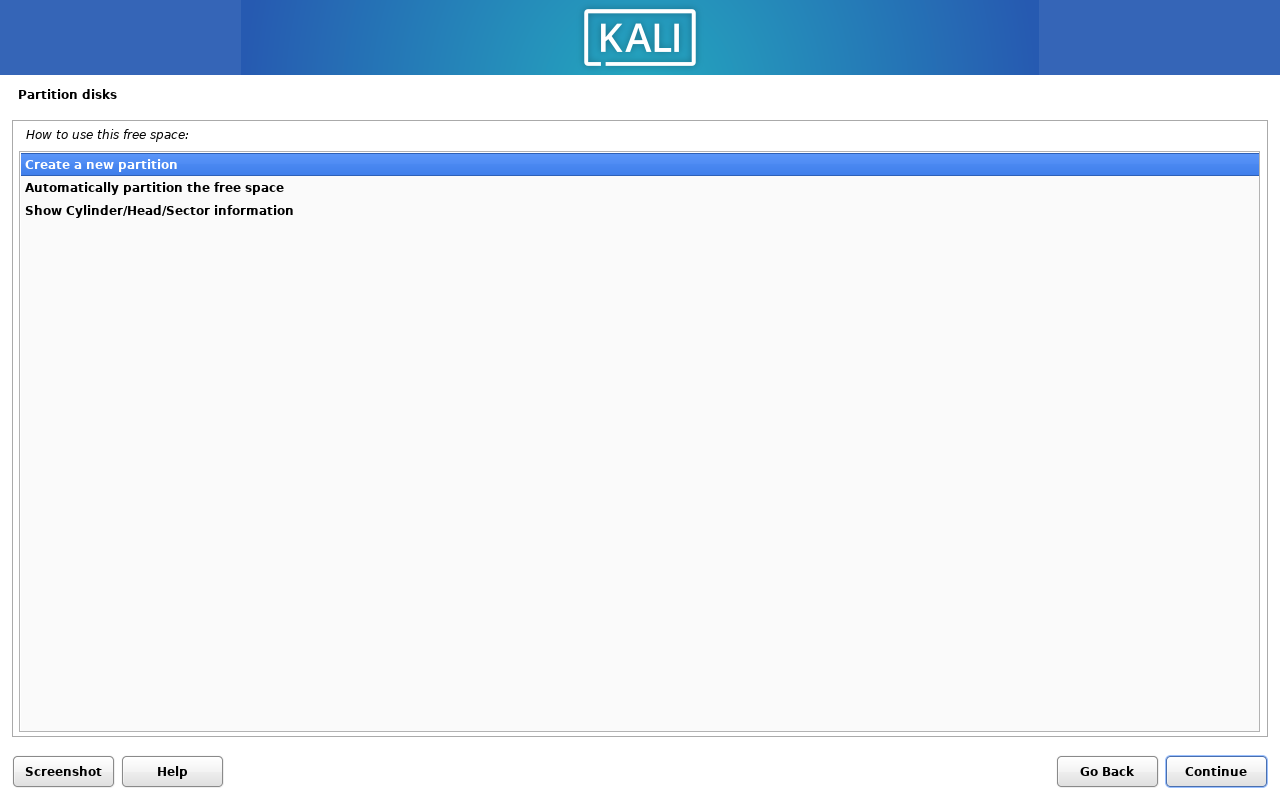
This is the most anonying part of setting up LVM partition. Click on Create a new partition.
Click Create a new partition again.
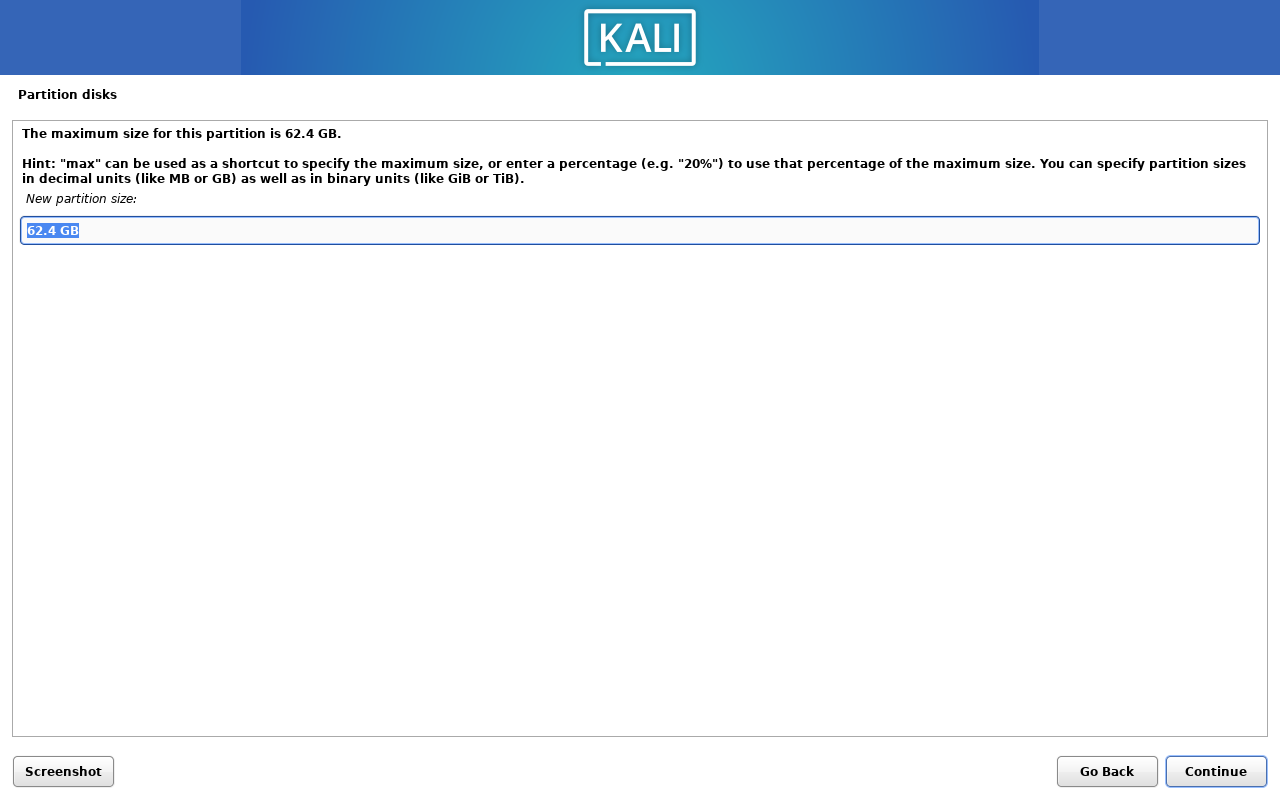
As the example, i use 100% of the remaining space for the LVM partition, type in 100% or press the Enter key as the default value and click on Continue.
NOT GOOD IMAGE: The image of this should be label as the
Use as.
Click on Use as.
Choose physical volume for lvm.
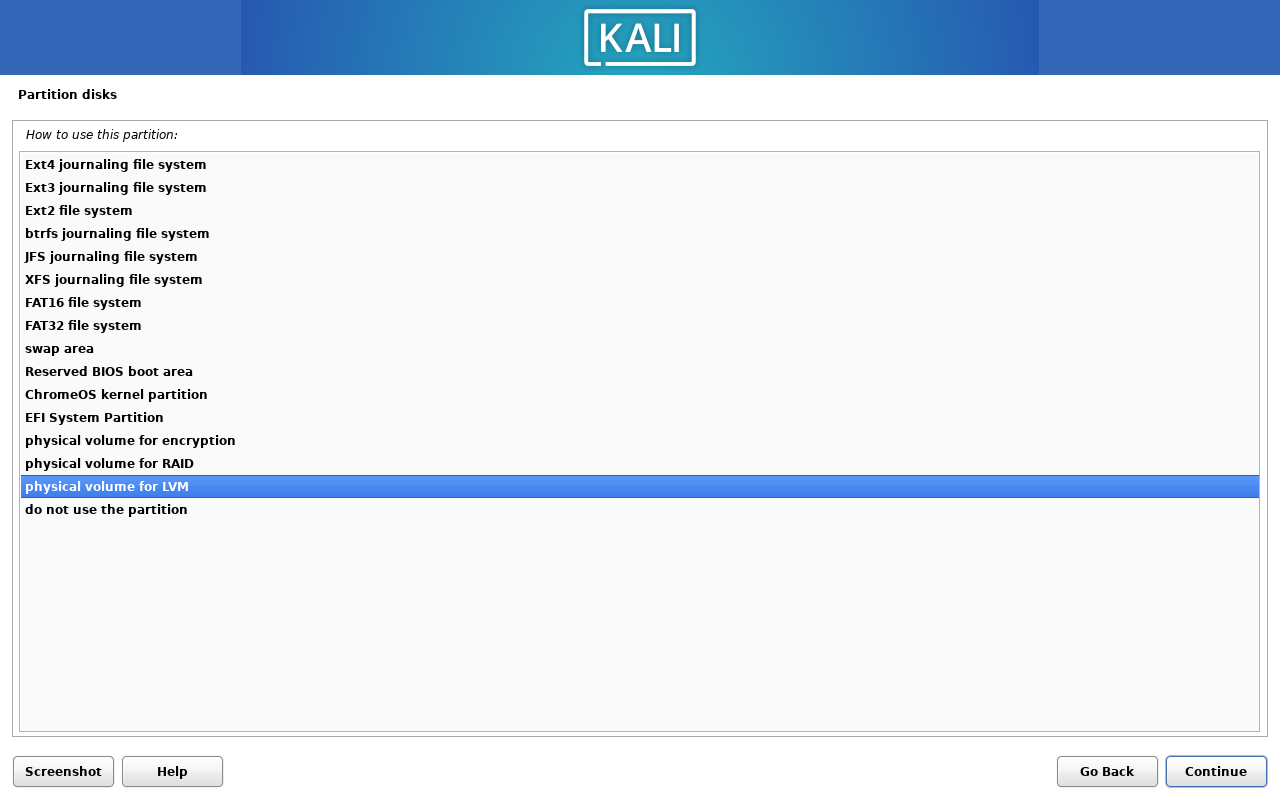
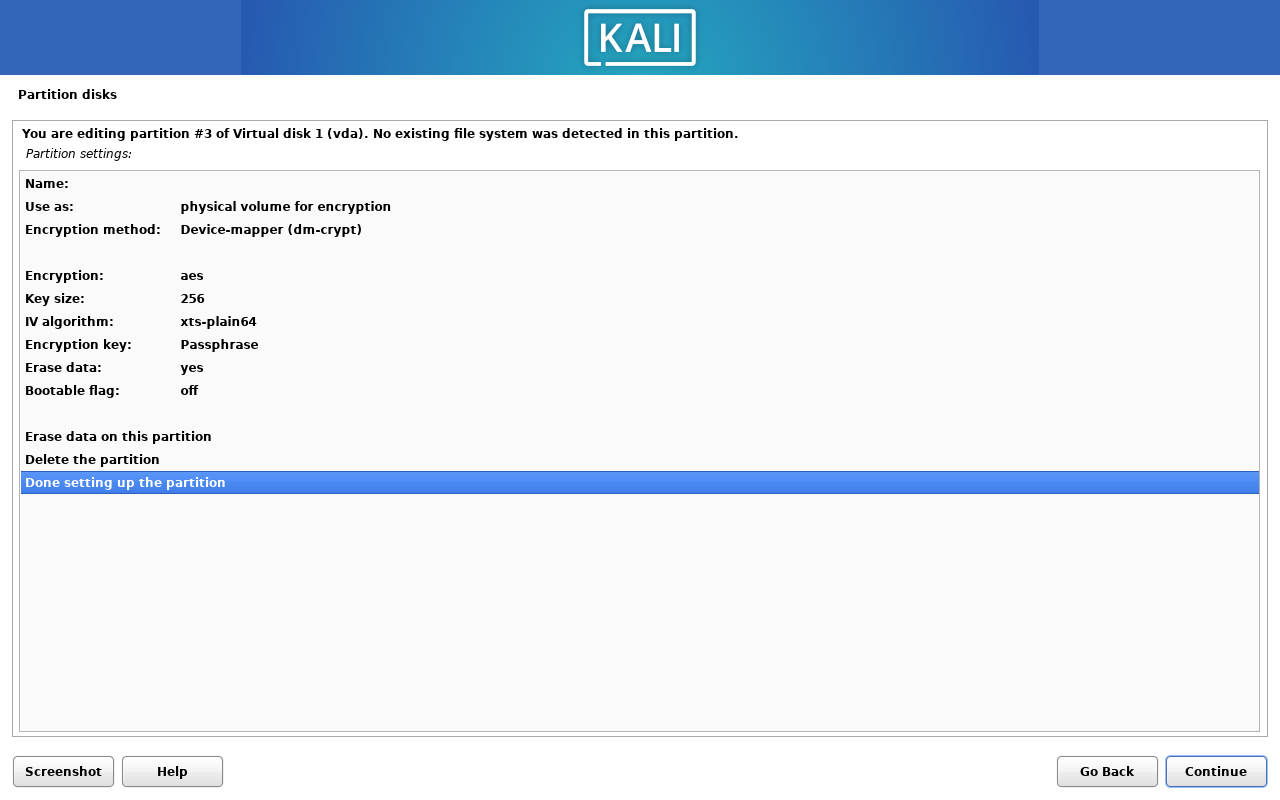
Click on Done setting up the partition to finish the LVM partition creation.

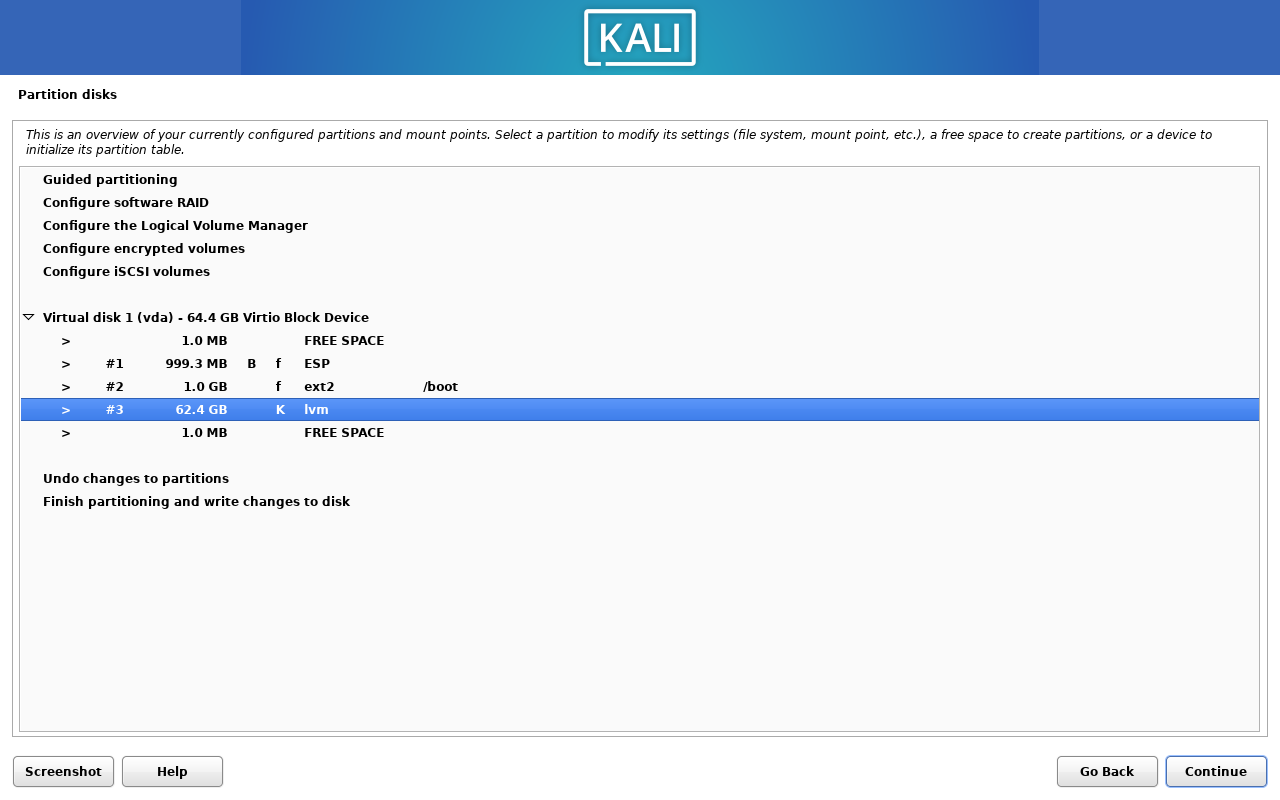
The new LVM partition is created! Now, we will configure the Logical Volume Manager.
2.5 Configure encrypted volumes#
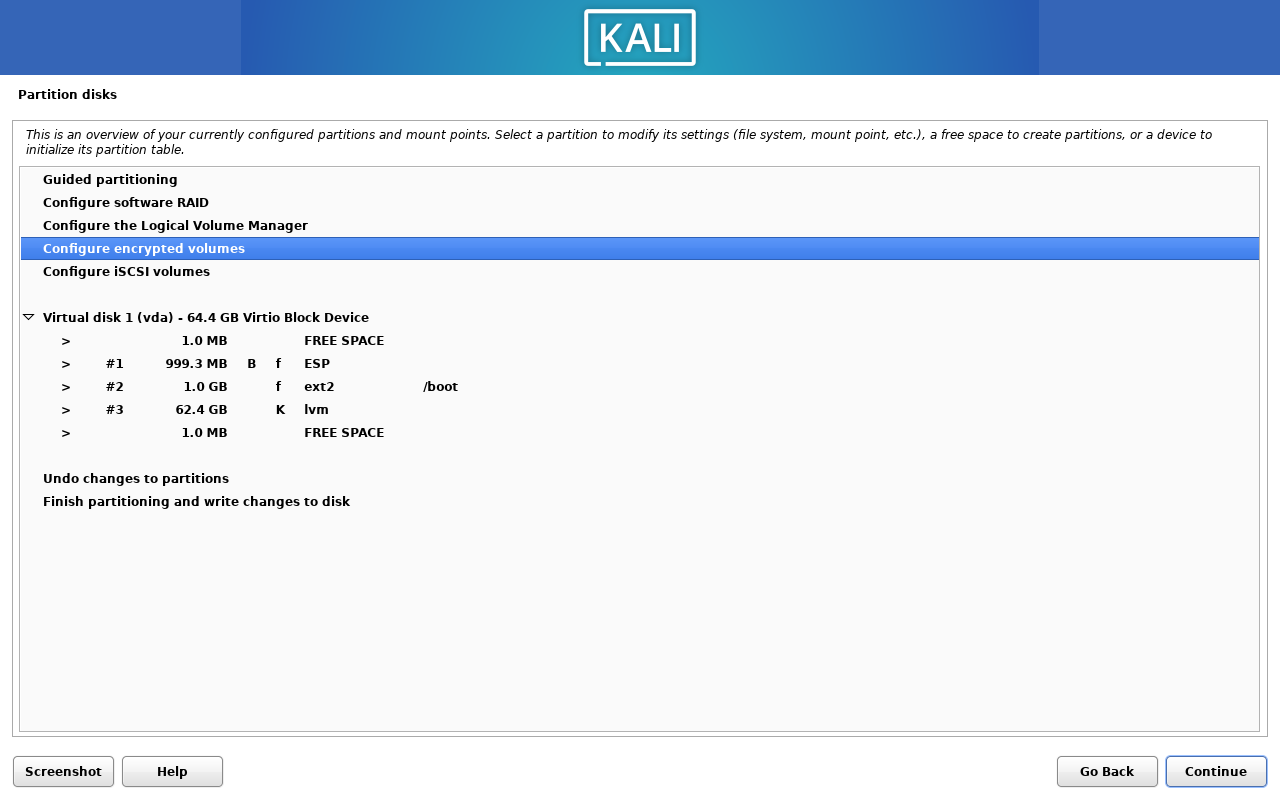
We now will setting up the LUKS encryption for the LVM partition. Click on Configure encrypted volumes.
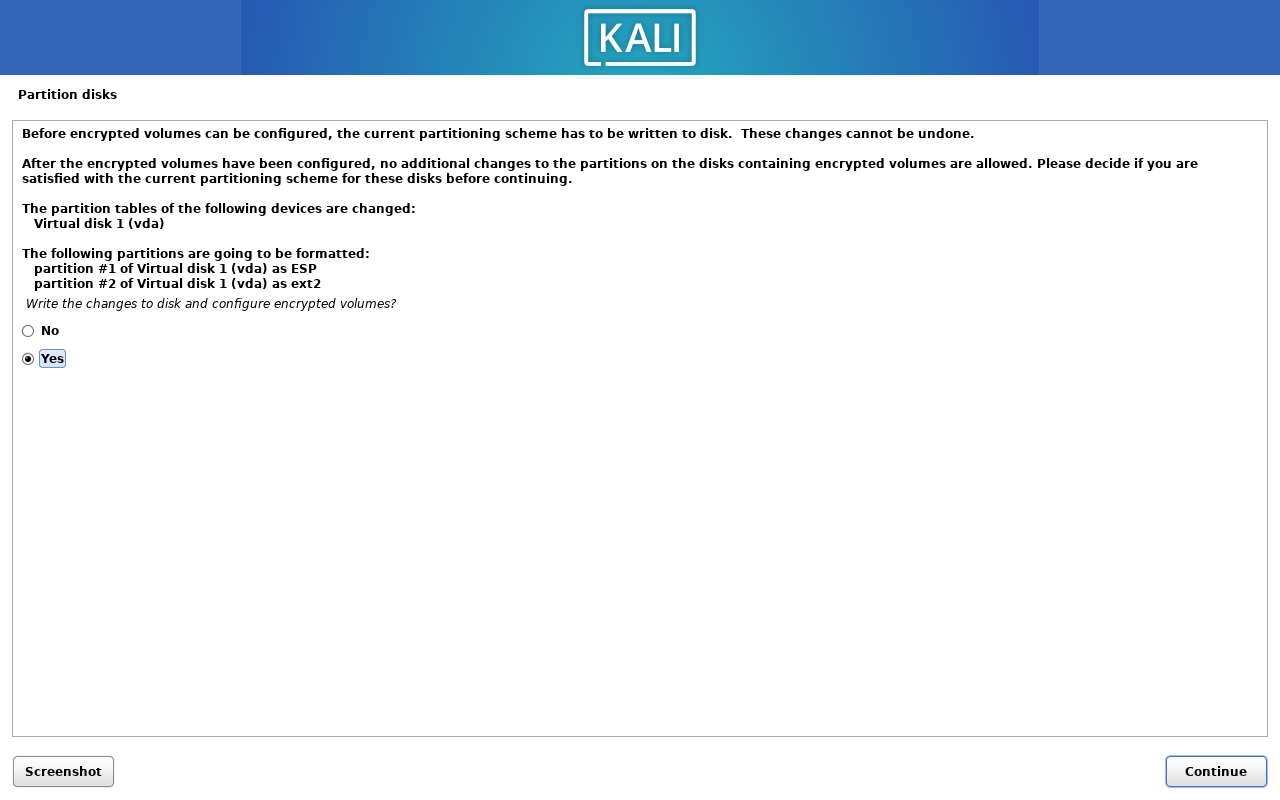
Click on Yes to write the changes to the disk.
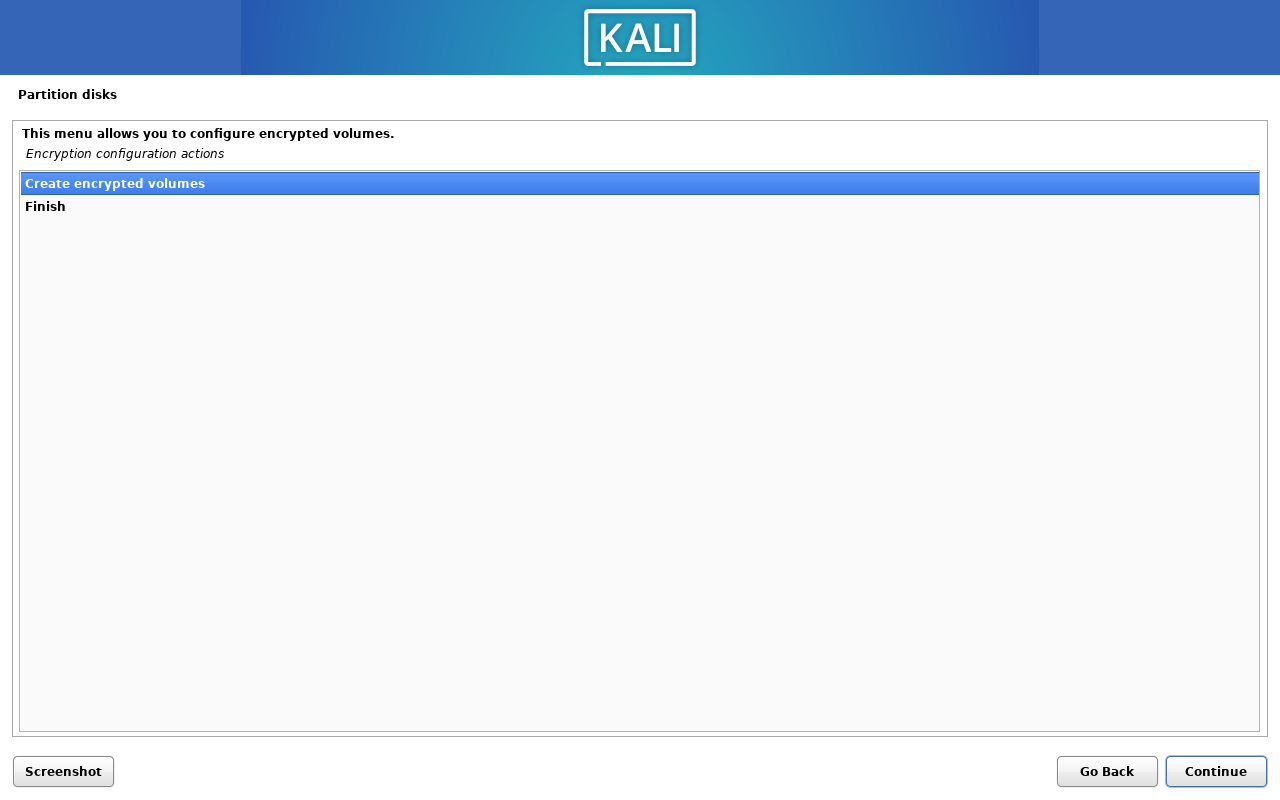
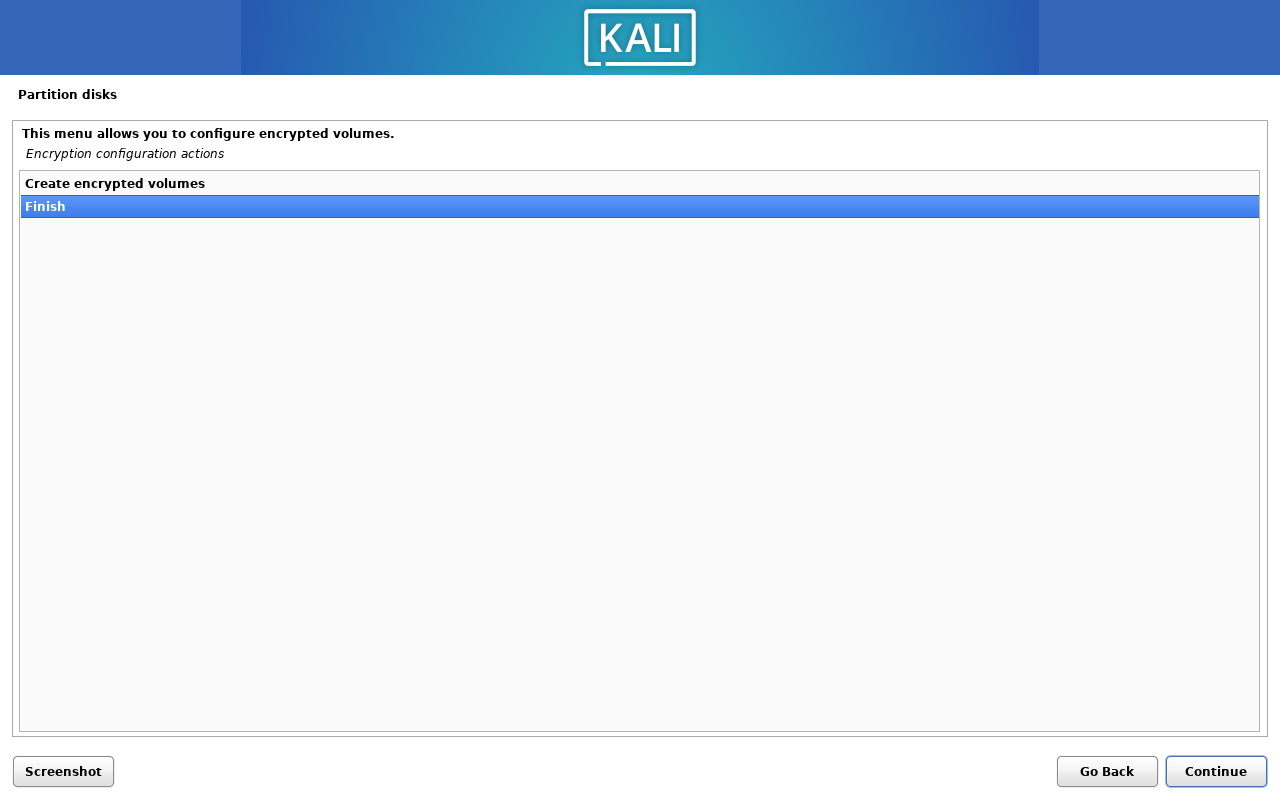
Click on Create encrypted volumes.
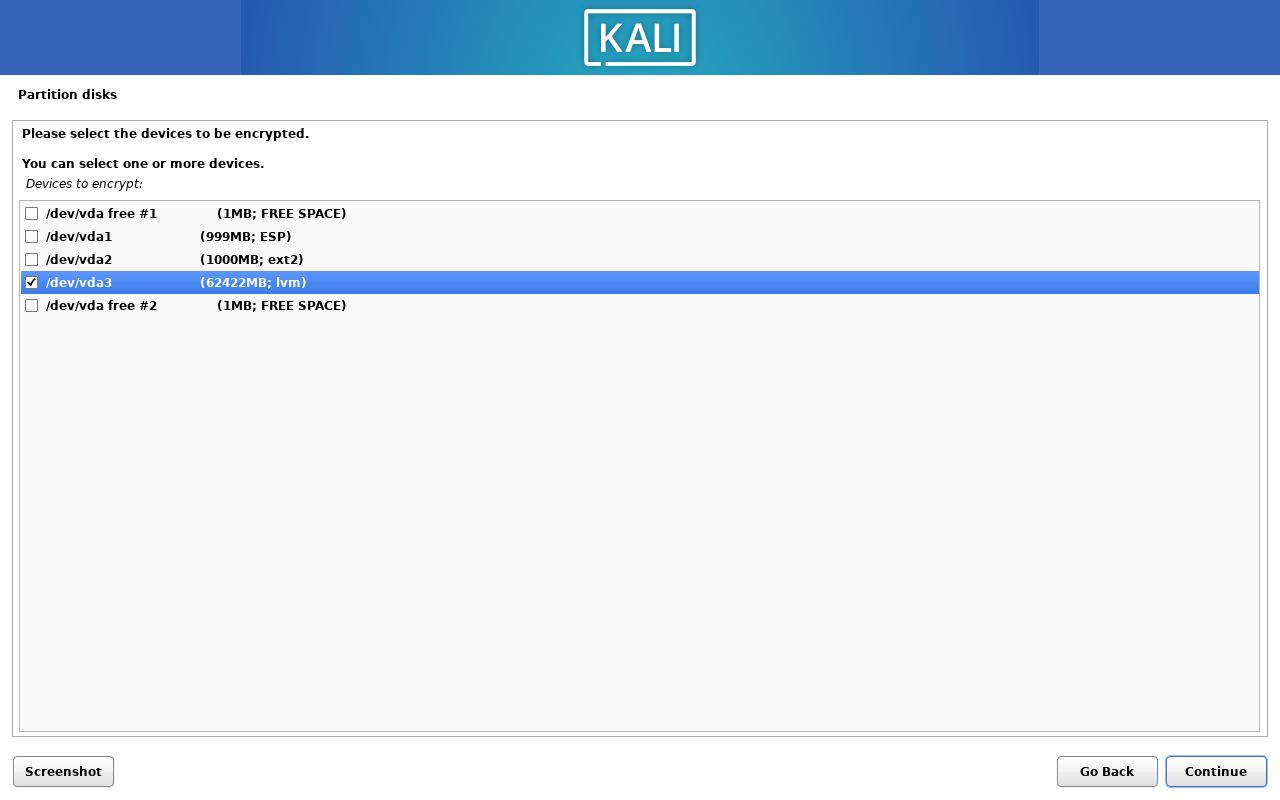
Select the LVM partition, and click on Continue.
Click Done setting up the partition.
Click Finish to finish the encrypted volumes configuration.
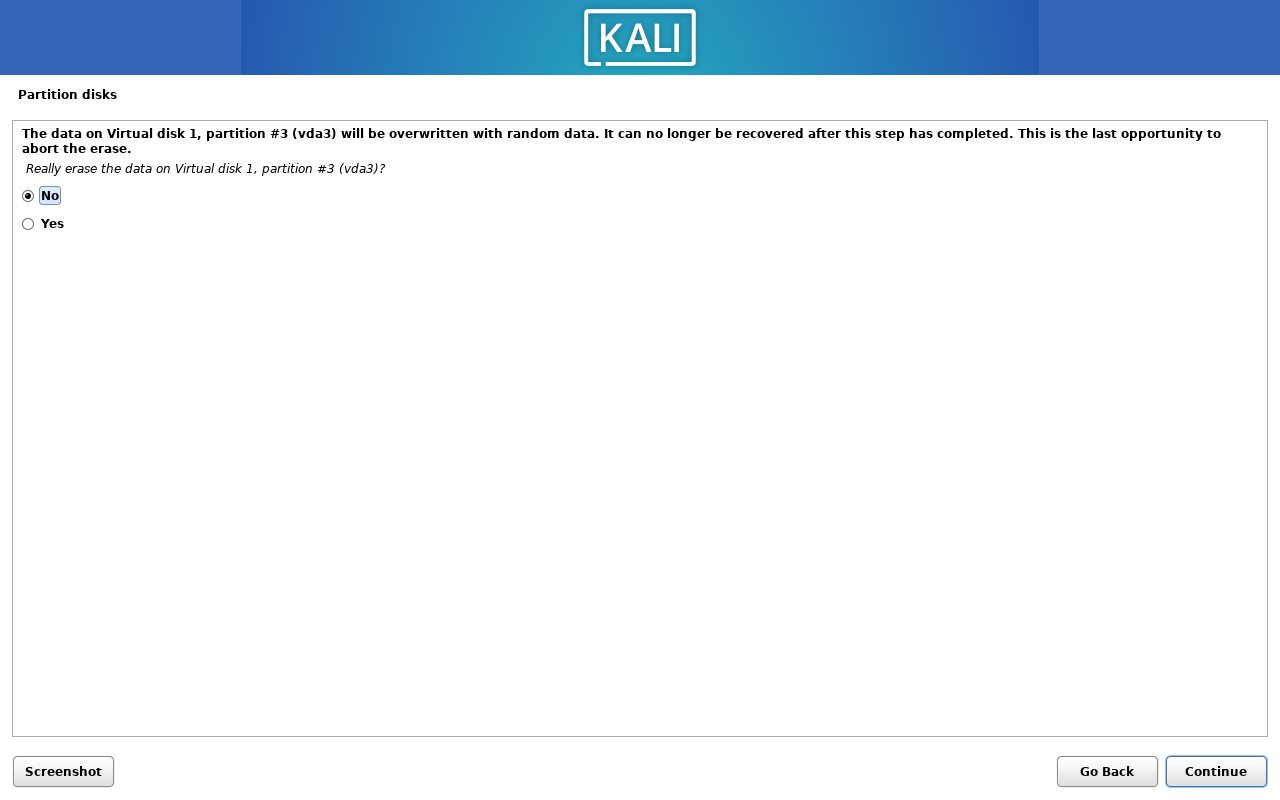
The installer will ask you do you want to earse the data on the partition, you can skip this step by clicking on No.
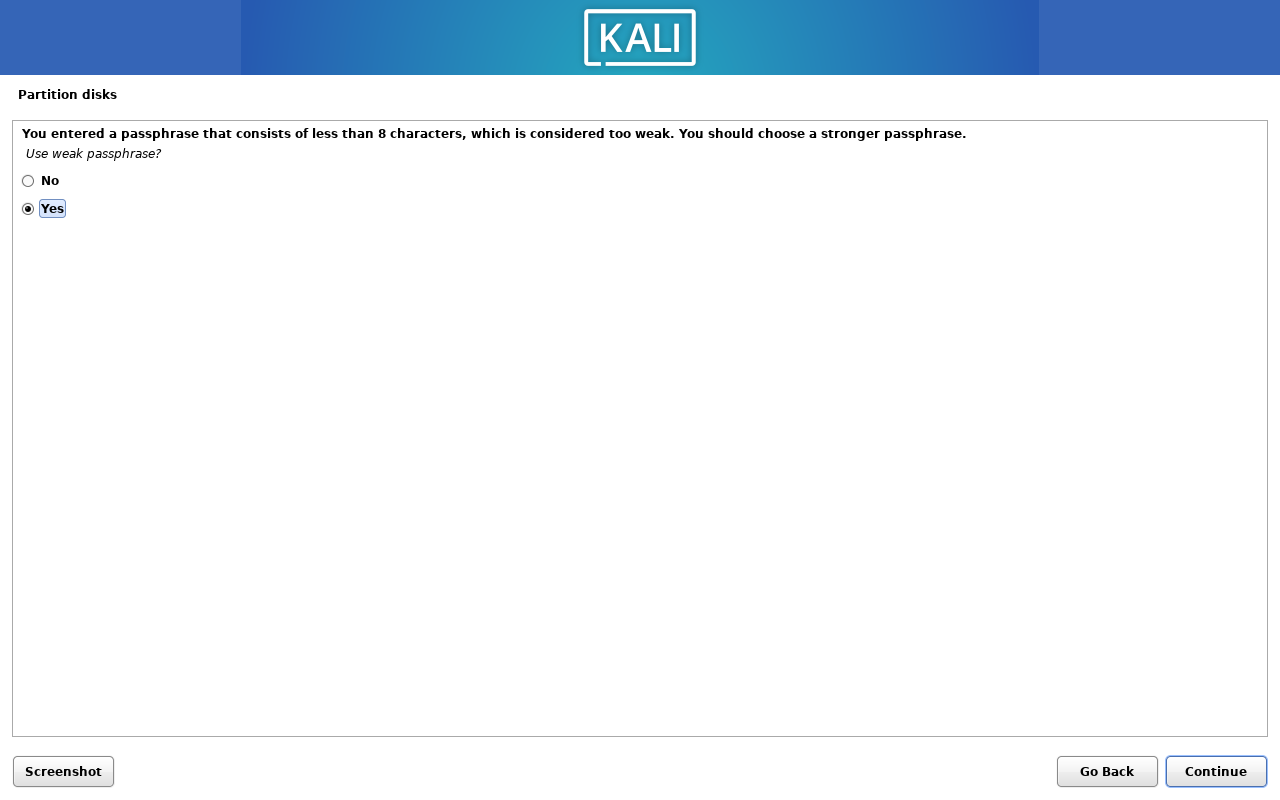
enter your preferred password for the LUKS encryption, and click on Continue.
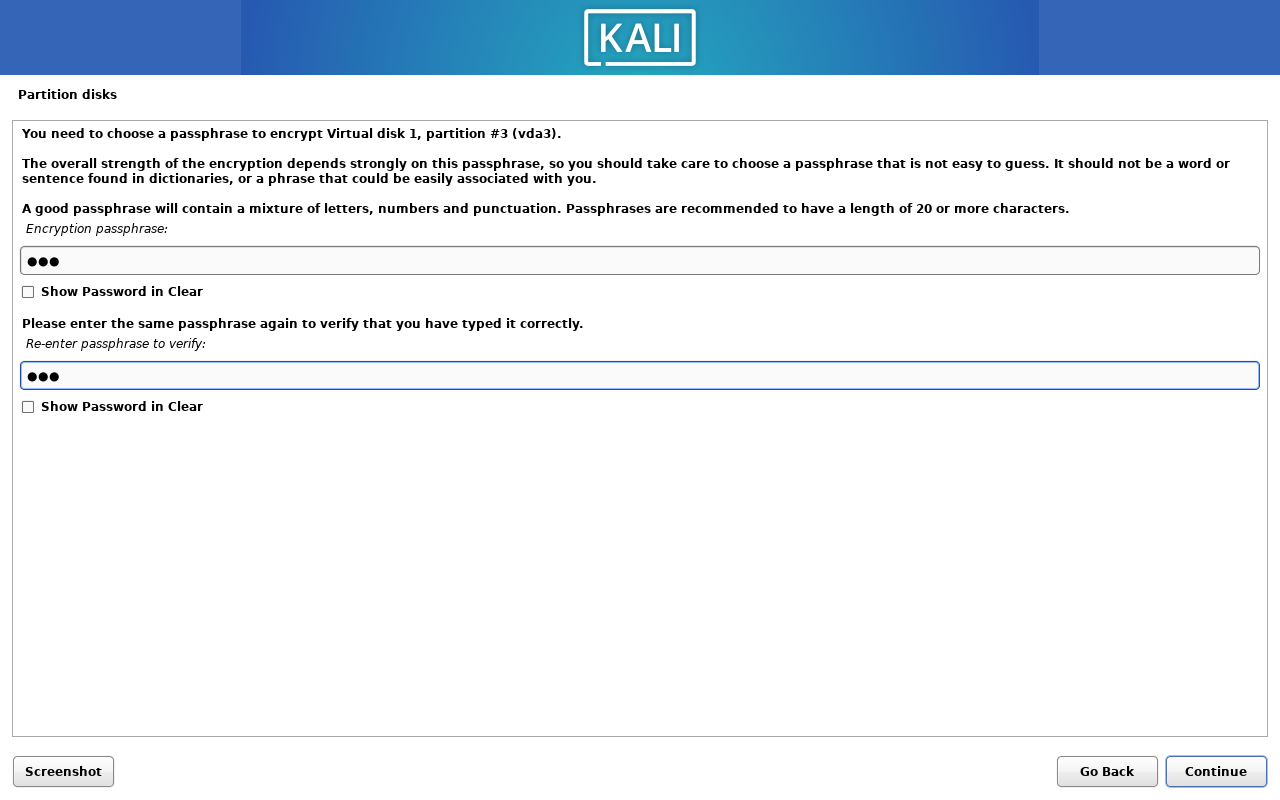
If your password is less than 8 characters, the installer will ask you to confirm the password, in my case, i dont care, this virtual machine is just for the guide. so click on Continue.
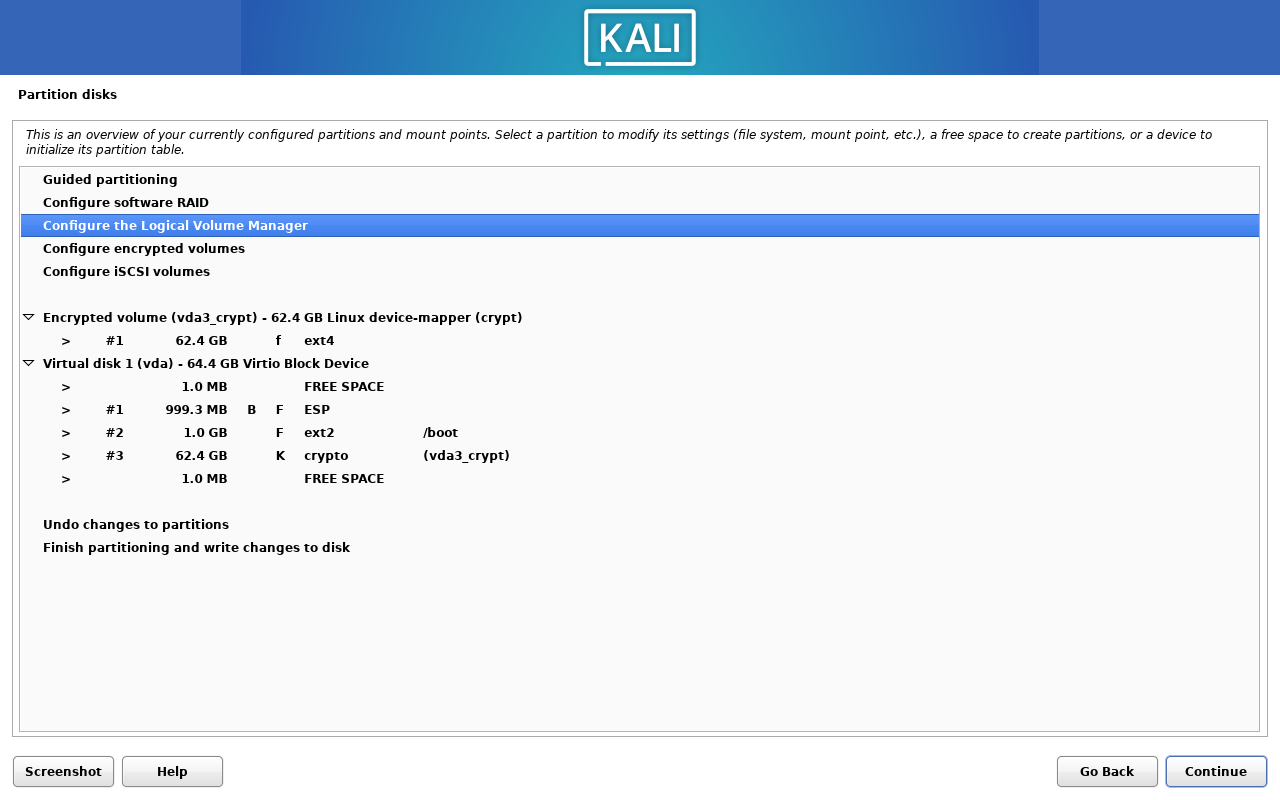
2.6. Configure the Logical Volume Manager#
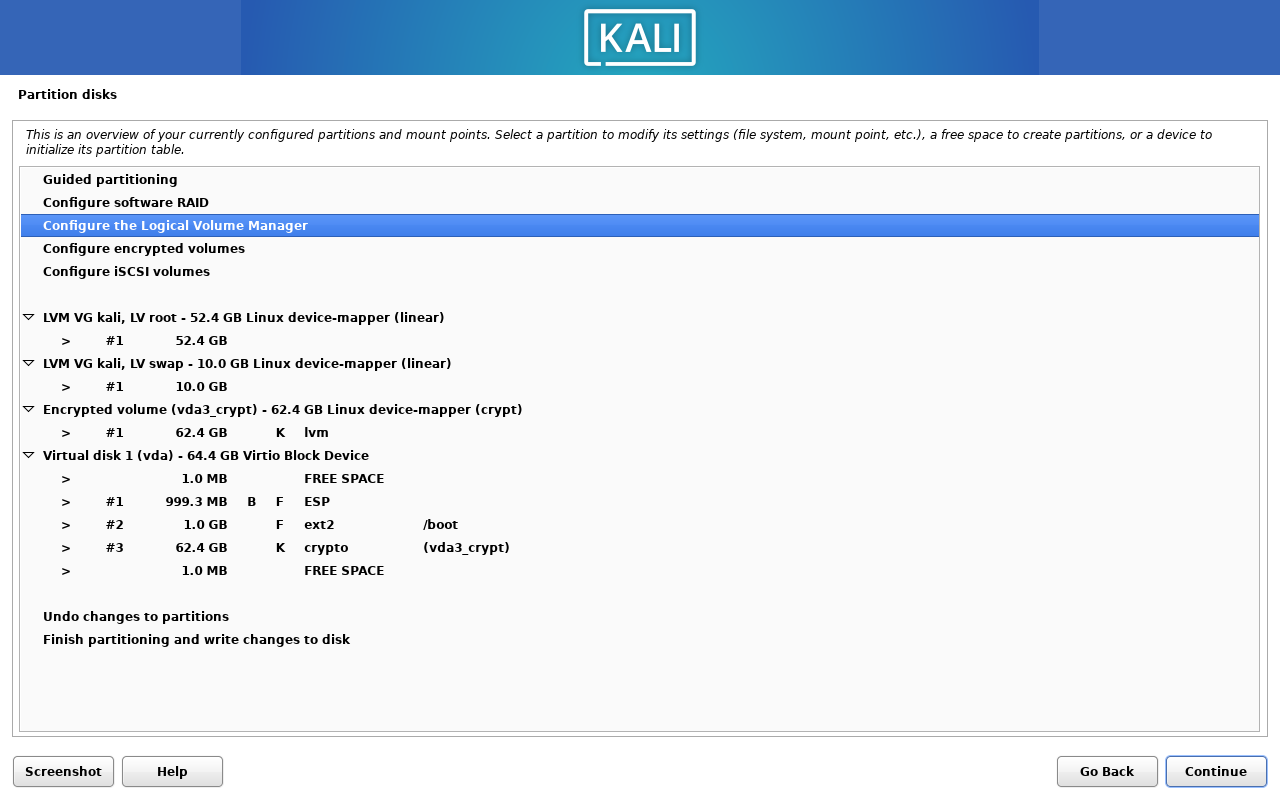
This part is about configuring the Logical Volume Manager (LVM). Click on Configure the Logical Volume Manager.
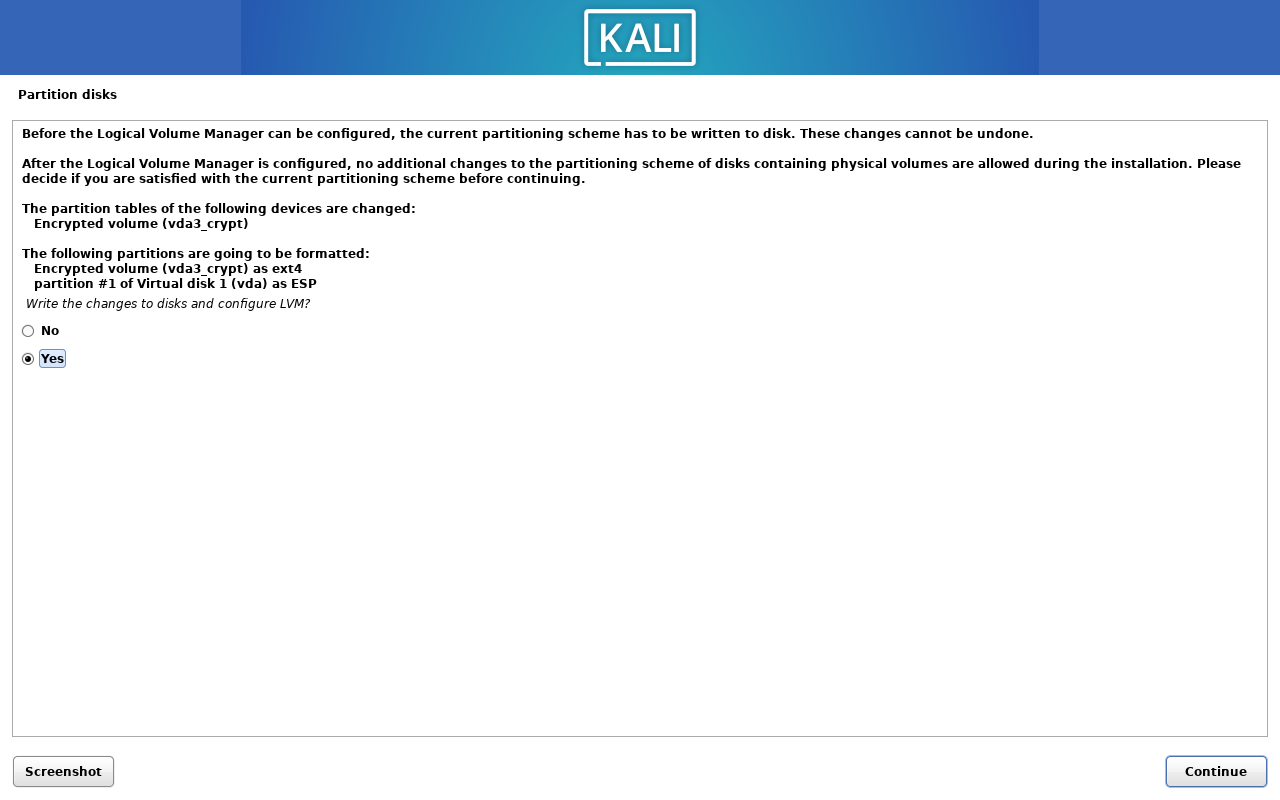
Will asking you to create a new volume group, and write the change to the disk, click on Yes.
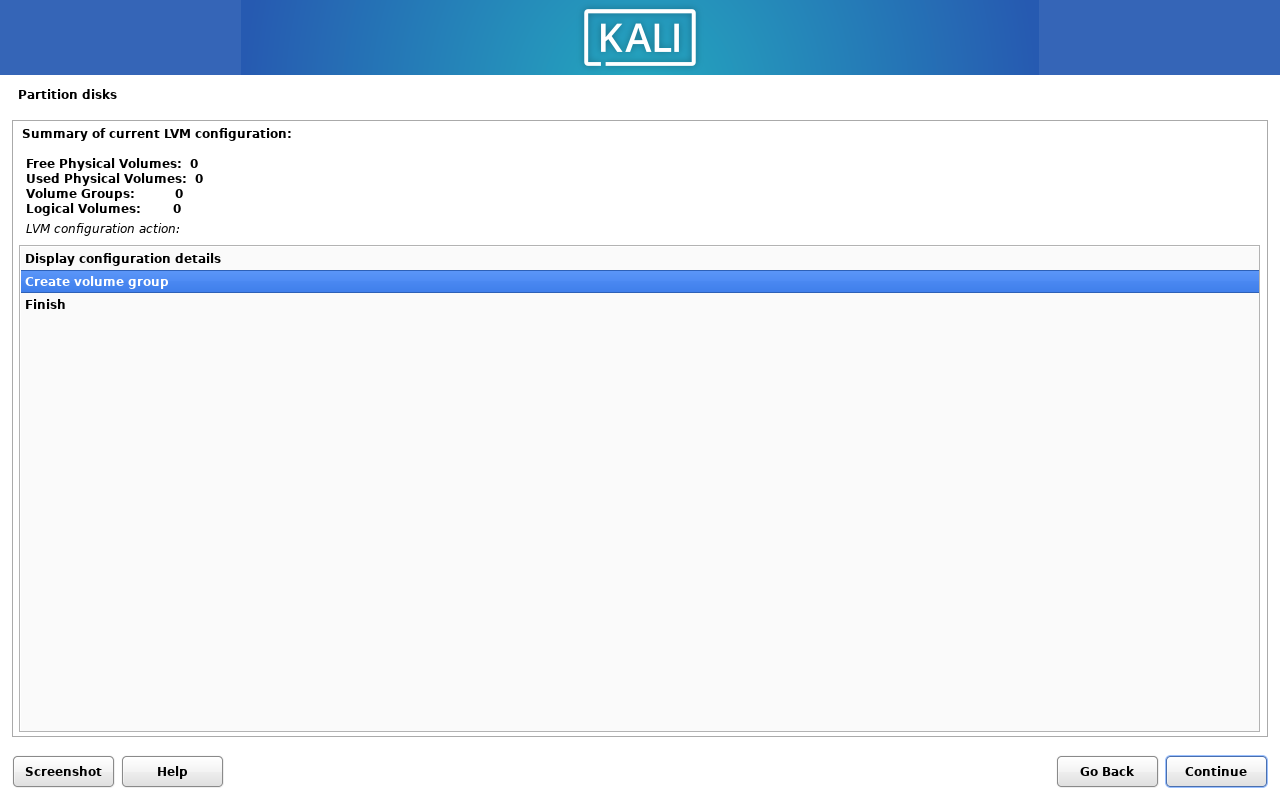
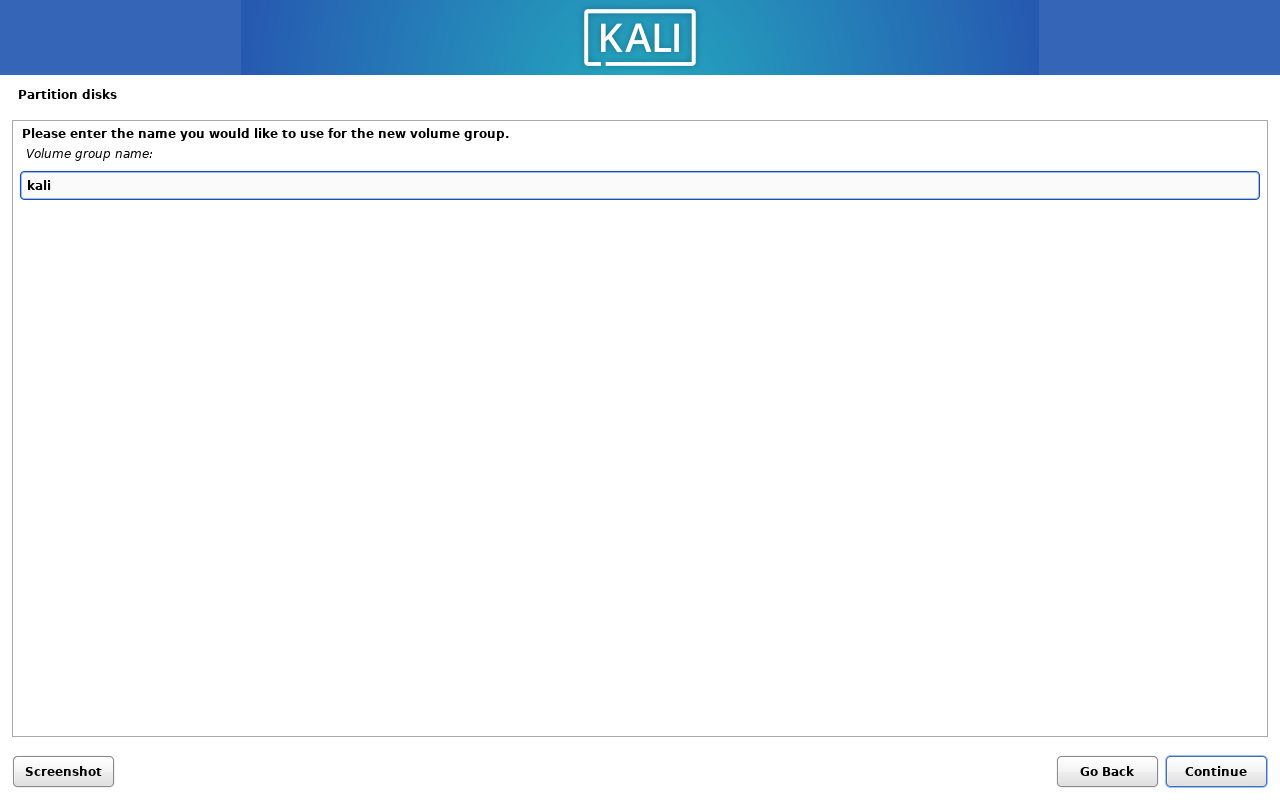
Click on Create volume group.
Type the name of the volume group you want to naming, i use kali as the name, and click on Continue.
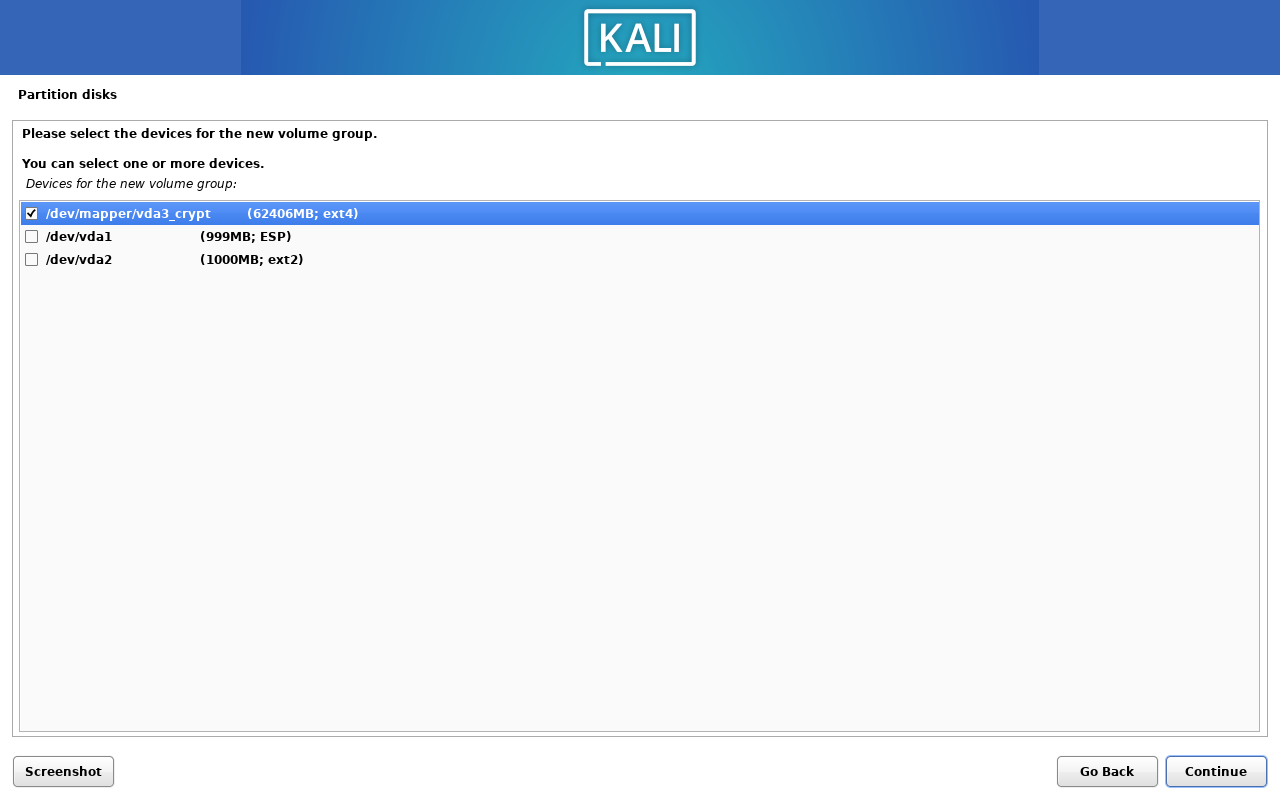
Find out the device you want to add for this volume group, and check the box, and click on Continue.
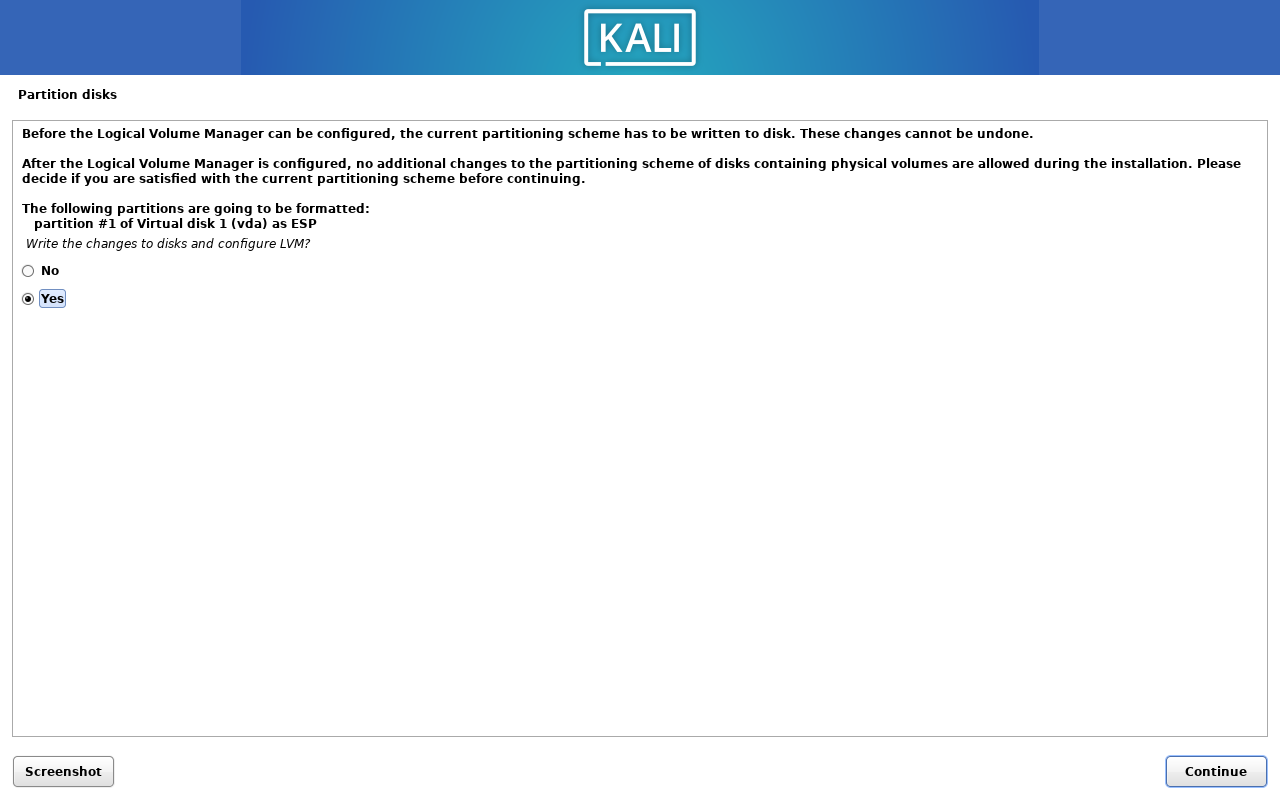
Click on Yes to write the change to the disk.
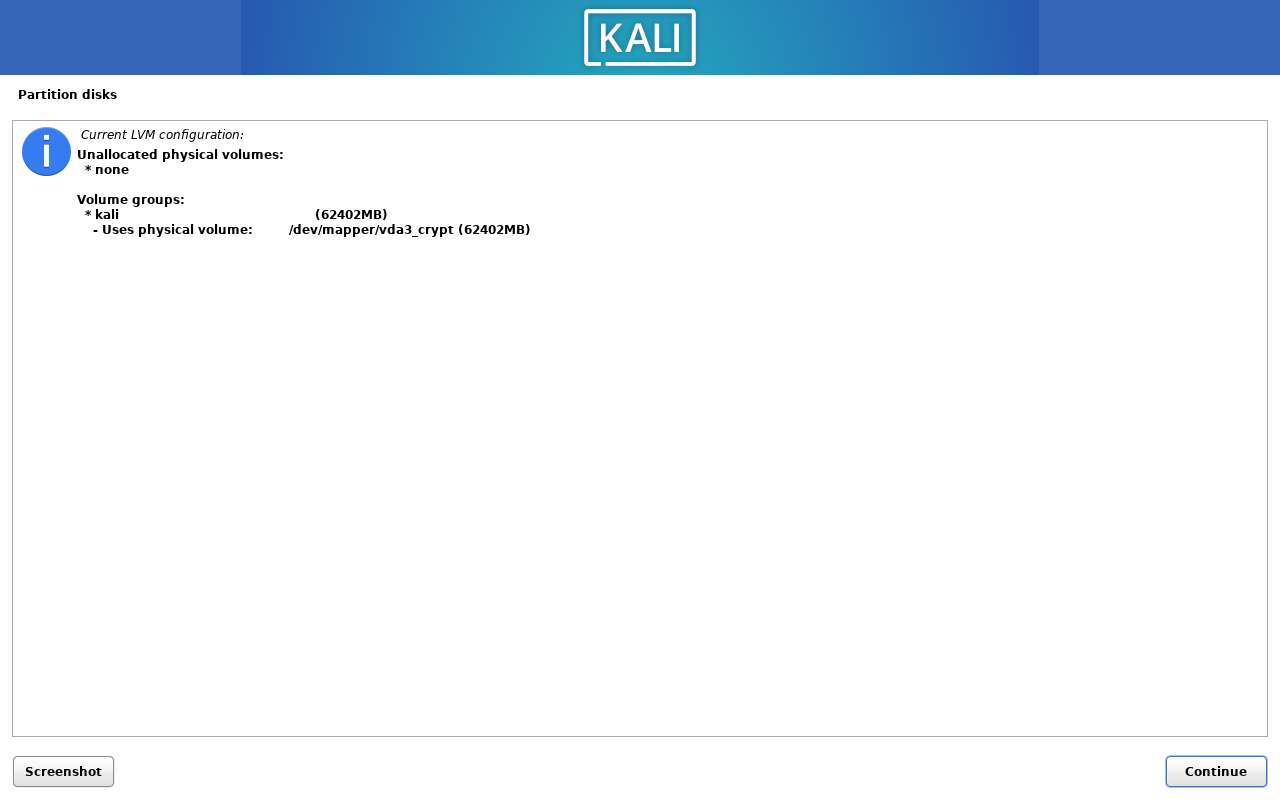
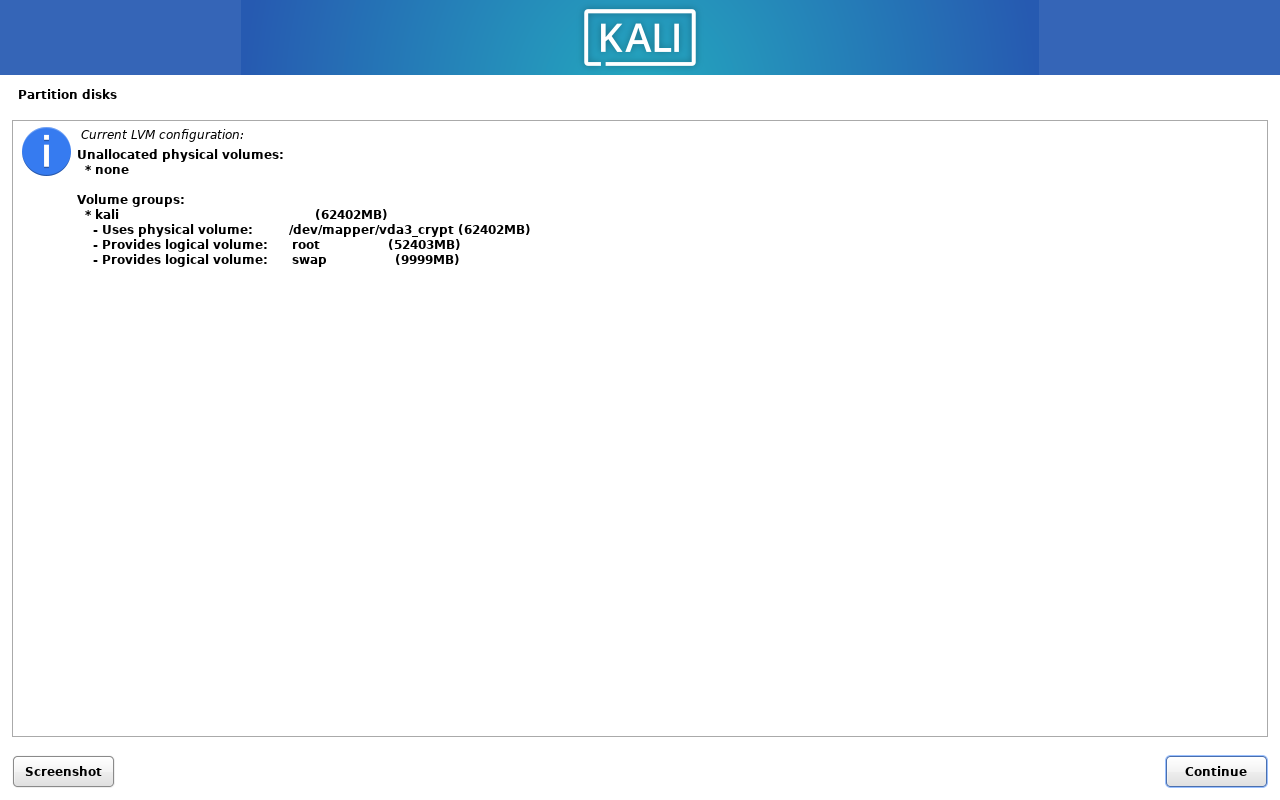
To verify the volume group is created, click on Display configuration details.
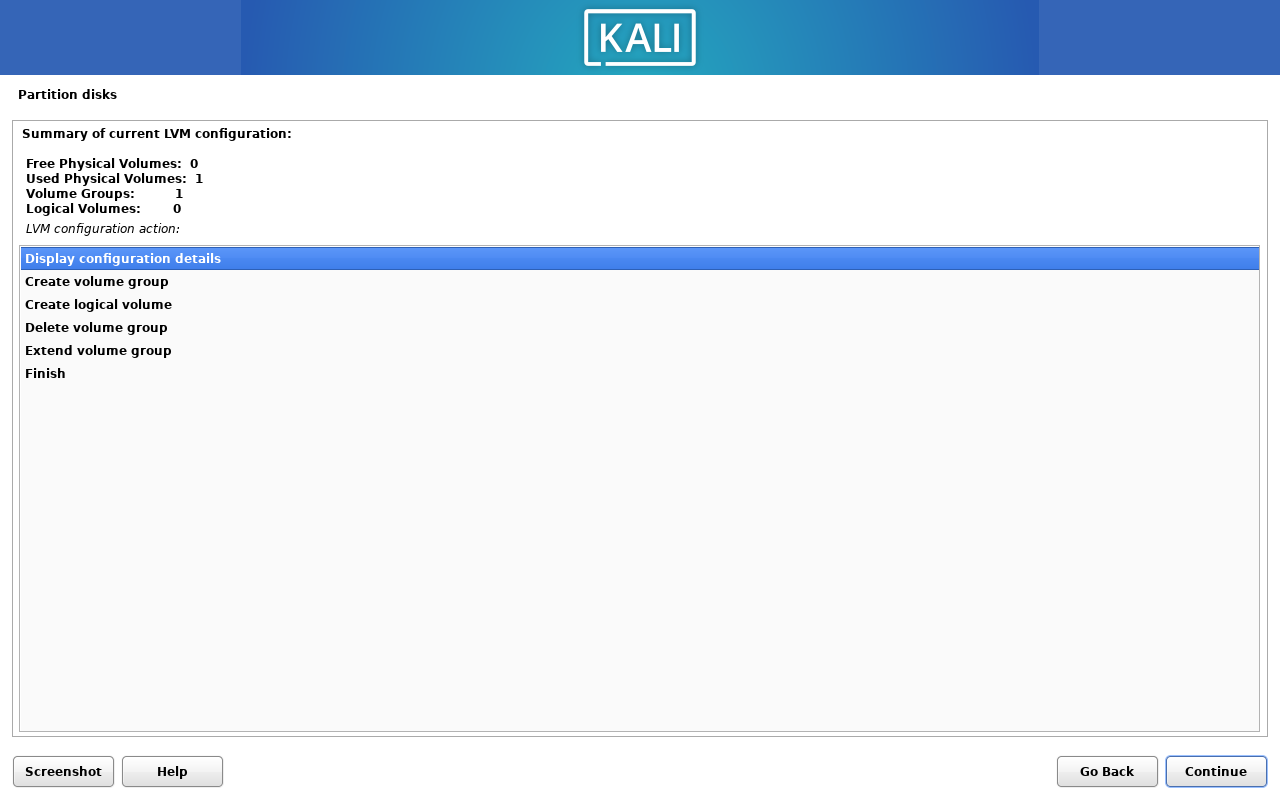
Nice, the volume group is created! Now, we will create the logical volume for the swap partition.
2.7. Create Logical Volume for Swap Partition#
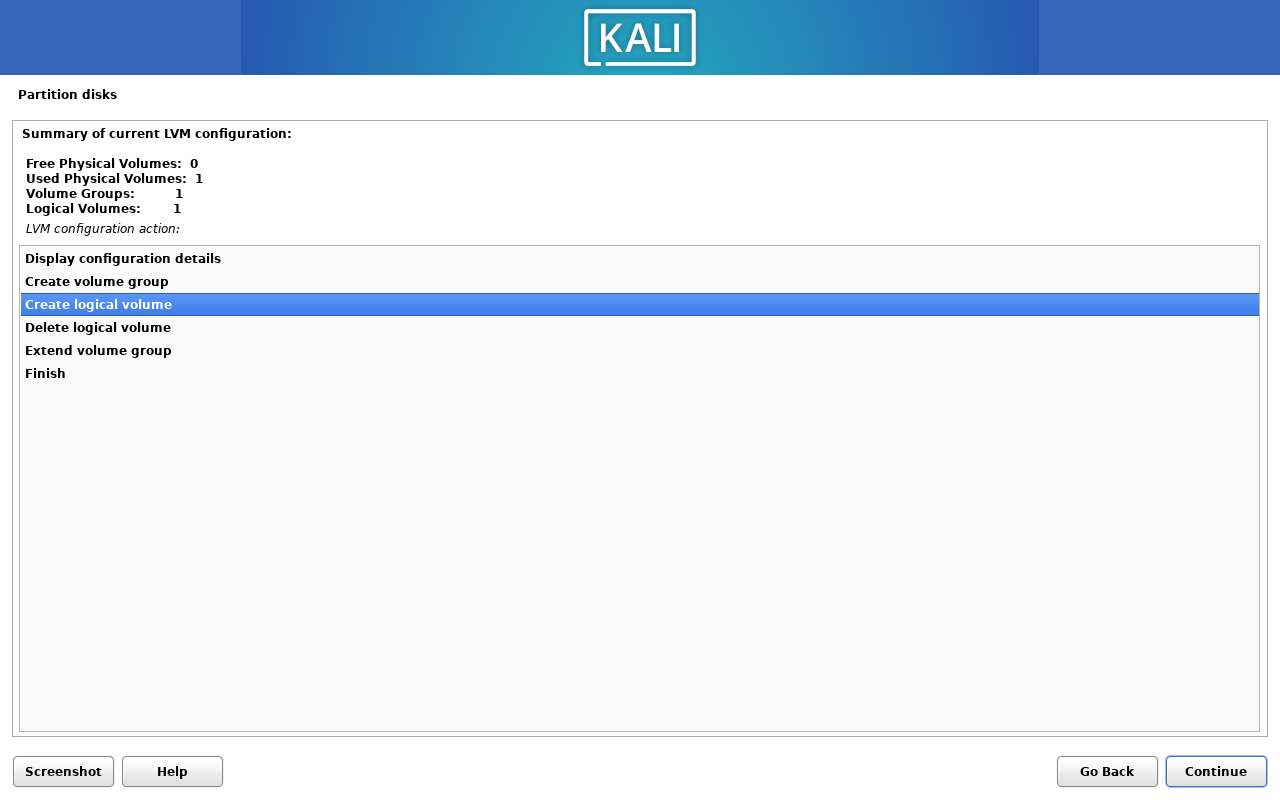
Click on Create logical volume. we will create two logical volumes, one for the swap partition and the other for the root partition.
You might want to create home partition, but i dont create it because i dont need it.

Select the volume group that before you created, and click on Continue.
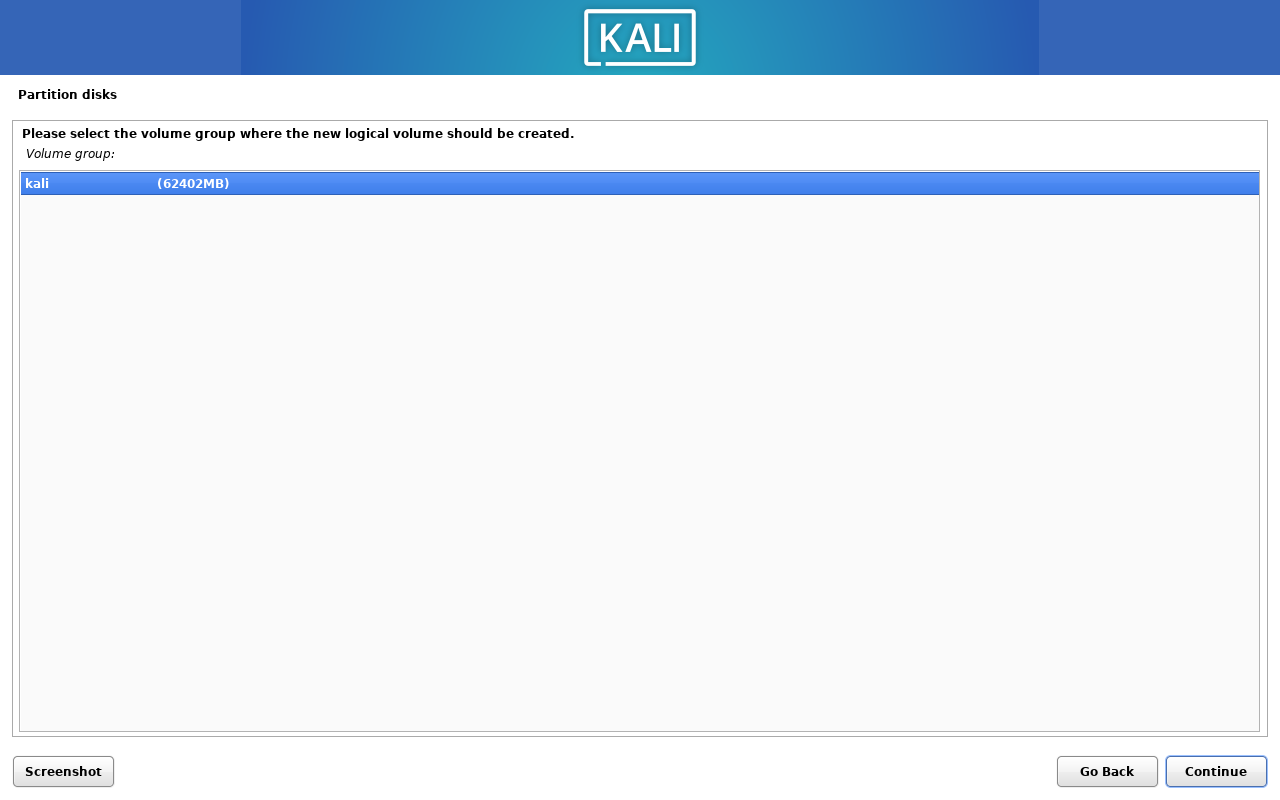
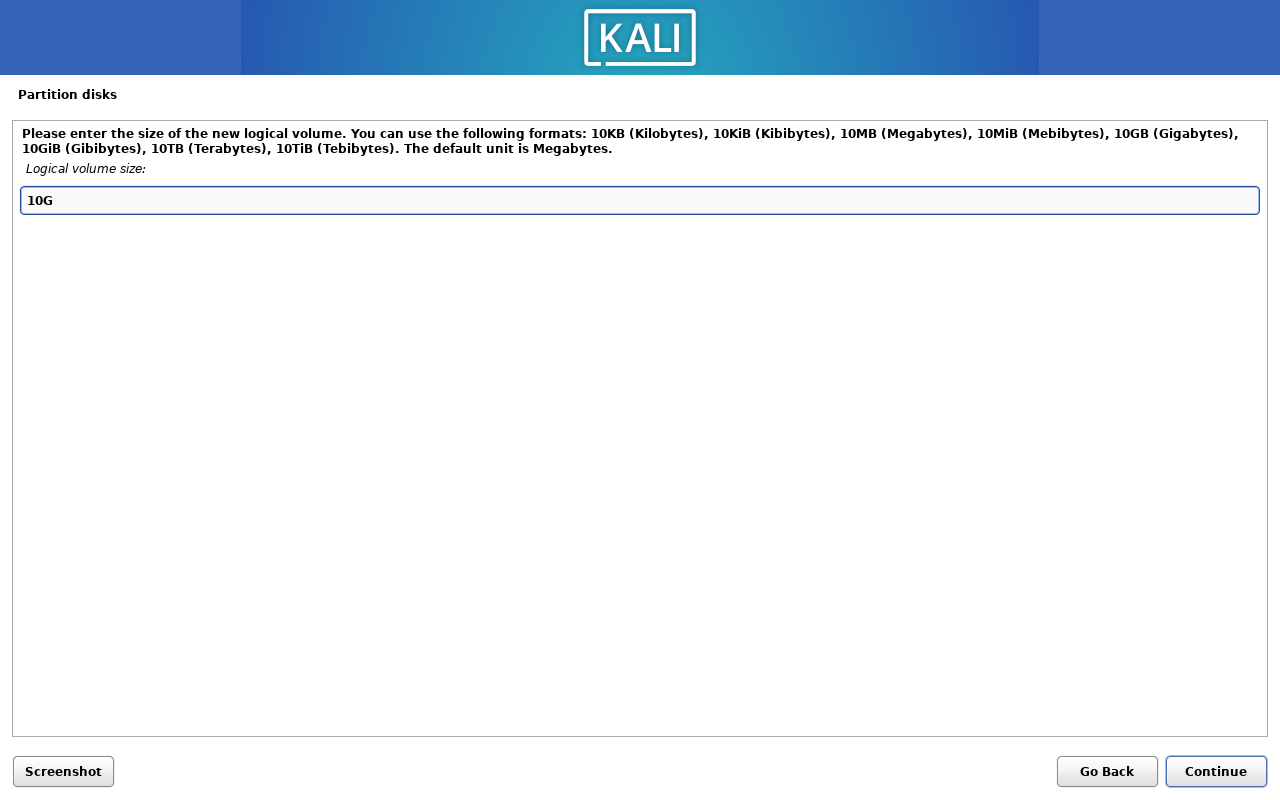
Type the name of the logical volume, i use swap as the name, and type the size of the logical volume.

Type a size for the swap partition, i use 10GB as the size, and click on Continue.
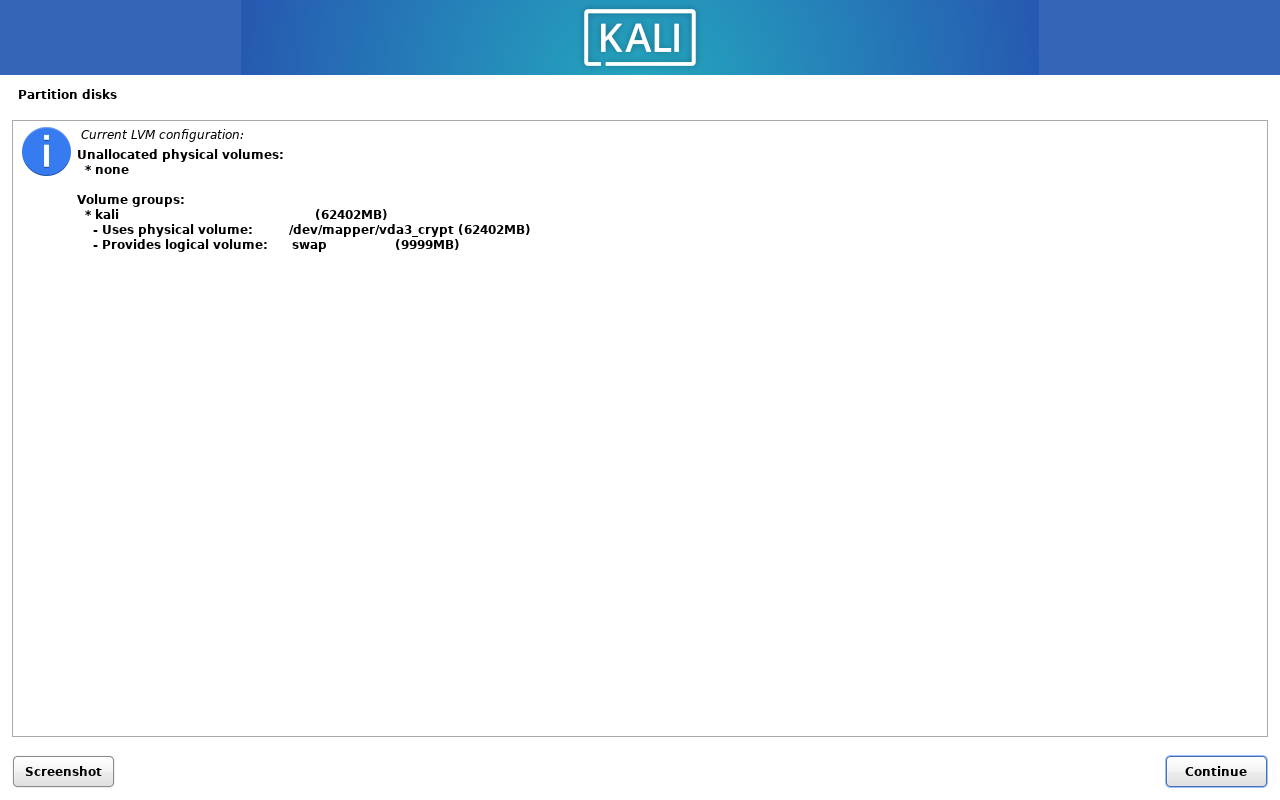
To verify the logical volume is created, click on Display configuration details.

Nice, the logical volume for the swap partition is created! Now, we will create the logical volume for the root partition.
2.8. Create Logical Volume for Root Partition#
Click on Create logical volume.
Select the volume group that before you created, and click on Continue.

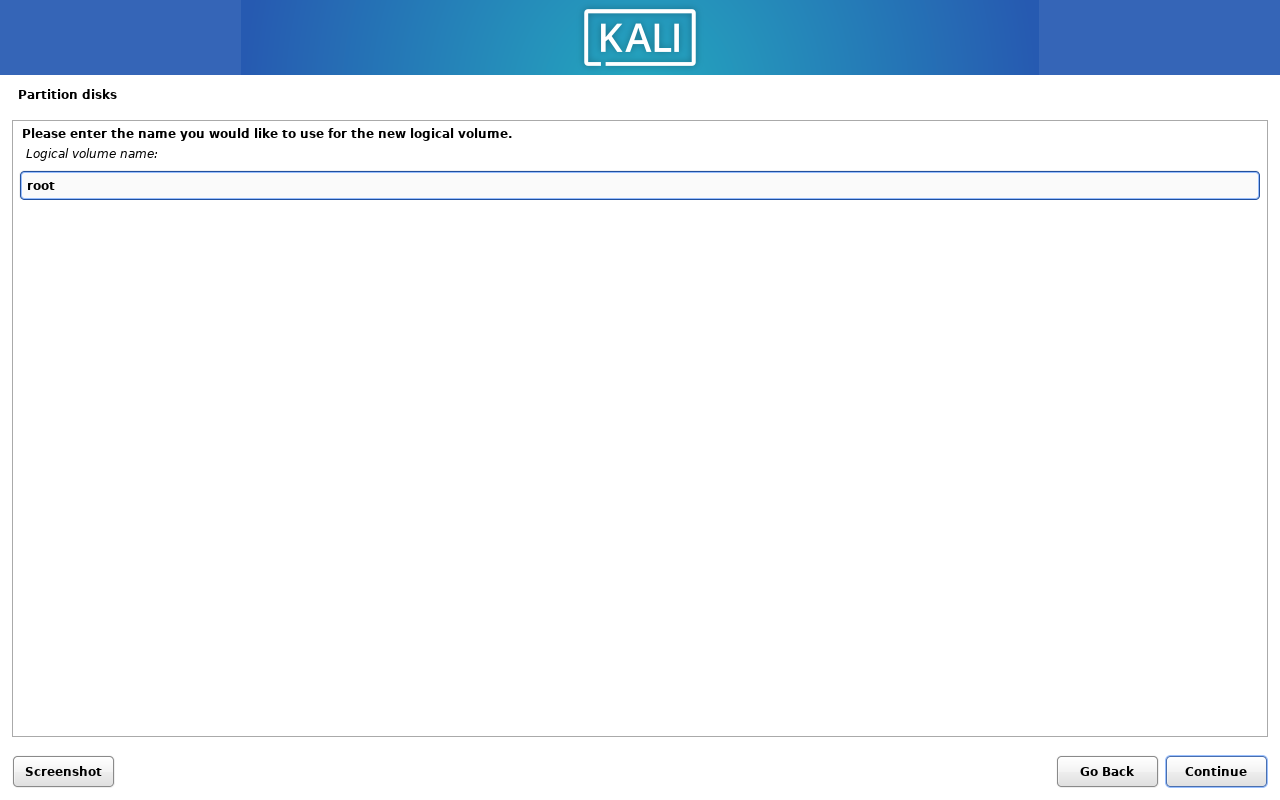
Type the name of the logical volume, i use root as the name.
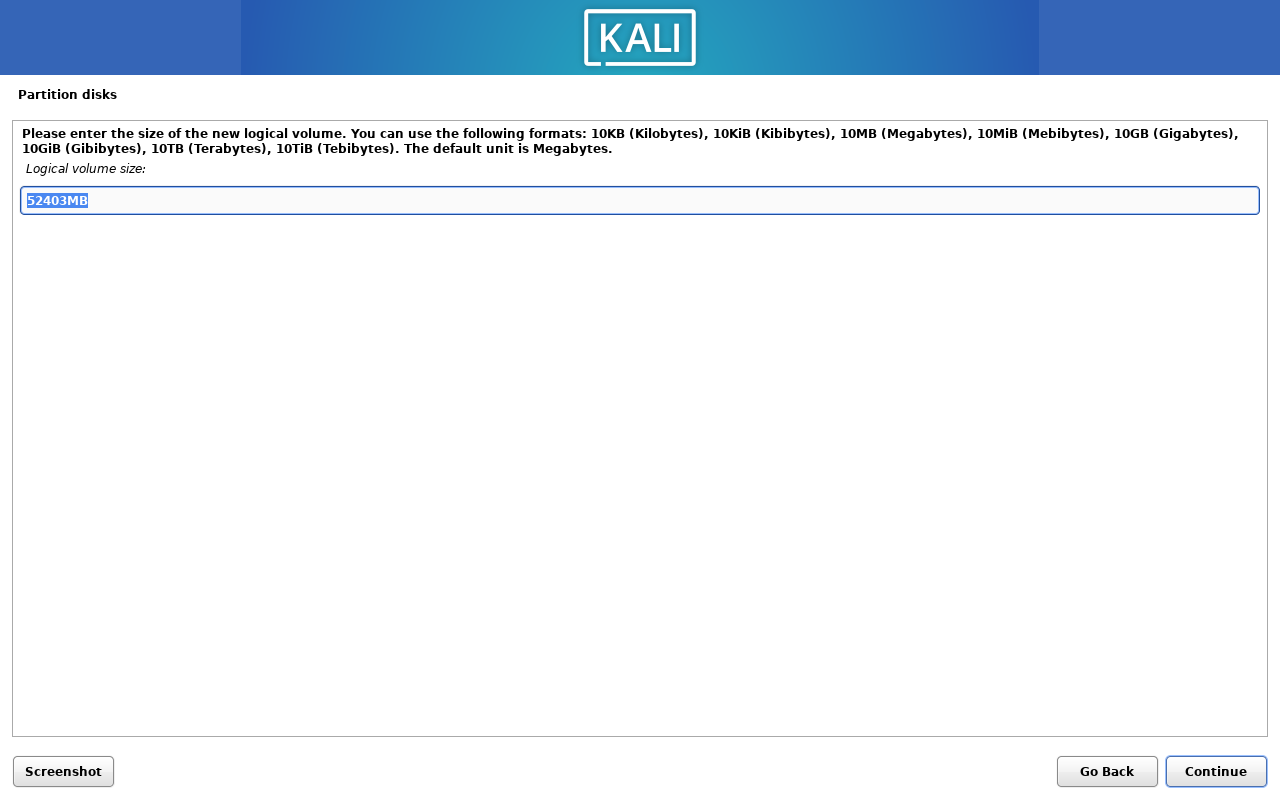
Type a size for the root partition, i use 100% as the size, for the maximum size you also can enter to use the default value, and click on Continue.
To verify the logical volume is created, click on Display configuration details.
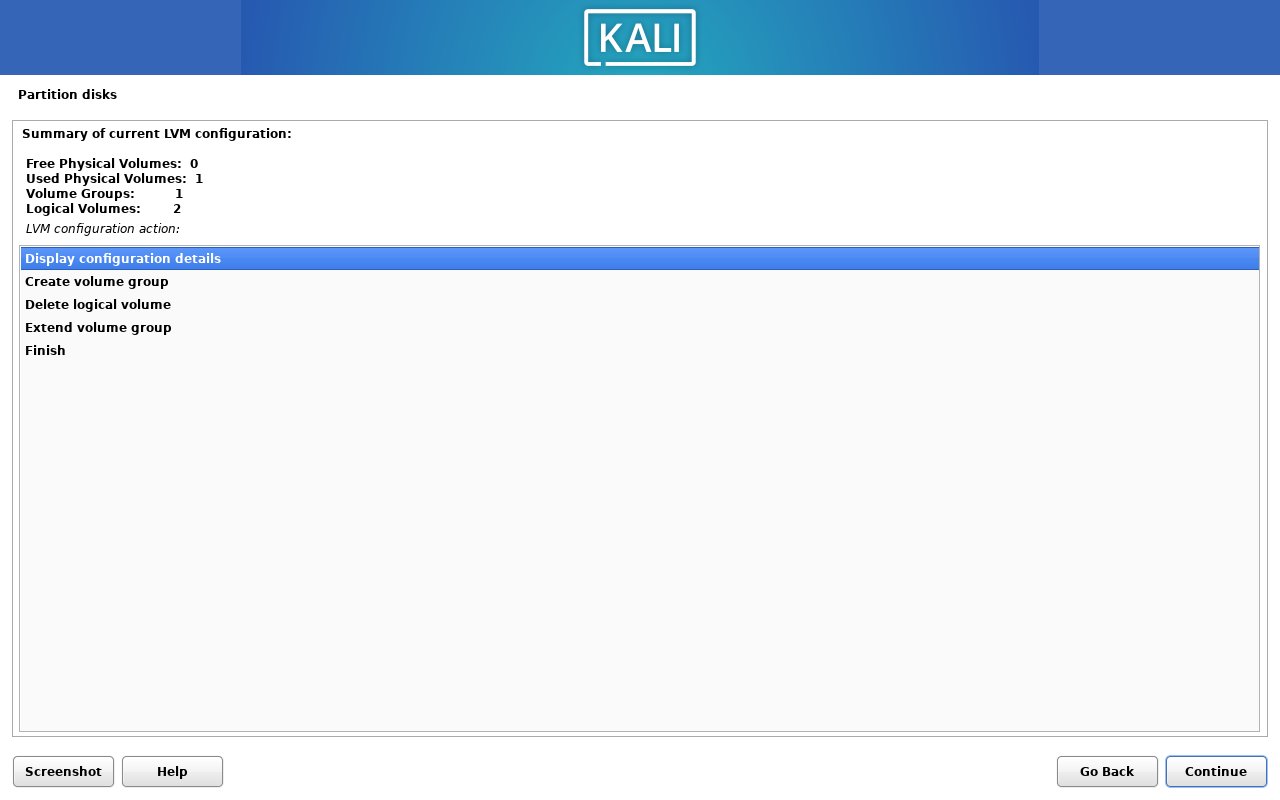
Nice, the logical volume for the root partition is created! Now, we will format the LVM partitions.
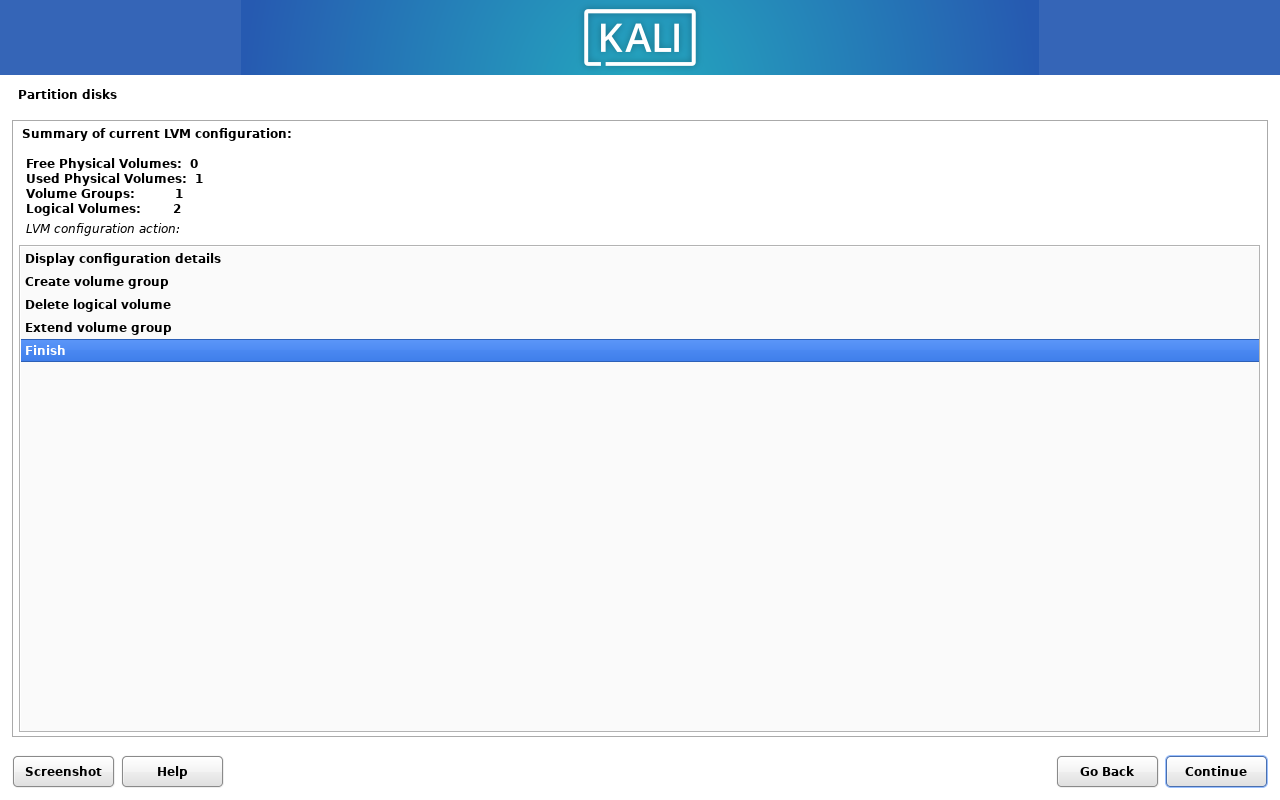
Click the Finish button to finish the partitioning.
2.9. Format LVM Partitions#
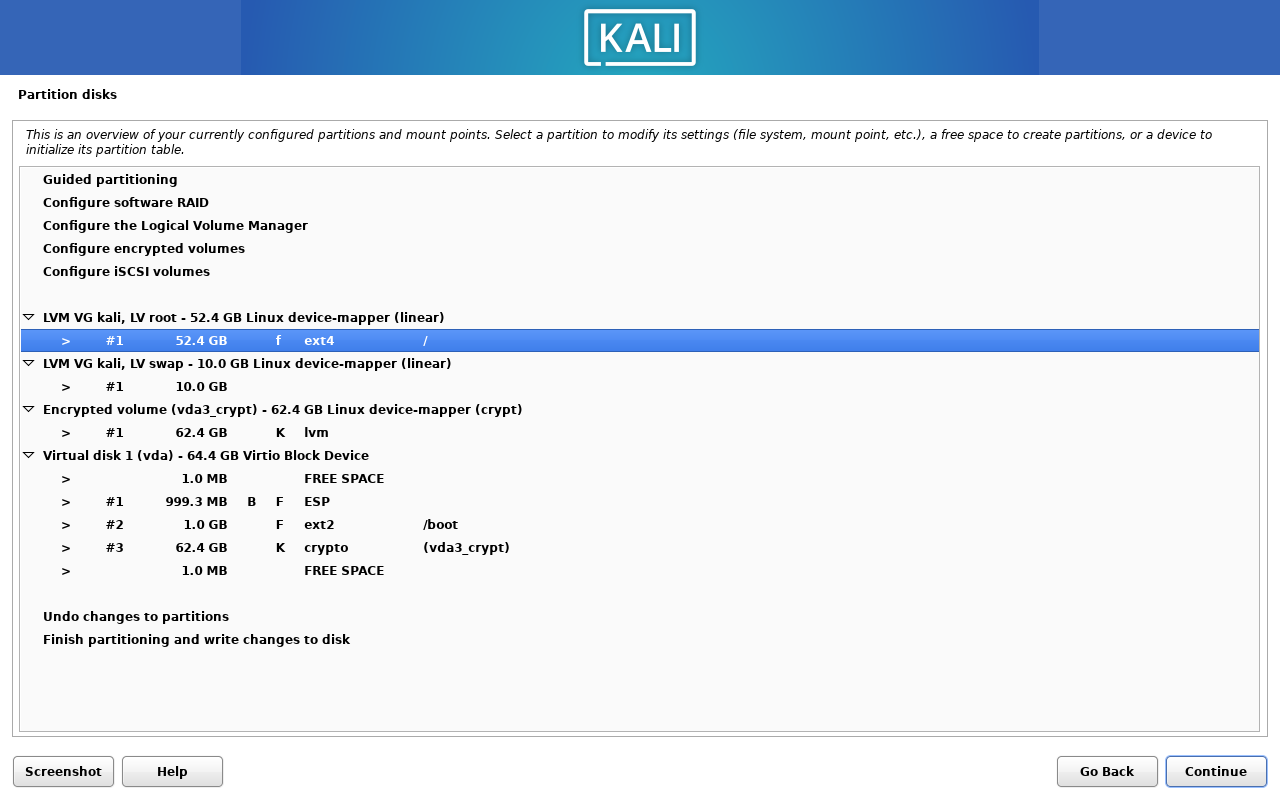
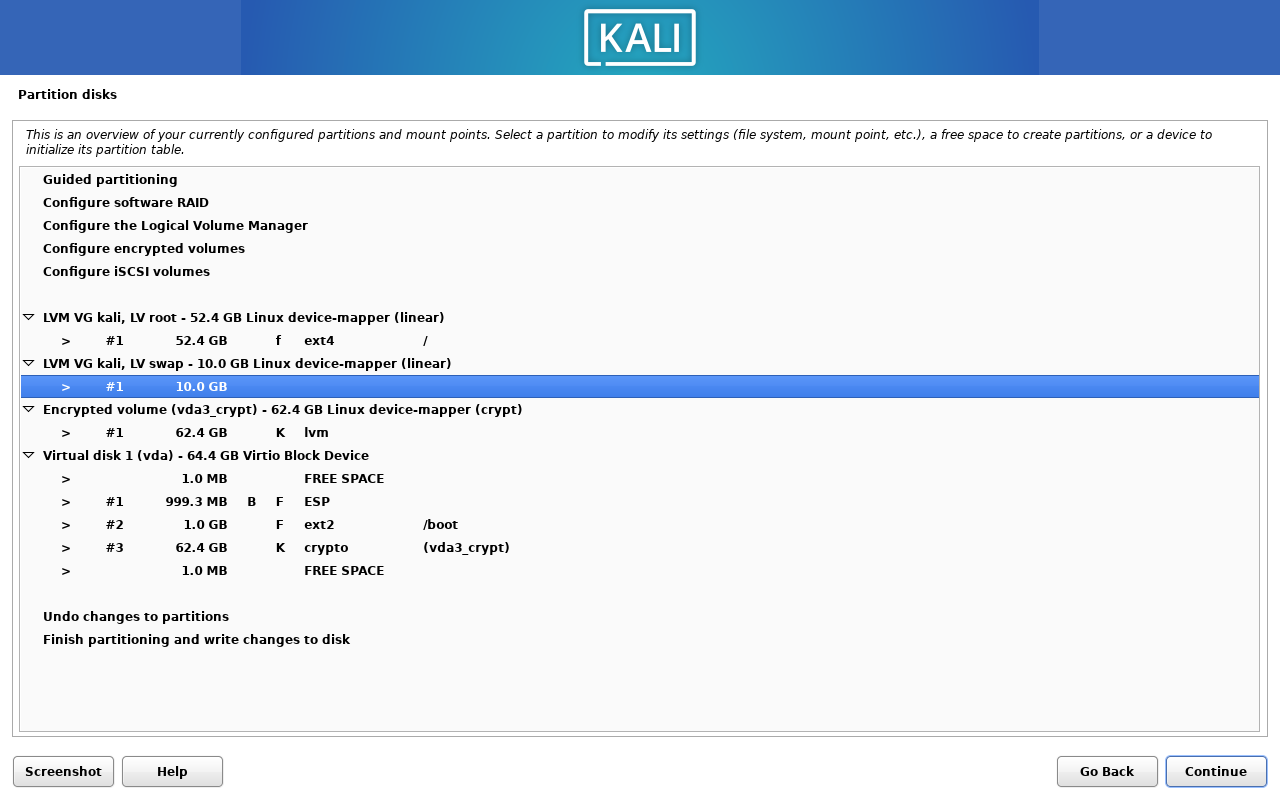
The following partition of correct format is important, you should see a similar screen table as below :)
now, we will format the logical volume for the root partition and the swap partition make it useable.
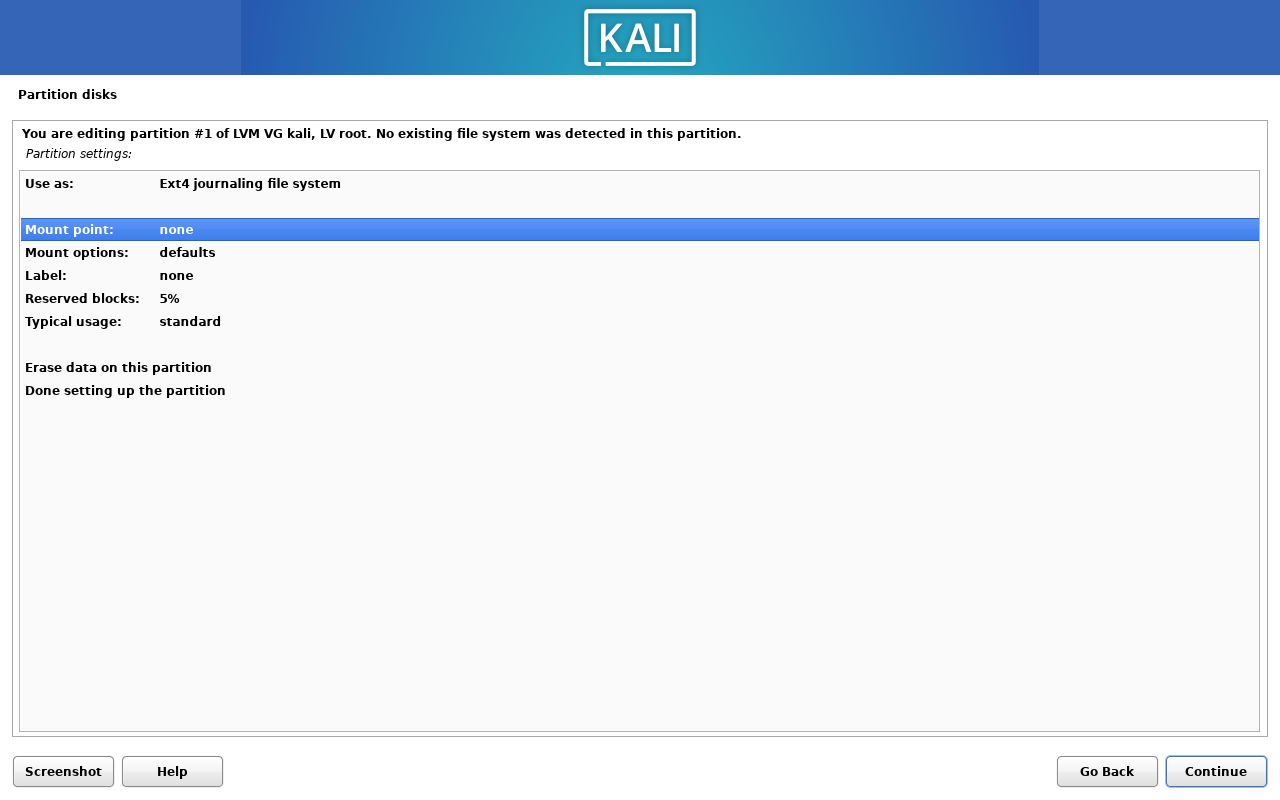
Use arrow keys to select the root partition, and press Enter.

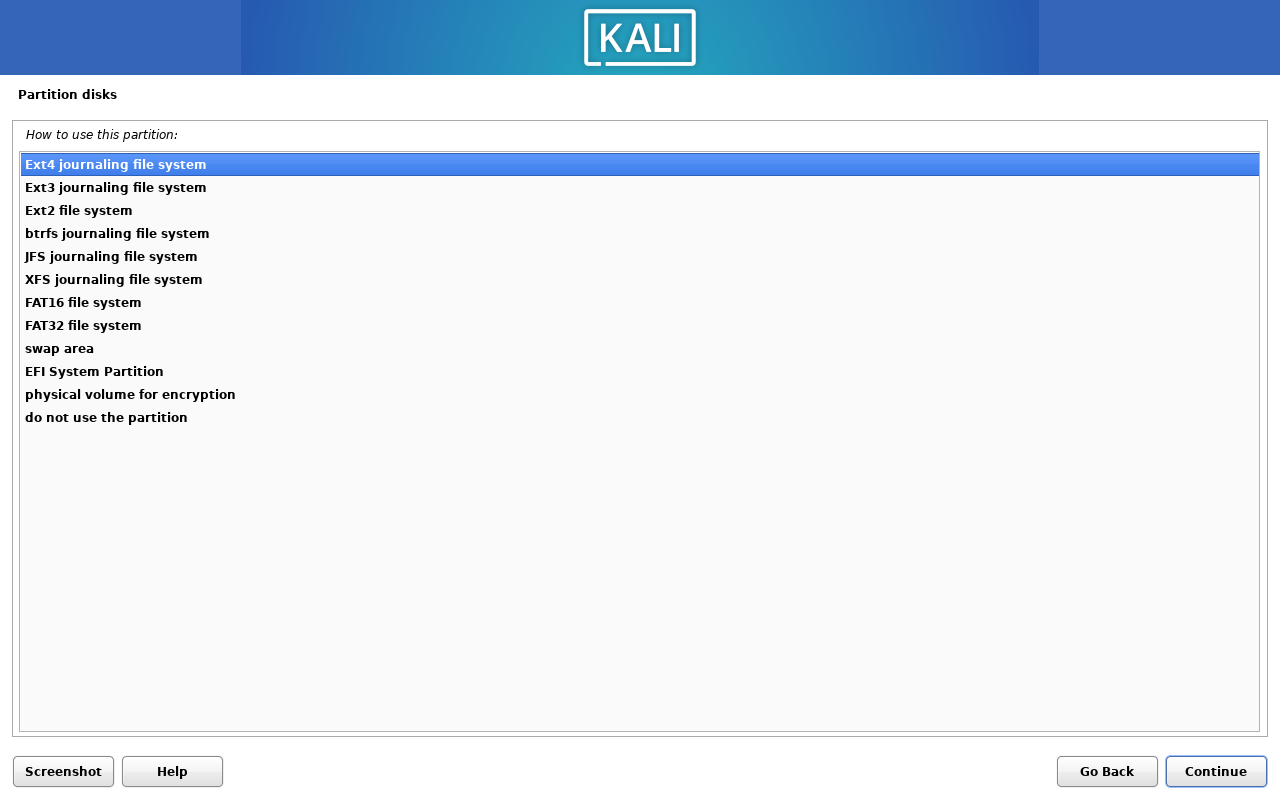
Click on Use as.

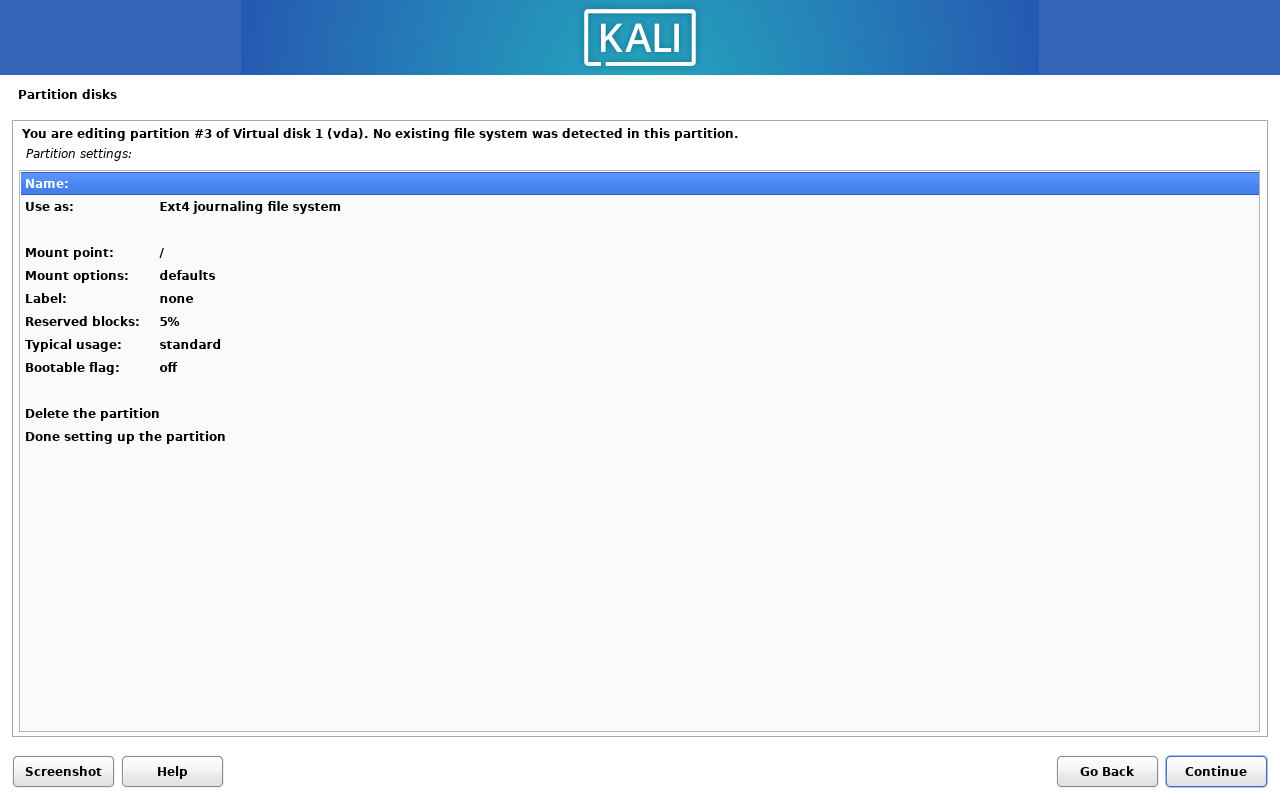
Choose Ext4 journaling file system as the filesystem, and click on Done setting up the partition.
NOTE: You also can choose
btrfsas the filesystem, which also a good choice for the snapshot filesystem, but i chooseext4because it is just for this guide.
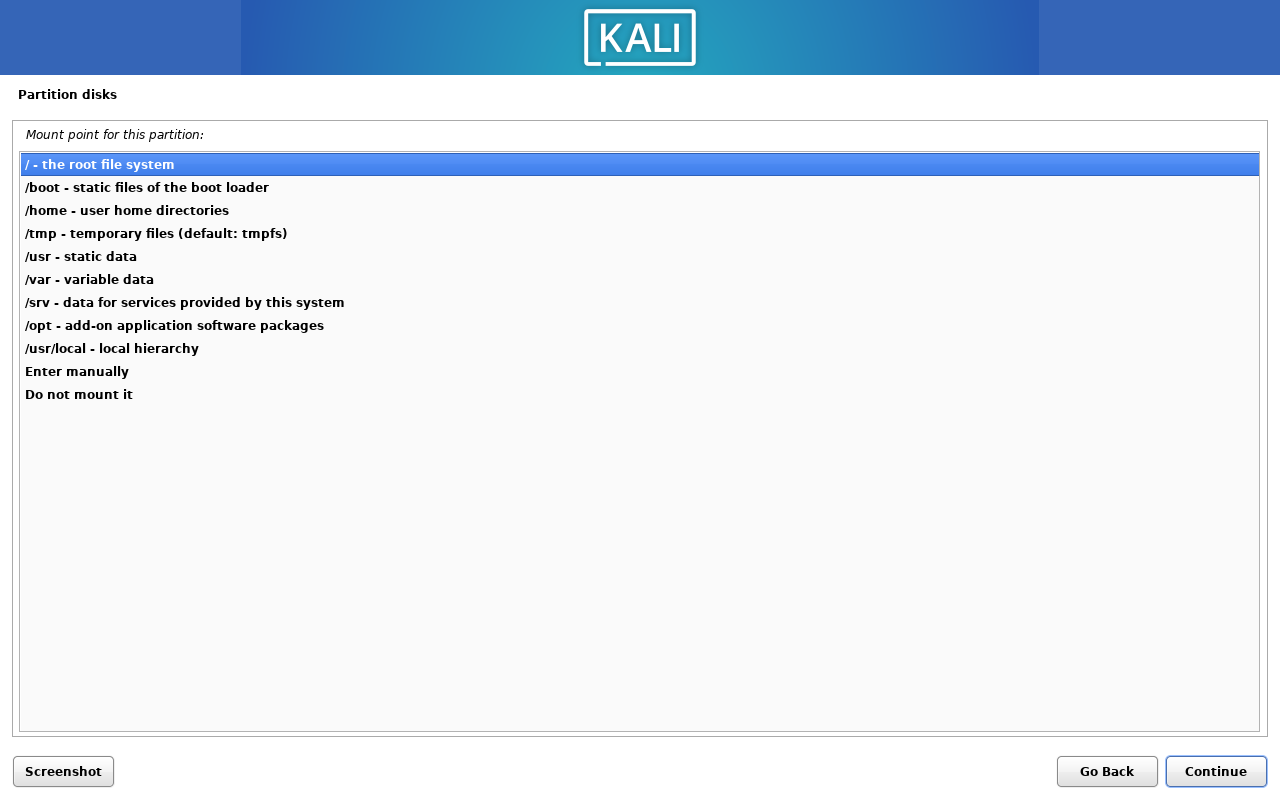
Click on Mount point.
Choose / as the mount point with root filesystem.
Click on Done setting up the partition to finish the root partition format.
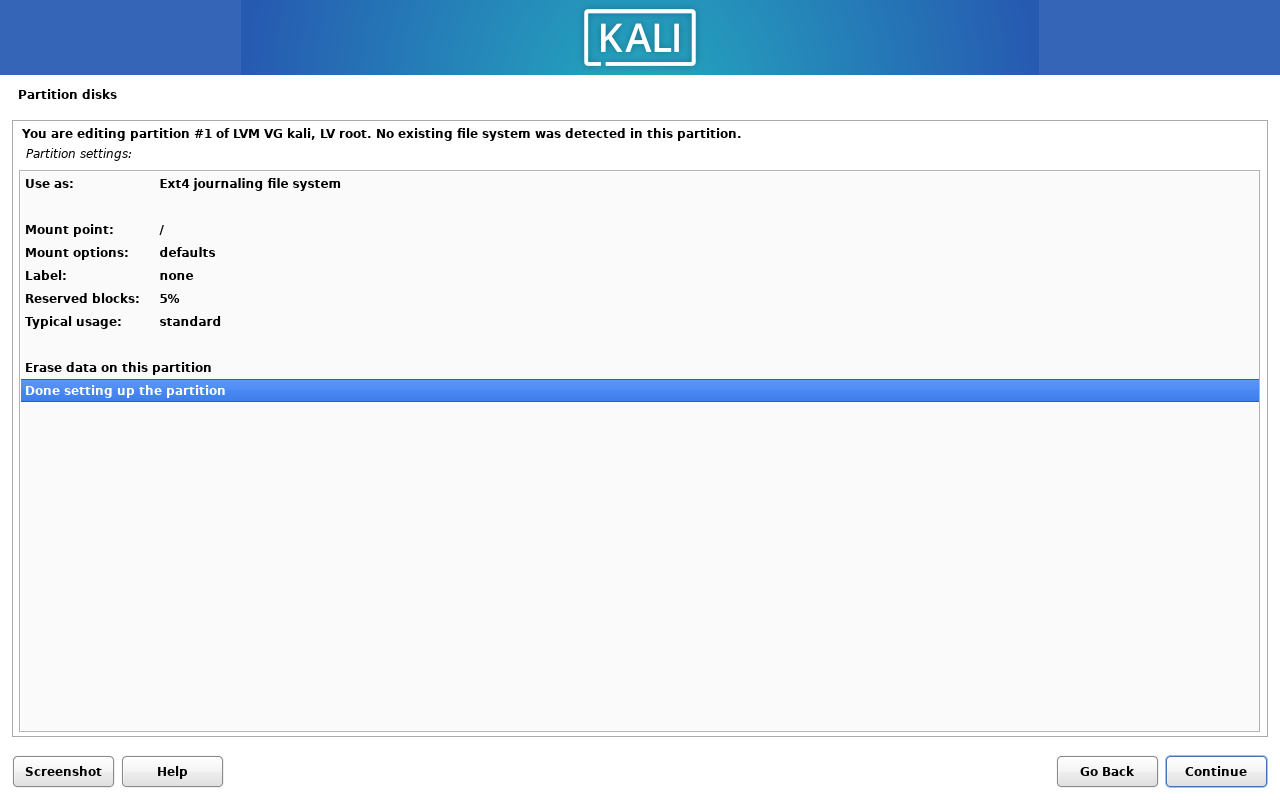
You should see the root partition is mounted with d label as /.
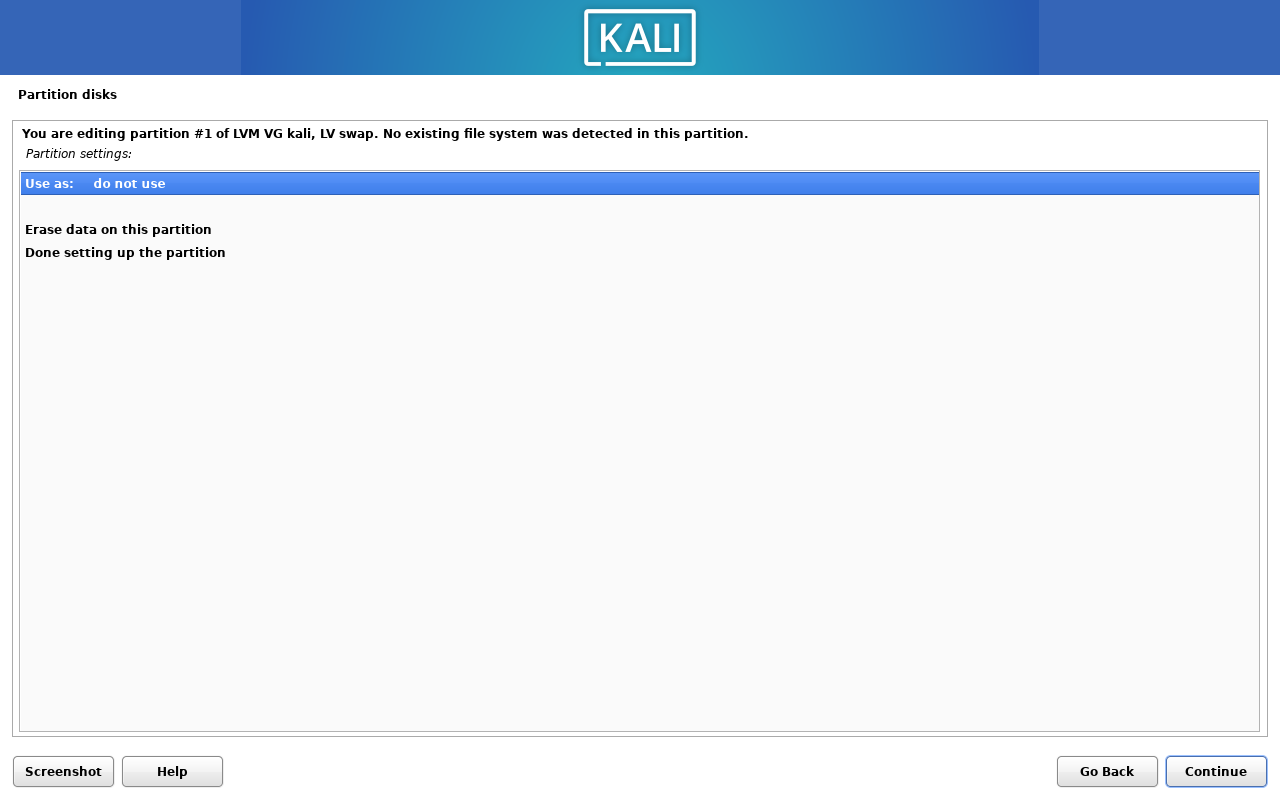
Now, we will format the logical volume for the swap partition, select the swap partition, and press Enter.
Click on Use as. Our swap partition will be used as a swap area.
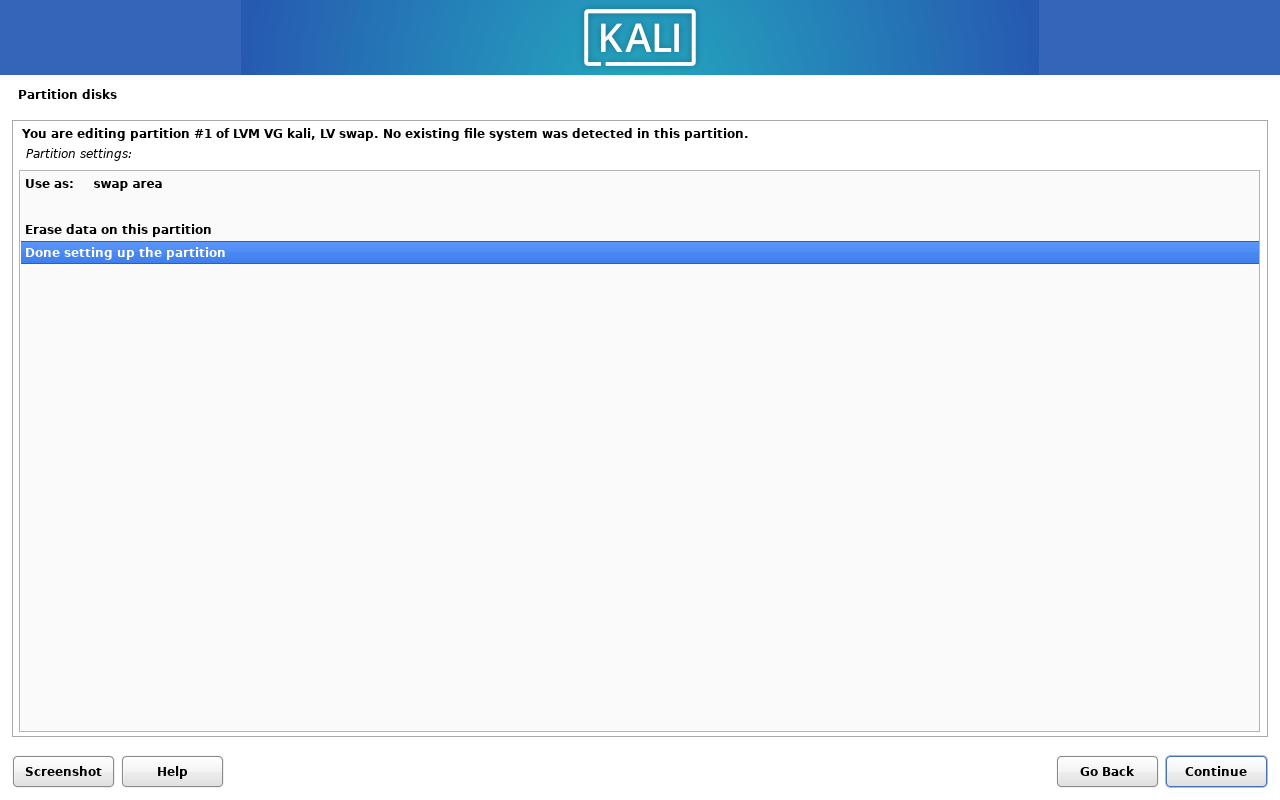
Choose swap area as the filesystem.

Click on Done setting up the partition to finish the swap partition format.
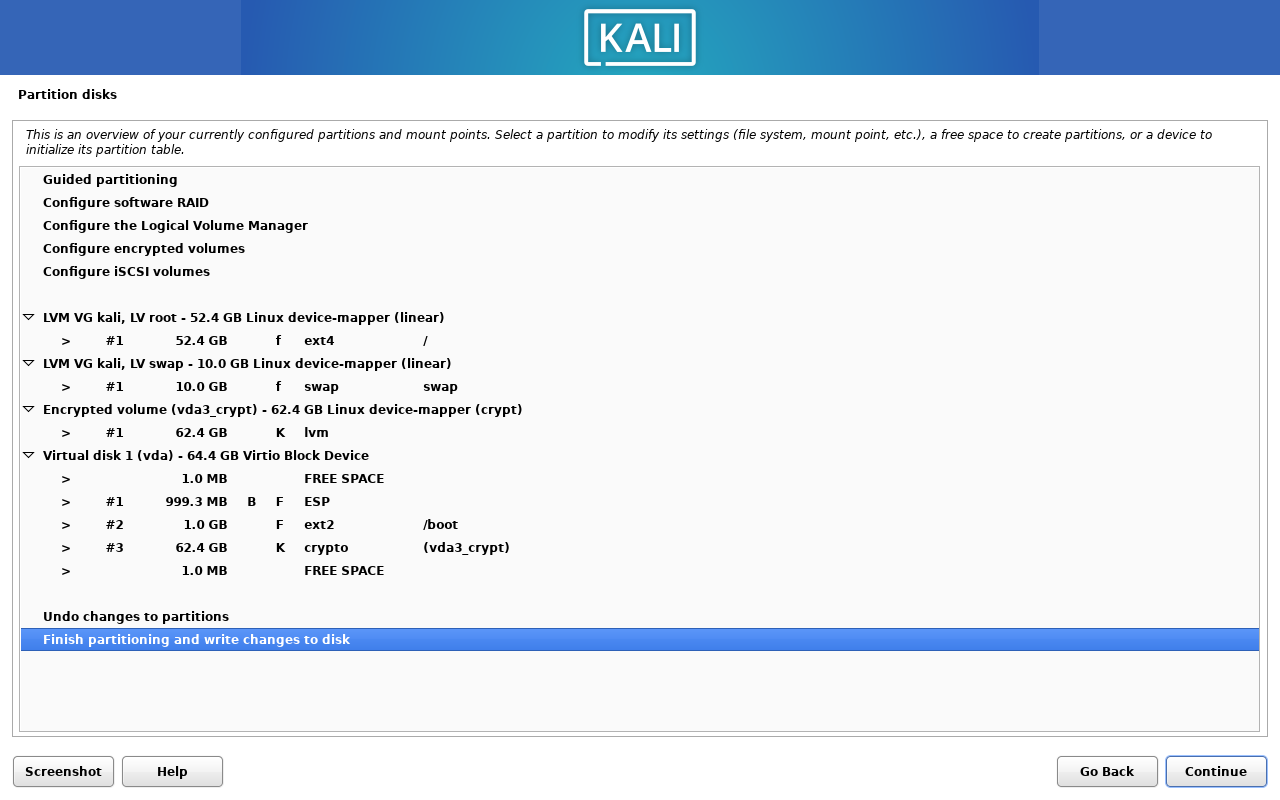
And yes! our table is ready to use !!!

2.10. Write the changes to the disk#
Now, the partitioning is done, click on Finish partitioning and write changes to disk.
Click on Yes to write the changes to the disk.
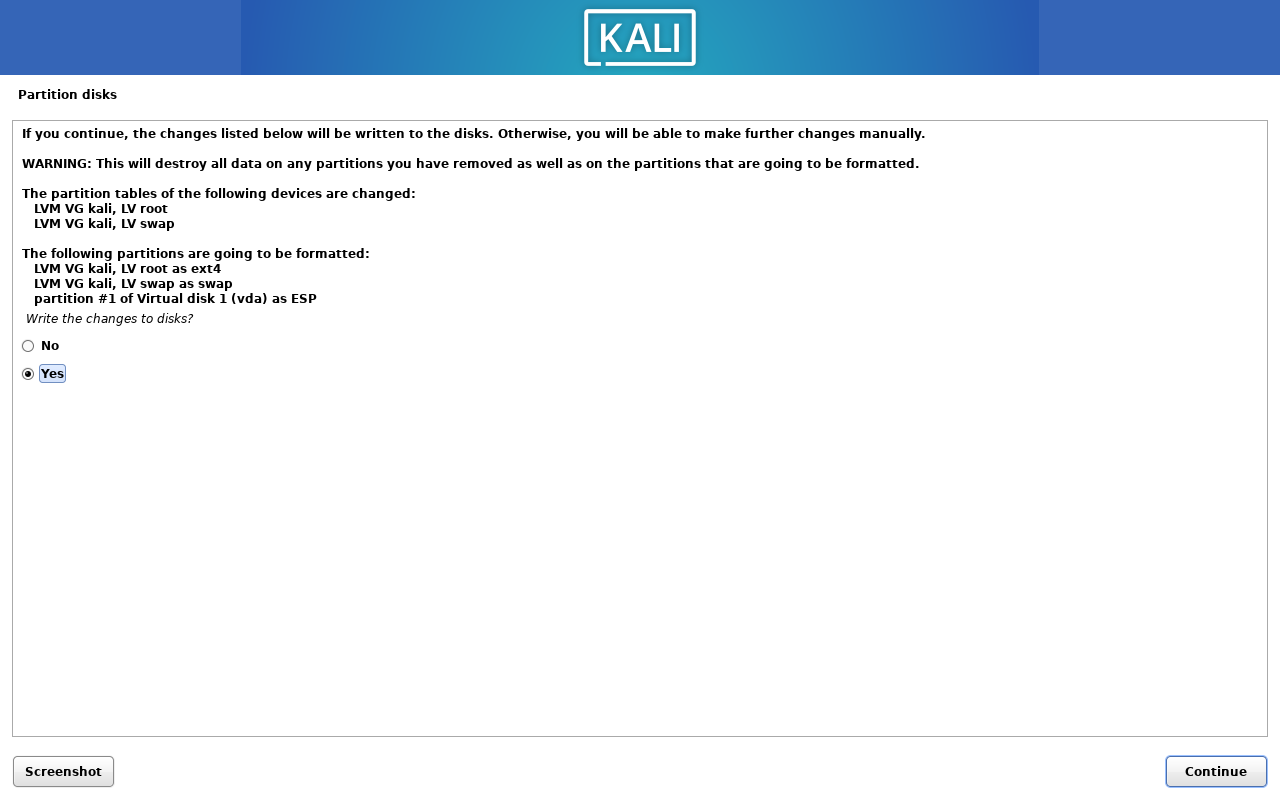
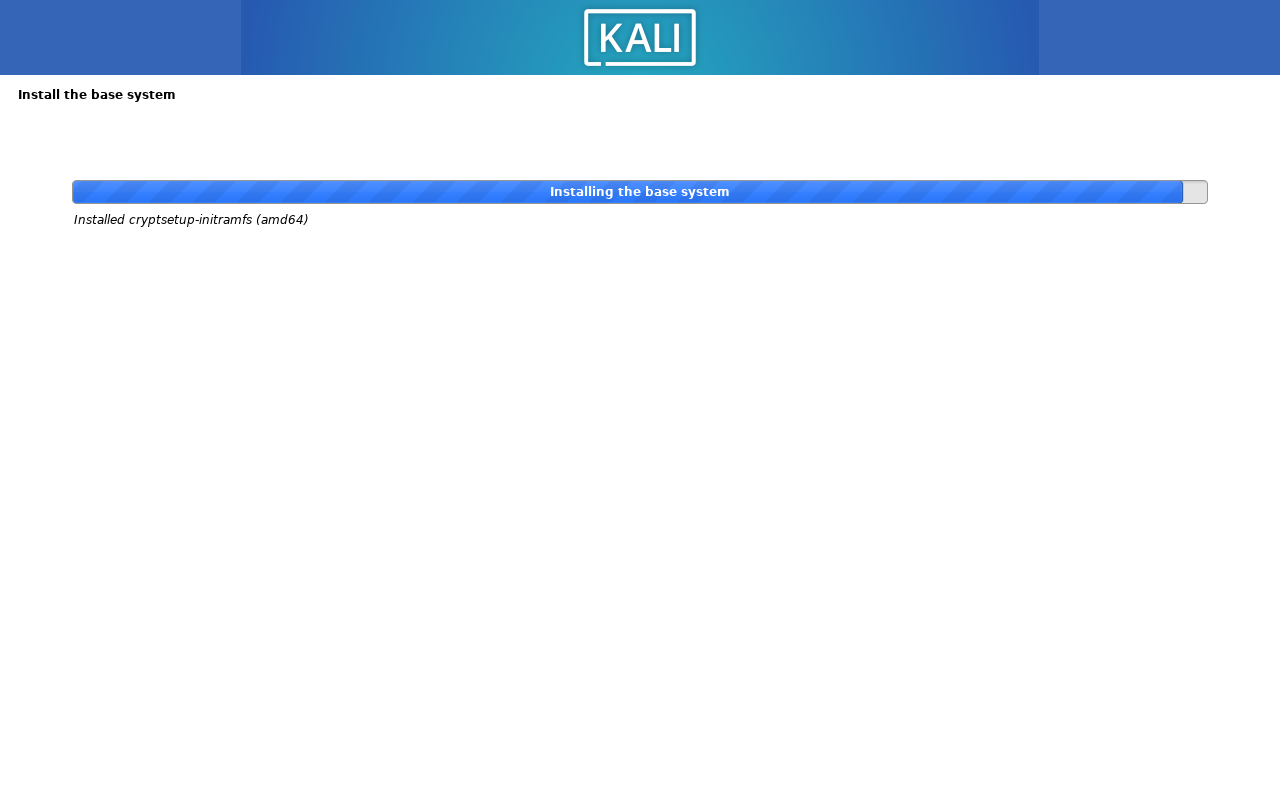
The installer will start to install the base system. just wait for a while.
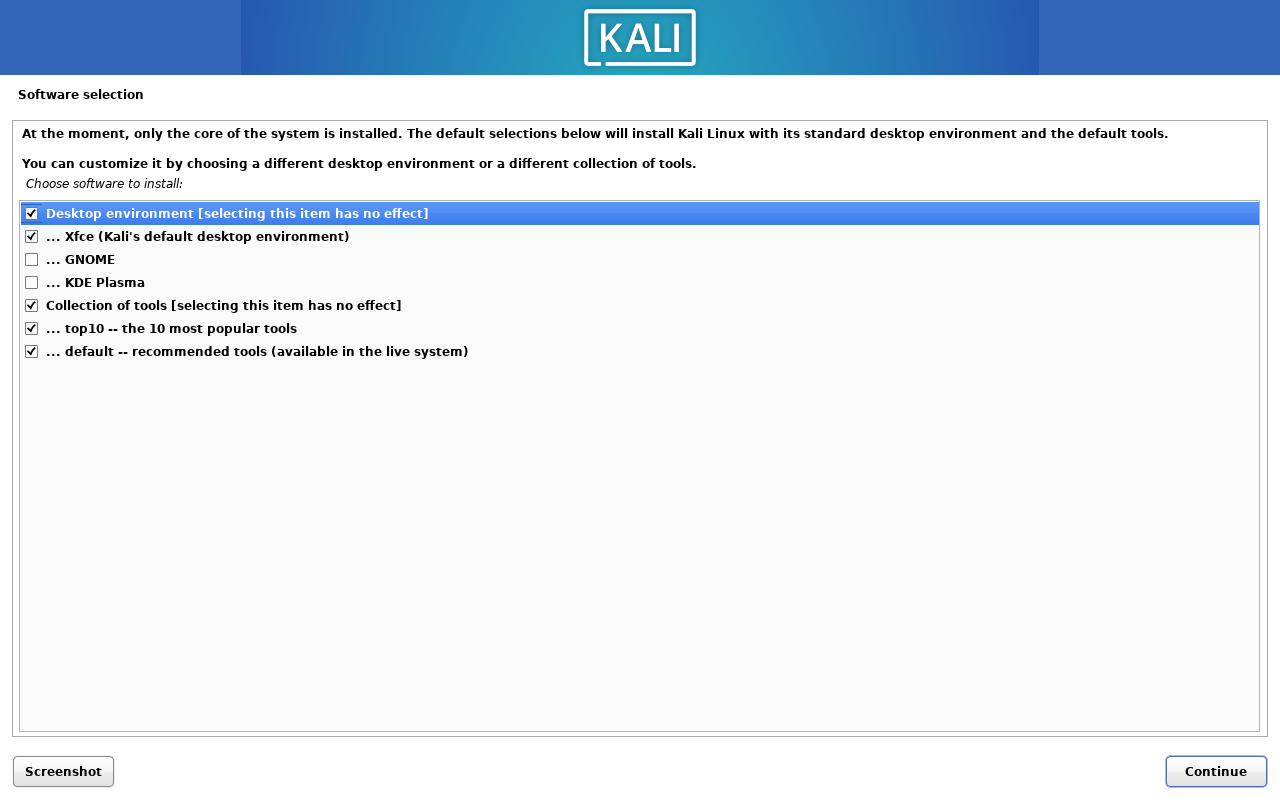
3. Software Selection#
Select the software you want to install, mostly the default option is good enough, but find one that suits you. the Desktop environment of what you want to use.
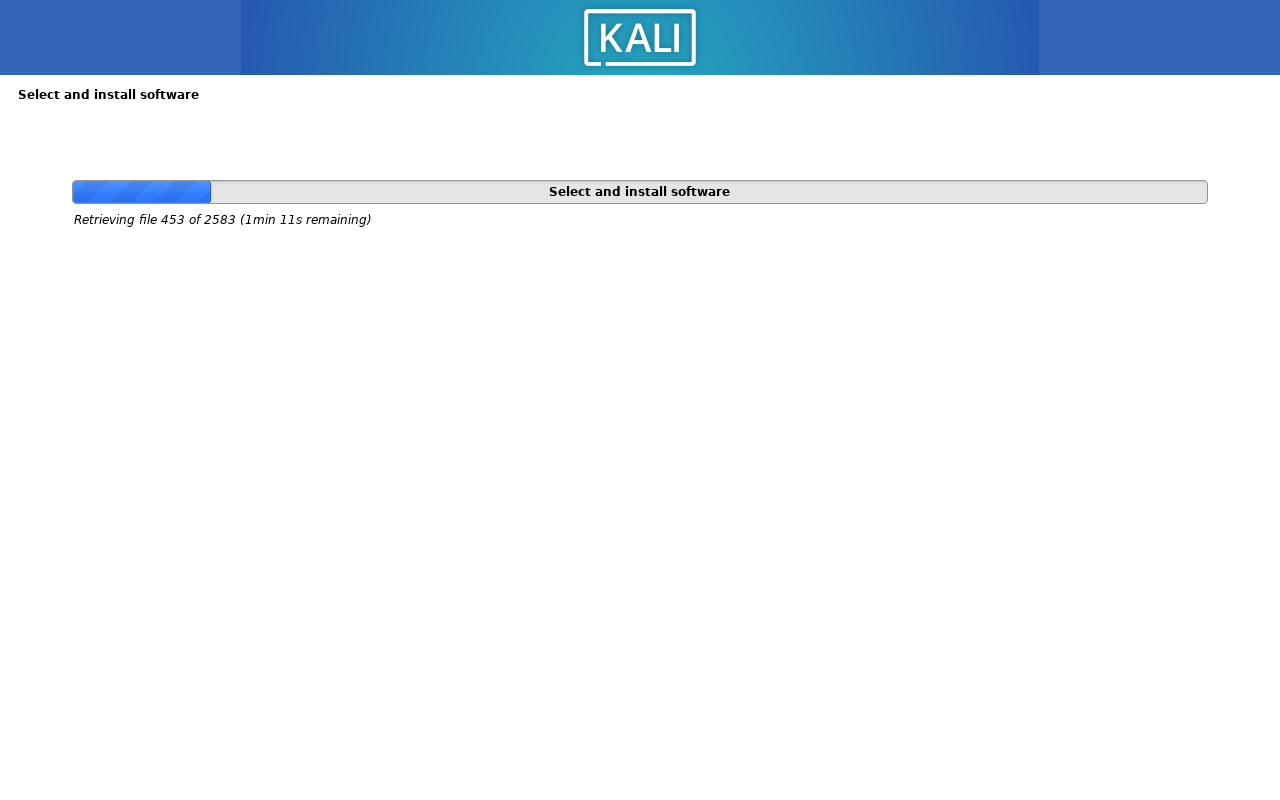
Wait for the installation to finish.
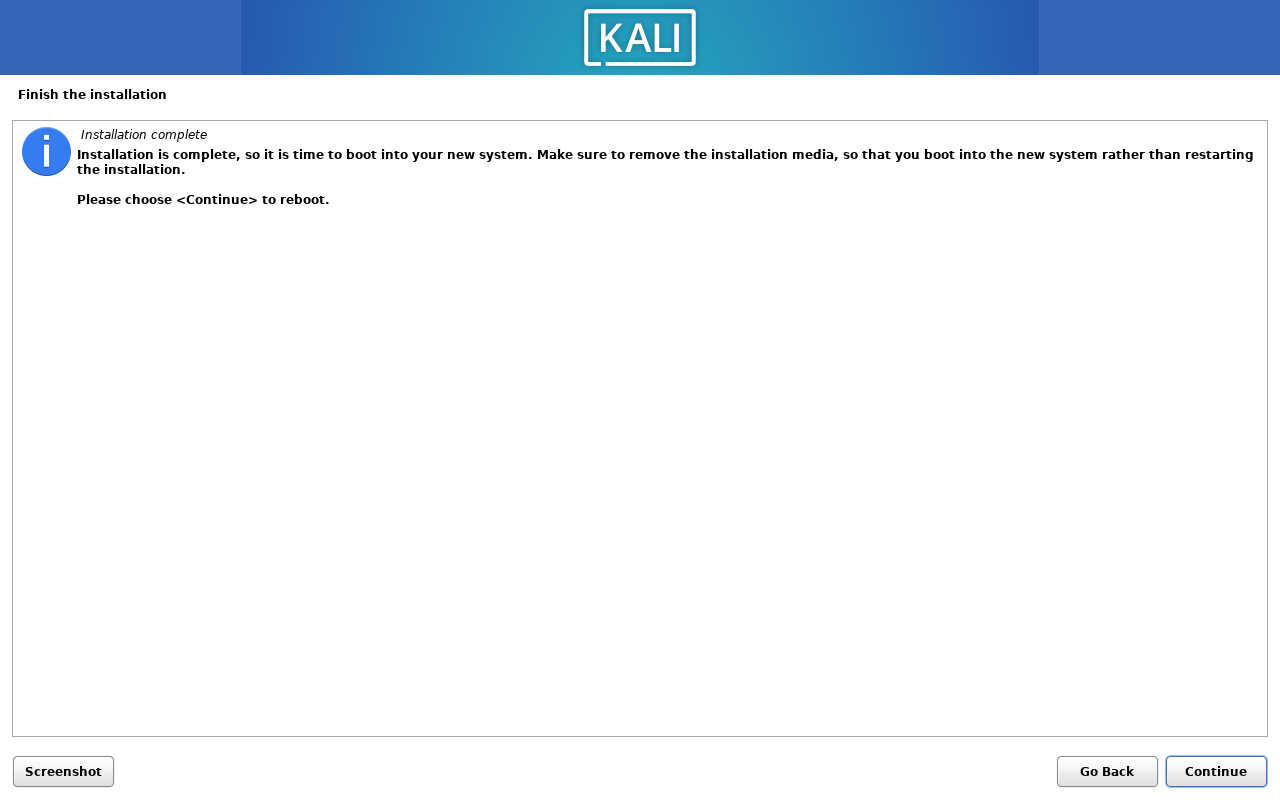
4. Reboot the system#
After the installation is finished, click on Continue. you now can try out your new Kali Linux system with rebooting the system.
5. Booting the system#
After rebooting the system, you will see the GRUB boot loader screen :)

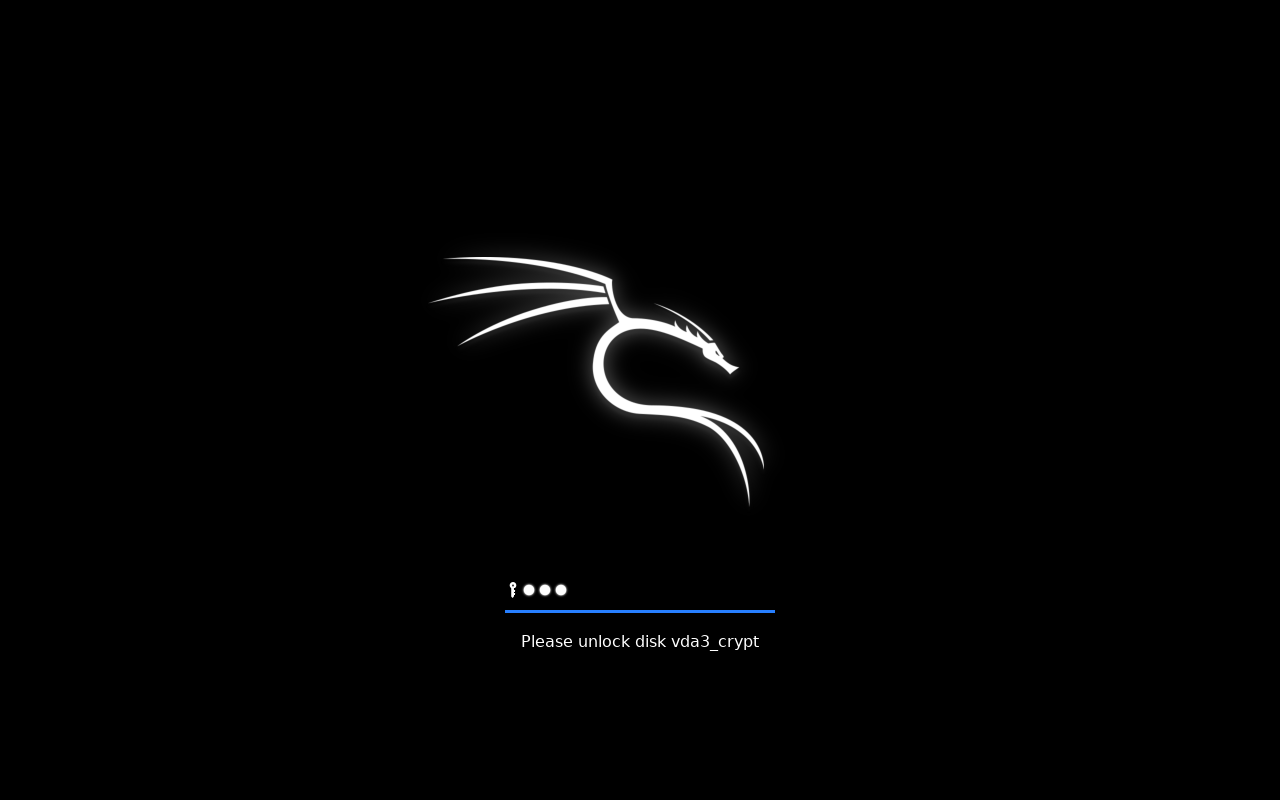
6. Unlock LUKS#
You will be asked to unlock the LUKS encryption, type in the password you set before, and press Enter.


Check the LVM partition#
Wow, you have successfully installed Kali Linux with LVM and LUKS encryption! You can check the LVM partition by running the lsblk command.
My feeling#
Debian is harder than Arch Linux to install. I can more confirm I’m cli guy XD