
Introduction#
In our previous article, we accomplished the installation of XFCE with XORG, setting the stage for a functional Gentoo Linux system. Now, as we delve into this comprehensive post-installation guide, we’ll lead you through pivotal steps aimed at elevating the security, functionality, and performance of your Gentoo setup. By the time we wrap up, you’ll have a fully operational Gentoo Linux system tailored to meet your daily computing needs.
User Management#
During the installation process, you primarily used the root account for configuration tasks. However, for improved security and easier system management, it’s essential to create a dedicated user account for everyday use.
In addition, As a long-time Linux user, I don’t think there is any need to explain why it is necessary to use normal user as your daily account.
Create a User Account#
Follow these steps to create a new user account. Replace <username> with your desired username:
# Create a new user with necessary group memberships and set the shell to /bin/bash
useradd -m -G users,wheel,audio -s /bin/bash <username>
useradd -m -G users,wheel,audio -s /bin/bash <username>: This command creates a new user account with the specified username (<username>) and assigns it to essential groups, including “users,” “wheel,” and “audio.” The-mflag ensures a home directory is created for the user, and the-s /bin/bashflag sets the user’s default shell to/bin/bash.
Next, set the user’s password:
passwd <username>
After completing this step, you have a complete daily user. However, you do n’t have to wait when you need to enter the instructions after each sudo. The time is 0 seconds.
Switch to the New User#
To complete the user setup and start using your new user account, switch to the newly created user with the following command:
# Switch to the newly created user
su - <username>
So that you can switch your current user with su command.
2. Installing sudo for Administrative Tasks#
It’s really troublesome without the sudo tool, so it must be installed. By default, Gentoo doesn’t include sudo. However, sudo is invaluable for performing administrative tasks with elevated privileges. To install sudo, use this command:
emerge --ask --verbose sudo
This command installs sudo on your system, allowing you to execute administrative commands securely. With sudo, you can perform tasks like package management and system configuration without needing to log in as the root user.
Configure sudo Access#
To configure sudo access for your new user, follow these steps:
visudo
visudo: Use this command to safely edit the sudoers file, which controls who has access to administrative privileges viasudo.
Within the sudoers file, locate the line %wheel ALL=(ALL) ALL and uncomment it by removing the # symbol at the beginning of the line. This action allows users in the “wheel” group to execute commands with sudo privileges:
# Uncomment the line below to allow users in the wheel group to execute commands with sudo privileges
%wheel ALL=(ALL) ALL
It’s also recommended to set a flag Defaults timestamp_timeout=0 in the sudoers file. This configuration removes the delay when entering the sudo password:
Defaults timestamp_timeout=0
After completing these steps, you have a fully functional user account with sudo privileges. The timeout for password entry when using sudo is set to 0 seconds, providing an extra layer of security for your system.
Useful tools#
As you finalize your Gentoo Linux installation, consider adding essential packages to enhance your system’s functionality and convenience.
1. Install sysklogd for System Logging#
System logging is crucial for keeping track of system events and activities. sysklogd is a reliable tool for managing system logs. To install it, run the following command:
emerge --ask app-admin/sysklogd
After installation, add sysklogd to the list of services that start automatically at boot with the following command:
rc-update add sysklogd default
By doing this, sysklogd will begin capturing log messages from the early stages of system startup, providing you with a comprehensive record of system events.
2. Install chrony for Time Synchronization#
Accurate timekeeping is crucial for various system functions and services. chrony is a reliable tool for time synchronization. To install it, use the following command:
emerge --ask net-misc/chrony
Once chrony is installed, add it to the startup services to ensure that your system’s time stays accurate:
rc-update add chronyd default
chronyd will synchronize your system’s time with time servers on the internet, helping to maintain accurate time for various system operations.
3. Install wireless-tools for Wi-Fi Management (Optional)#
If you use Wi-Fi for your network connection, installing wireless-tools can be helpful for managing wireless networking. However, if you prefer using a wired LAN connection or don’t need Wi-Fi support, you can skip this step.
To install wireless-tools, use the following command:
emerge -av wireless-tools
4. Install CPUID2CPUFLAGS for CPU Optimization#
Optimizing software performance for your specific CPU architecture is essential for getting the most out of your hardware. The CPUID2CPUFLAGS utility helps identify CPU-specific flags, which are crucial for compiling software tailored to your CPU. To install it, use this command:
emerge --ask app-portage/cpuid2cpuflags
After installation, run the following command to determine the CPU flags specific to your system:
cpuid2cpuflags
This utility detects your CPU’s capabilities and outputs the appropriate flags. These flags will be used during package compilation to ensure optimized performance.
To configure Gentoo to use these CPU flags for all packages, create a file named 00cpu-flags in the /etc/portage/package.use/ directory:
echo "*/* $(cpuid2cpuflags)" > /etc/portage/package.use/00cpu-flags
This file specifies the CPU flags for all packages, ensuring that software is compiled to take full advantage of your CPU’s capabilities.
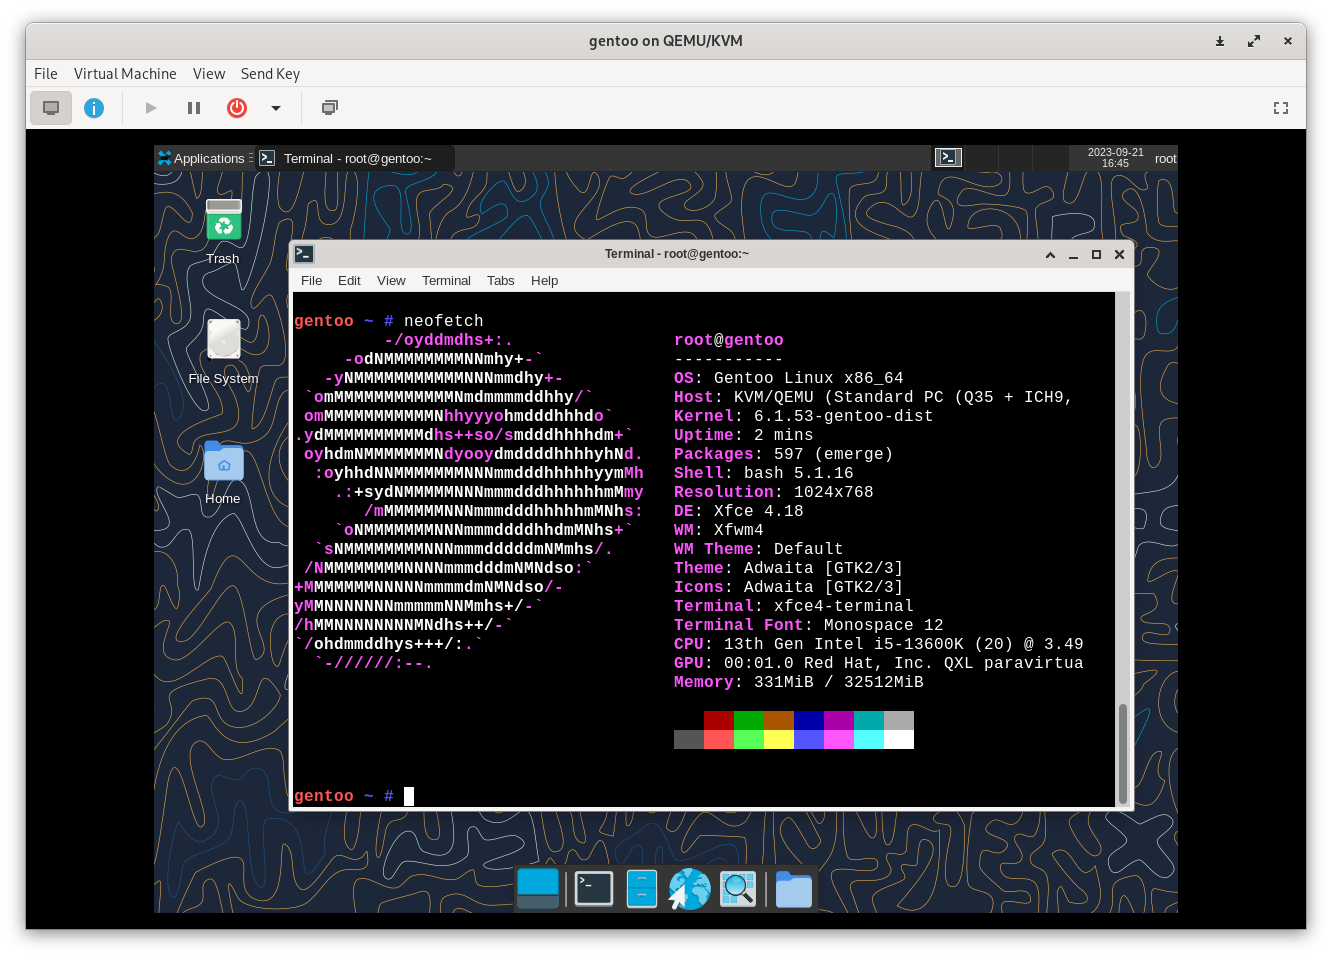
5. Install neofetch for System Information#
neofetch is a handy utility that provides detailed information about your Gentoo system in a visually appealing way. To install neofetch, use the following command:
emerge -av neofetch
Once installed, you can run neofetch to quickly view system information, including your distribution, kernel version, CPU, memory, and more. It’s a useful tool for getting an overview of your system’s configuration.
6. Install Gentoolkit#
To assist in managing your Gentoo system and packages, installing Gentoolkit is a wise choice. Gentoolkit provides various helpful utilities for package management and system analysis. You can install it using the following command:
emerge --ask --verbose app-portage/gentoolkit
Once installed, you can leverage Gentoolkit to perform various tasks, including searching for package information, checking for reverse dependencies, and more. For instance, if you want to find out which packages depend on www-client/firefox, you can use the equery utility as follows:
equery uses www-client/firefox
This command will provide you with a list of packages that reference or rely on www-client/firefox in your Gentoo system.
7. Install Firefox#
Certain packages may require manual configuration to ensure compatibility and functionality. One such example is configuring alsa-plugins for Firefox. The required version of alsa-plugins may change over time, so it’s essential to follow the prompts during the installation process.
Manual Configuration for Firefox#
To set up alsa-plugins with the correct version for Firefox, use the following command:
echo ">=media-plugins/alsa-plugins-1.2.7.1-r1 pulseaudio" > /etc/portage/package.use/alsa-plugins
This command specifies the version and configuration for alsa-plugins to work seamlessly with Firefox. If the version changes in the future, running the installation command again will prompt you with the updated version, allowing you to input the correct information.
Proceed to Install Firefox#
Now, you can proceed to install Firefox. Gentoo offers two options: building it from source or installing a pre-built binary version. Here are the commands for both options:
To build Firefox from source:
emerge --ask --verbose www-client/firefox
To install the pre-built binary version:
emerge --ask --verbose www-client/firefox-bin
Launching Firefox#
Once Firefox is installed, you can easily launch it by typing the following command in your terminal:
For the source-built Firefox:
firefox
For the pre-built binary version of Firefox:
firefox-bin
By following these steps, you’ll have a fully configured Firefox web browser on your Gentoo system, ready for all your browsing needs.
8. Setting Up Time Synchronization with Chrony#
Ensuring accurate time synchronization is crucial for the proper functioning of your Gentoo system. The NTP (Network Time Protocol) protocol is commonly used for this purpose, and one popular software implementation is Chrony. Here’s how you can set up Chrony for time synchronization:
Installing Chrony#
First, install Chrony using the following command:
emerge --ask net-misc/chrony
Adding Chrony to System Startup#
To make sure Chrony starts automatically during boot, add it to the default runlevel with this command:
rc-update add chronyd default
By adding Chrony to the default runlevel, you ensure that it initializes with your system every time it boots up.
Chrony offers accurate time synchronization, crucial for various system processes and network activities. Setting it up correctly contributes to the overall stability and reliability of your Gentoo system.
9. Network Connectivity with NetworkManager#
NetworkManager is a versatile software crafted to efficiently manage an array of network connections, including wired, wireless, DSL, dial-up, VPN, WiMAX, and mobile broadband networks.
Installation#
For a seamless network management experience, install NetworkManager using the following command in your shell:
sudo emerge --ask --verbose net-misc/networkmanager
Autostart at Boot#
Ensure NetworkManager starts automatically at boot by adding it to the default run level with the following command:
rc-update add NetworkManager default
Whether you need standard wired and wireless connections or desire to set up custom networks like WireGuard or OpenVPN, NetworkManager provides a user-friendly platform for configuring and managing diverse network environments.
Summarize#
These tools are useful for your daily use of gentoo. Installation is not required, but they will definitely help your future work or experience.