
Introduction#
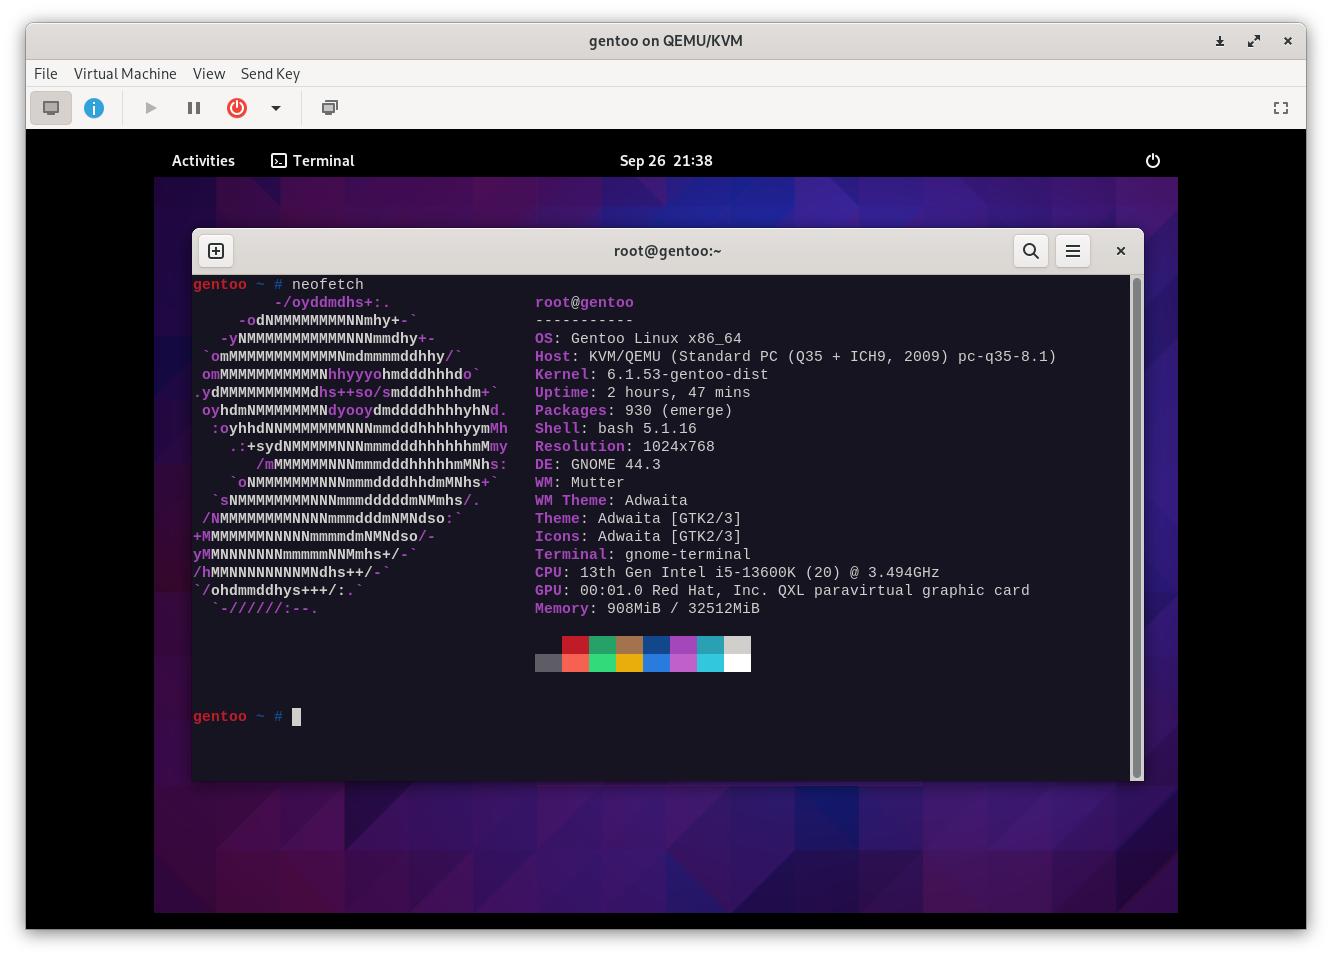
In the previous article, I demonstrated how to install XFCE. and in this comprehensive guide will walk you through the process of installing and configuring GNOME on your Gentoo system. (As shown in the image below):
Step 1: Select Your Profile#
The first step is selecting the profile. Gentoo offers various profiles to cater to different needs. To see the available profiles, run the following command:
eselect profile list
Browse the list and identify the one that matches your requirements. Typically, you’ll find a profile like default/linux/amd64/17.1/desktop/gnome (stable). Once you’ve pinpointed your choice, set it as your active profile. Replace the number 6 with the corresponding number from your list:
eselect profile set 6
Step 2: Configuring make.conf for GNOME Installation#
With your chosen Gentoo profile set, it’s time to fine-tune your system to ensure a flawless GNOME installation. This step involves configuring your make.conf file, which plays a pivotal role in managing package compilation and runtime behavior. Follow these instructions to adjust the necessary settings:
1. Open your make.conf file#
Begin by opening your make.conf file in a text editor. You can utilize the “nano” text editor for this task:
nano /etc/portage/make.conf
2. Modify your USE flags#
Inside the make.conf file, you’ll find a section for your USE flags. Modify this section to include the following flags, which are essential for an optimized GNOME installation:
USE="... wayland gtk gnome dbus elogind minimal -X"
INPUT_DEVICES="libinput"
VIDEO_CARDS="qxl"
Let’s delve into the purpose of each USE flag:
wayland: Enabling this flag extends support for the Wayland display protocol, a contemporary alternative to the aging X11.
gtk: Inclusion of this flag guarantees compatibility with the GTK toolkit, a fundamental requirement for running GNOME applications.
gnome: The presence of this flag communicates your intent to install GNOME, prompting the system to fetch the necessary dependencies.
dbus: Activation of D-Bus support is crucial for establishing seamless communication between applications and the GNOME desktop environment.
elogind: Enabling this flag ensures proper integration with elogind, a critical component for managing user sessions in Gentoo.
minimal: Opting for a minimal installation ensures that only essential GNOME components are included, effectively sidestepping unnecessary bloat.
-X: The exclusion of the
-Xflag signifies that you’re not enabling X Window System compatibility, as Wayland serves as the primary display protocol.
By meticulously configuring these variables within your make.conf file using the provided settings, you’re effectively preparing your system’s package management system for a seamless GNOME installation. Each flag serves a distinct purpose, collectively ensuring that GNOME functions optimally within the Gentoo ecosystem.
3. Save your changes#
After making these modifications, save the changes to your make.conf file. In the “nano” text editor, you can typically save changes by pressing “Ctrl + O” and then confirming the file name with “Enter.” To exit the editor, press “Ctrl + X.”
By meticulously configuring these variables within your make.conf file using the provided settings, you’re effectively preparing your system’s package management system for a seamless GNOME installation. Each flag serves a distinct purpose, collectively ensuring that GNOME functions optimally within the Gentoo ecosystem.
Step 3: Set Package Versions#
To proceed smoothly with the installation, we need to specify the versions of certain packages. This step helps ensure compatibility. Run the following commands to set the desired package versions.
IMPORTANT: Again, the versions are not necessarily the same, this is just a demonstration of the current version of the commands. To find out what version you need, just run the install gnome base once.
echo ">=media-libs/clutter-1.8.4-r1 X" > /etc/portage/package.use/clutter
echo ">=gui-libs/gtk-4.10.5 X" > /etc/portage/package.use/gtk
echo ">=x11-libs/gtk+-3.24.8:3.0 X" > /etc/portage/package.use/gtk+
echo ">=dev-cpp/gtkmm-3.24.8:3.0 X" > /etc/portage/package.use/gtkmm
echo ">=x11-base/xorg-server-21.1.8-r2 -minimal" > /etc/portage/package.use/xorg-server
Step 4: Install GNOME Base#
Now, let’s install the GNOME base packages. Brace yourself; this process can be time-consuming, as it involves compiling over 400 packages. Just take a break :)
emerge --ask --verbose gnome-base/gnome
Step 5: Update Environment and Profile#
With GNOME base successfully installed, update your environment and profile settings to reflect the changes:
env-update && source /etc/profile
Step 6: Enabling Elogind for Enhanced GNOME Experience#
Elogind is a vital component that enhances your GNOME desktop environment, ensuring a seamless and feature-rich experience. It provides essential services for managing user sessions, enabling features like auto-login and power management. Here’s how to enable Elogind:
Add Elogind to the System Startup#
Begin by adding Elogind to your system’s startup processes. This ensures that Elogind launches with your system during boot-up. Execute the following command:
rc-update add elogind boot
Start Elogind Now#
You can initiate Elogind immediately using the following command:
rc-service elogind start
Enabling Elogind is a crucial step in preparing your Gentoo system to deliver a flawless GNOME desktop experience. Its role in managing user sessions is pivotal, and it paves the way for the activation of various GNOME features.
Step 7: Installing the Display Manager Initialization Script#
To finalize your GNOME setup, you’ll need to install the display manager initialization script. This script ensures that your GNOME desktop environment starts efficiently and securely with each system boot:
emerge --ask --noreplace gui-libs/display-manager-init
Step 8: Configuring the Display Manager#
To make GDM (GNOME Display Manager) the default display manager for your system, a quick configuration change is required. Follow these steps:
Open the Configuration File#
Use the nano text editor to open the configuration file for editing:
nano /etc/conf.d/display-manager
Set GDM as the Default Display Manager#
Within the file, locate the DISPLAYMANAGER variable and set it to “gdm” like this:
DISPLAYMANAGER="gdm"
Ensure Automatic Start at Boot#
To guarantee that GDM starts automatically during system boot, add it to the default runlevel with the following command:
rc-update add display-manager default
With these configurations in place, you’re ready to start the display manager:
rc-service display-manager start
These final steps solidify GDM as your default display manager, ensuring a smooth and reliable GNOME desktop experience.
Optional: Disabling GNOME Online Accounts#
GNOME offers built-in options for seamlessly connecting your online accounts. However, if you prefer not to utilize this feature, you can easily disable it by adjusting your USE flags. Follow these steps to disable GNOME Online Accounts:
Step 1: Open your make.conf file#
To begin, open your make.conf file using a text editor. You can use the nano text editor for this purpose:
nano /etc/portage/make.conf
Step 2: Modify your USE flags#
Inside the make.conf file, locate the line containing your USE flags. Add “-gnome-online-accounts” to the list of flags, like so:
USE="... -gnome-online-accounts"
This modification informs Gentoo not to include the GNOME Online Accounts feature during package installations.
Step 3: Rebuild your packages#
Apply the changes you’ve made to your USE flags by rebuilding your packages. Use the following command:
emerge --ask --changed-use --update --deep @world
This command ensures that your system updates the packages and considers your modified USE flags.
Step 4: Reboot your system#
To activate these changes, simply reboot your Gentoo system. Once completed, you’ll notice that the Online Account options have been removed from your GNOME desktop environment.
Summary#
Congratulations! You’ve successfully installed GNOME on your Gentoo system. Enjoy your gentoo system!